What the Claremont group asked for
The group wanted a session that could handle students, tutors and a few complete beginners in the same room without losing pace. The main request was control: clean lines in the block, careful alignment on paper, and enough room in the programme for each person to finish a small edition with confidence.
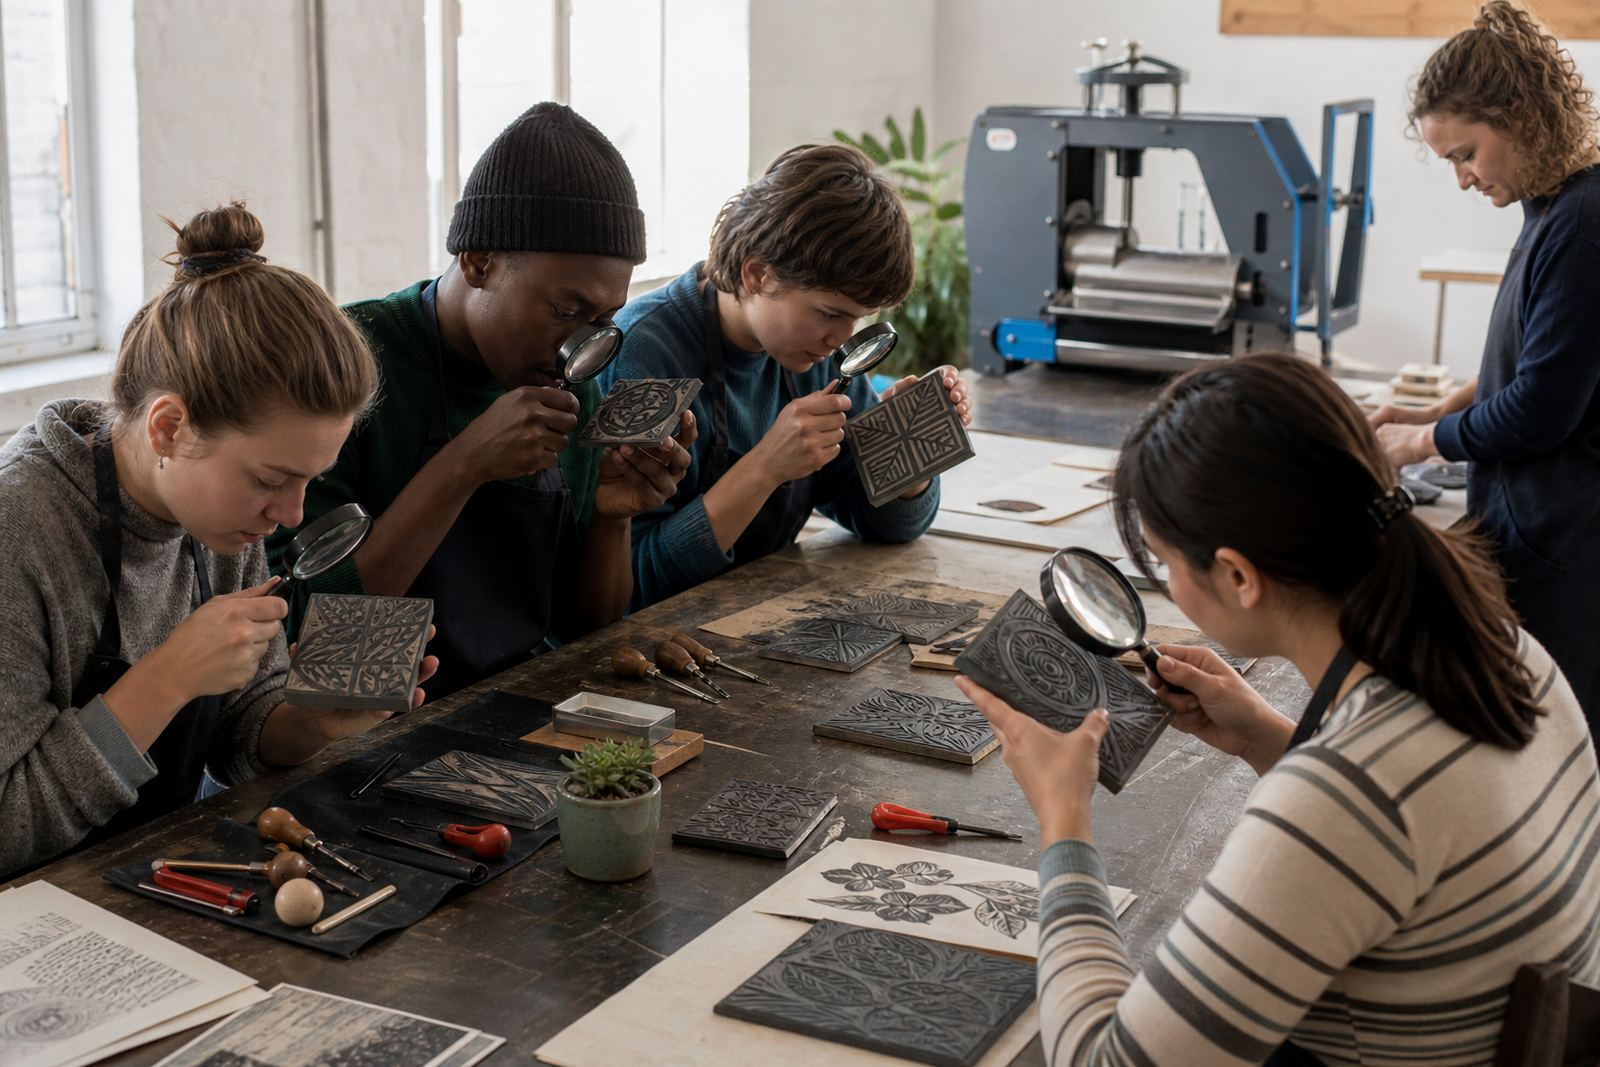
We shaped the workshop around linocut and soft-cut block methods, with carving that stayed safe and measured from the first cut. Gouges and V-tools were used for line work, open areas and texture, while each participant learned how the angle of the blade changes the mark left behind. That matters for fine detail, because a heavy cut can close down a line before printing even starts.
- Client type: university-linked group
- Town: Claremont, Cape Town
- Focus: finer carving and accurate registration
- Format: guided group workshop with printed takeaways
How we paced the workshop across the week
The project ran over three weeks from planning to delivery, with the first stage spent on block choice, sample marks and paper selection. We also set out the order of the session so the group could move from drawing to transfer, then from carving to inking without wasting time on backtracking.
For the carving stage, we kept the blocks on stable surfaces and used short demonstrations before each section of work. That approach helped people work at different speeds while still keeping the group aligned around one method. It also gave space to talk through safe hand positions, how to stop the tool from wandering, and when to leave a line broad rather than forcing it finer.
- Week 1: planning, block choice and paper tests
- Week 2: carving demos, mark-making trials and layout checks
- Week 3: studio delivery, proofing and edition printing
Materials that held the line
We supplied lino and soft-cut blocks, together with gouges, V-tools, brayers and a baren for hand printing. For the printing stage, we used water-based and oil-based block inks so the group could see how each one behaves on paper, especially where a lighter touch or a denser ink film was needed. The difference matters on a mixed workshop table, because a softer paper can pick up ink very differently to a heavier sheet.
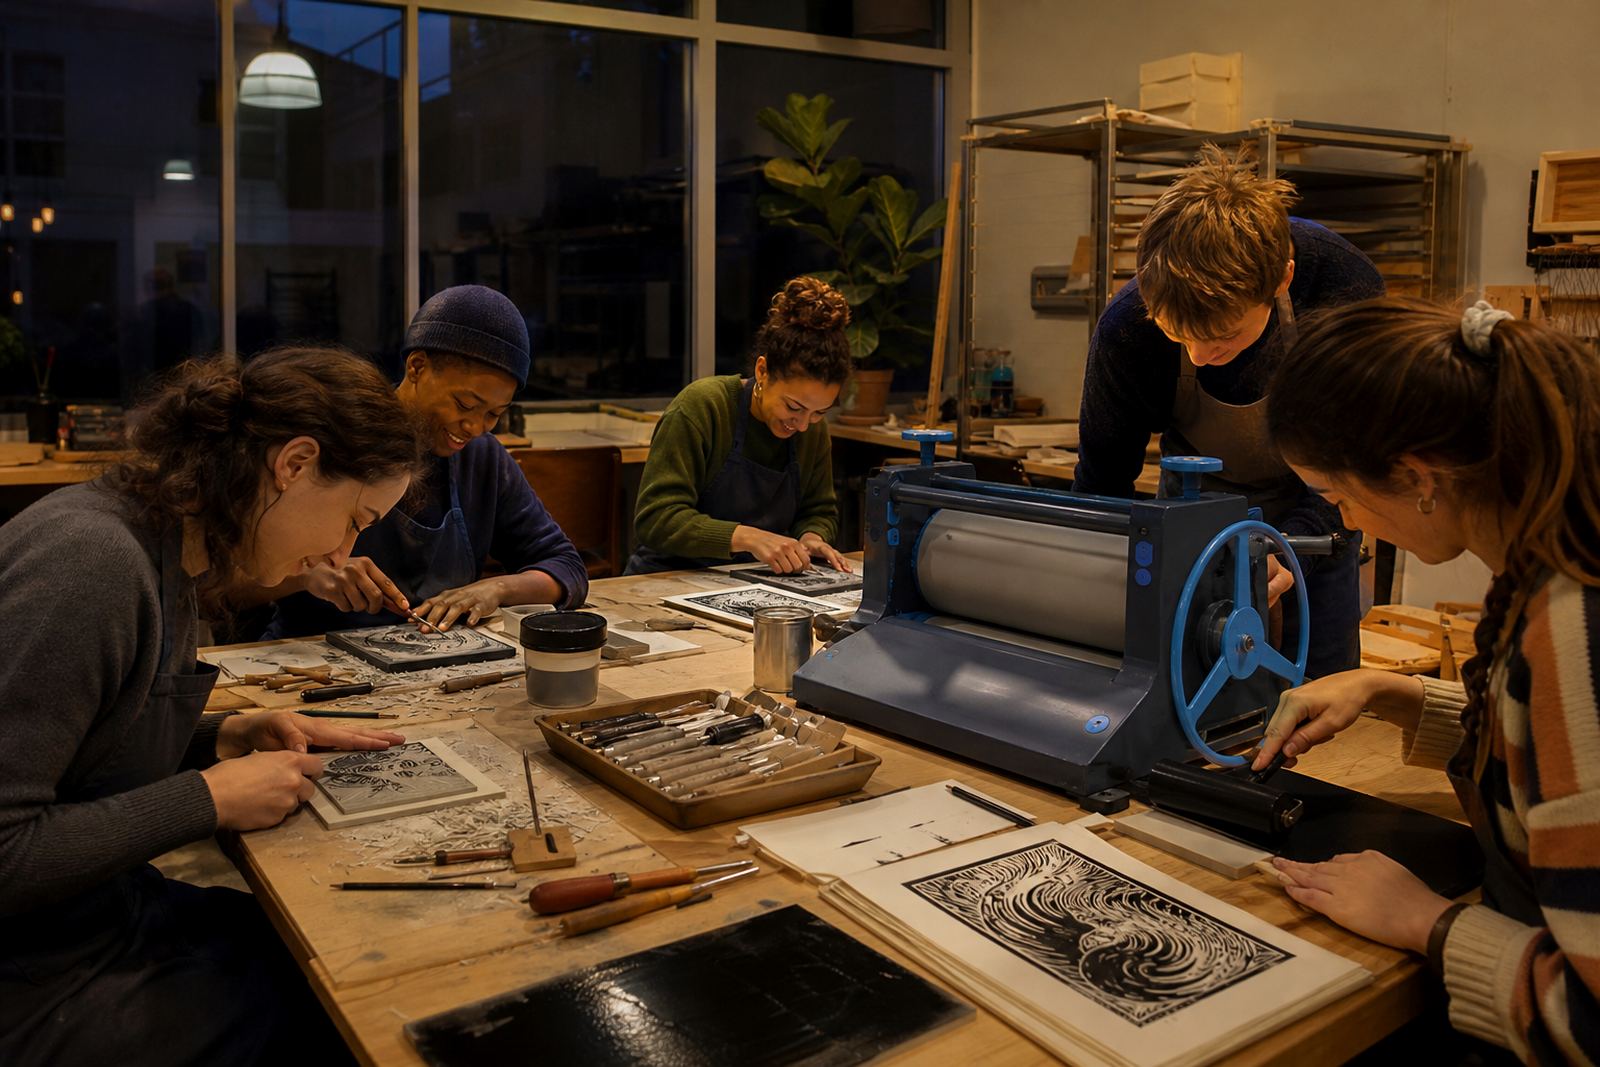
Registration was treated as a working skill rather than an afterthought. Each participant marked the paper placement, checked the block edges and learnt how to keep a print square through a small edition. Where the press was used, it gave a firmer impression and helped with even pressure across the sheet. Where hand printing made more sense, the baren gave the group a better feel for the surface and for the amount of pressure needed.
- Lino and soft-cut blocks for different carving needs
- Gouges and V-tools for line, curve and texture
- Brayers, baren and press printing for varied finish
- Edition papers chosen for clean ink transfer
What the group worked through on the day
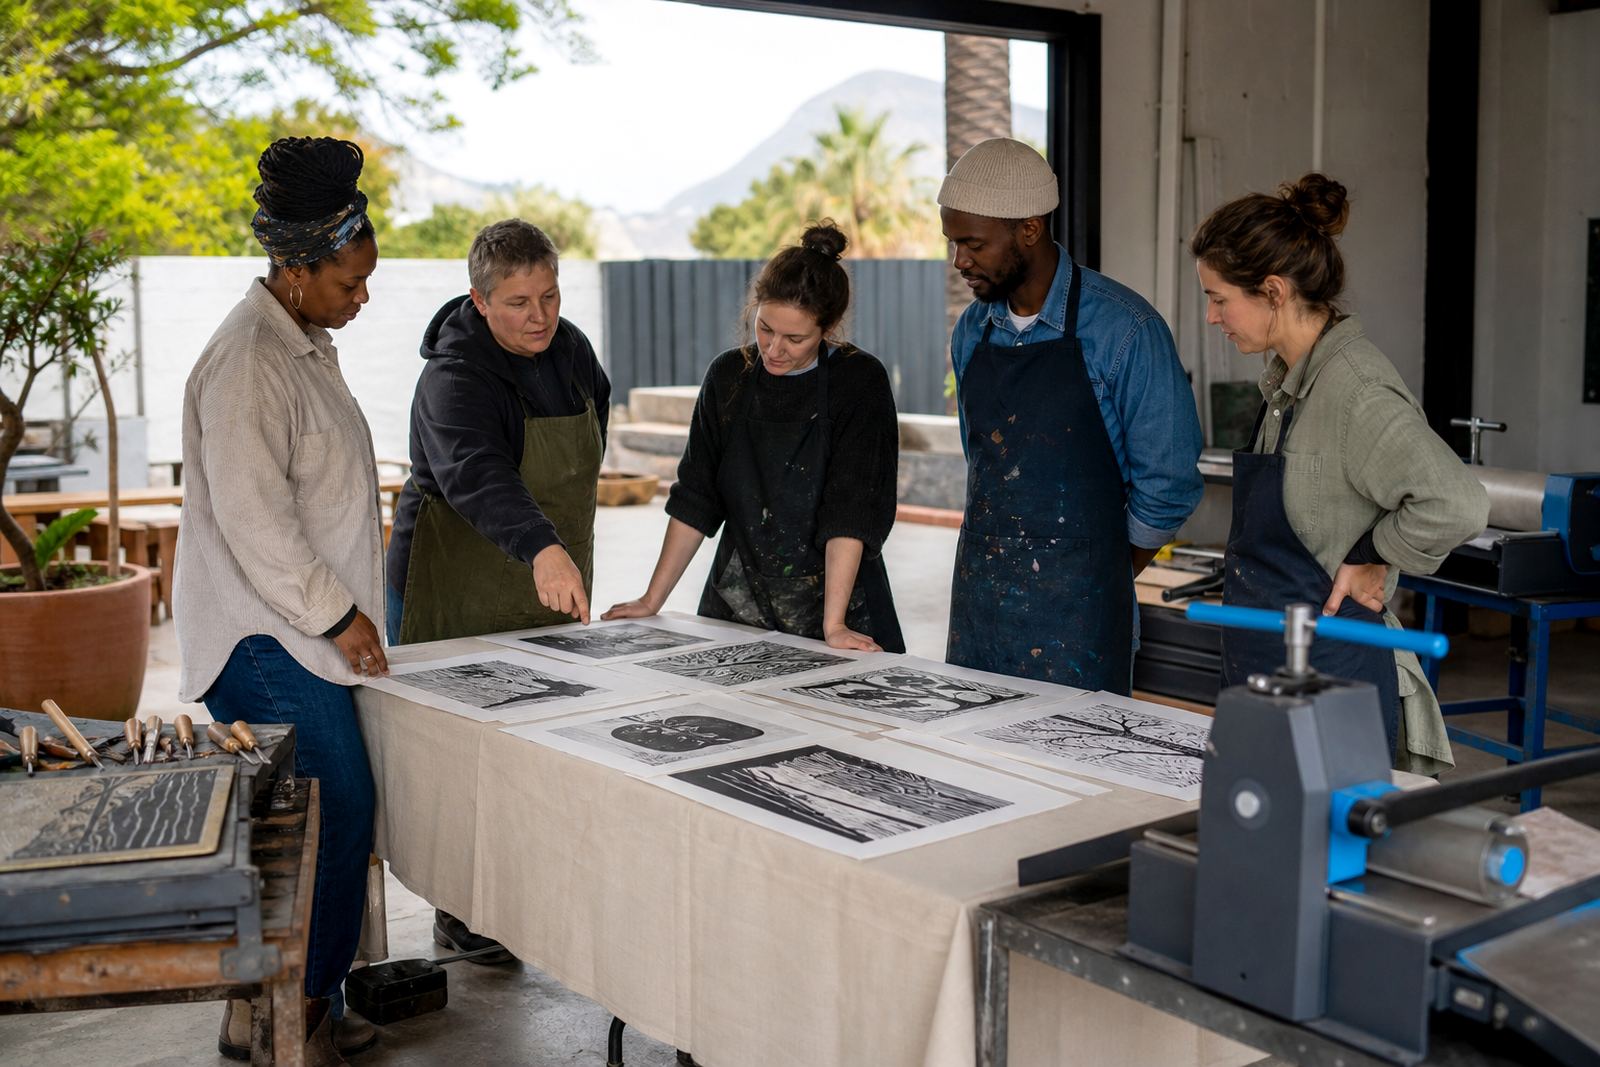
The studio session covered the full printmaking cycle, from first sketch to final pull. We began with transferring each image onto the block, then moved into carving with close checks on line depth and negative space. Once the blocks were ready, the group mixed ink, rolled out even layers and tested the first proof before the edition run.
Several participants arrived with strong drawing skills but little printmaking experience, so the real task was turning those drawings into blocks that would print clearly. That meant trimming fragile marks, opening up small areas that would fill with ink, and keeping the image readable after pressure from the press or hand burnishing. The team also worked through how to number a small edition and keep each impression consistent.
- Block transfer and image reversal
- Proofing, cleaning and adjustment between pulls
- Edition numbering and drying care
- Discussion of paper grain, ink load and pressure
The result on paper and in the room
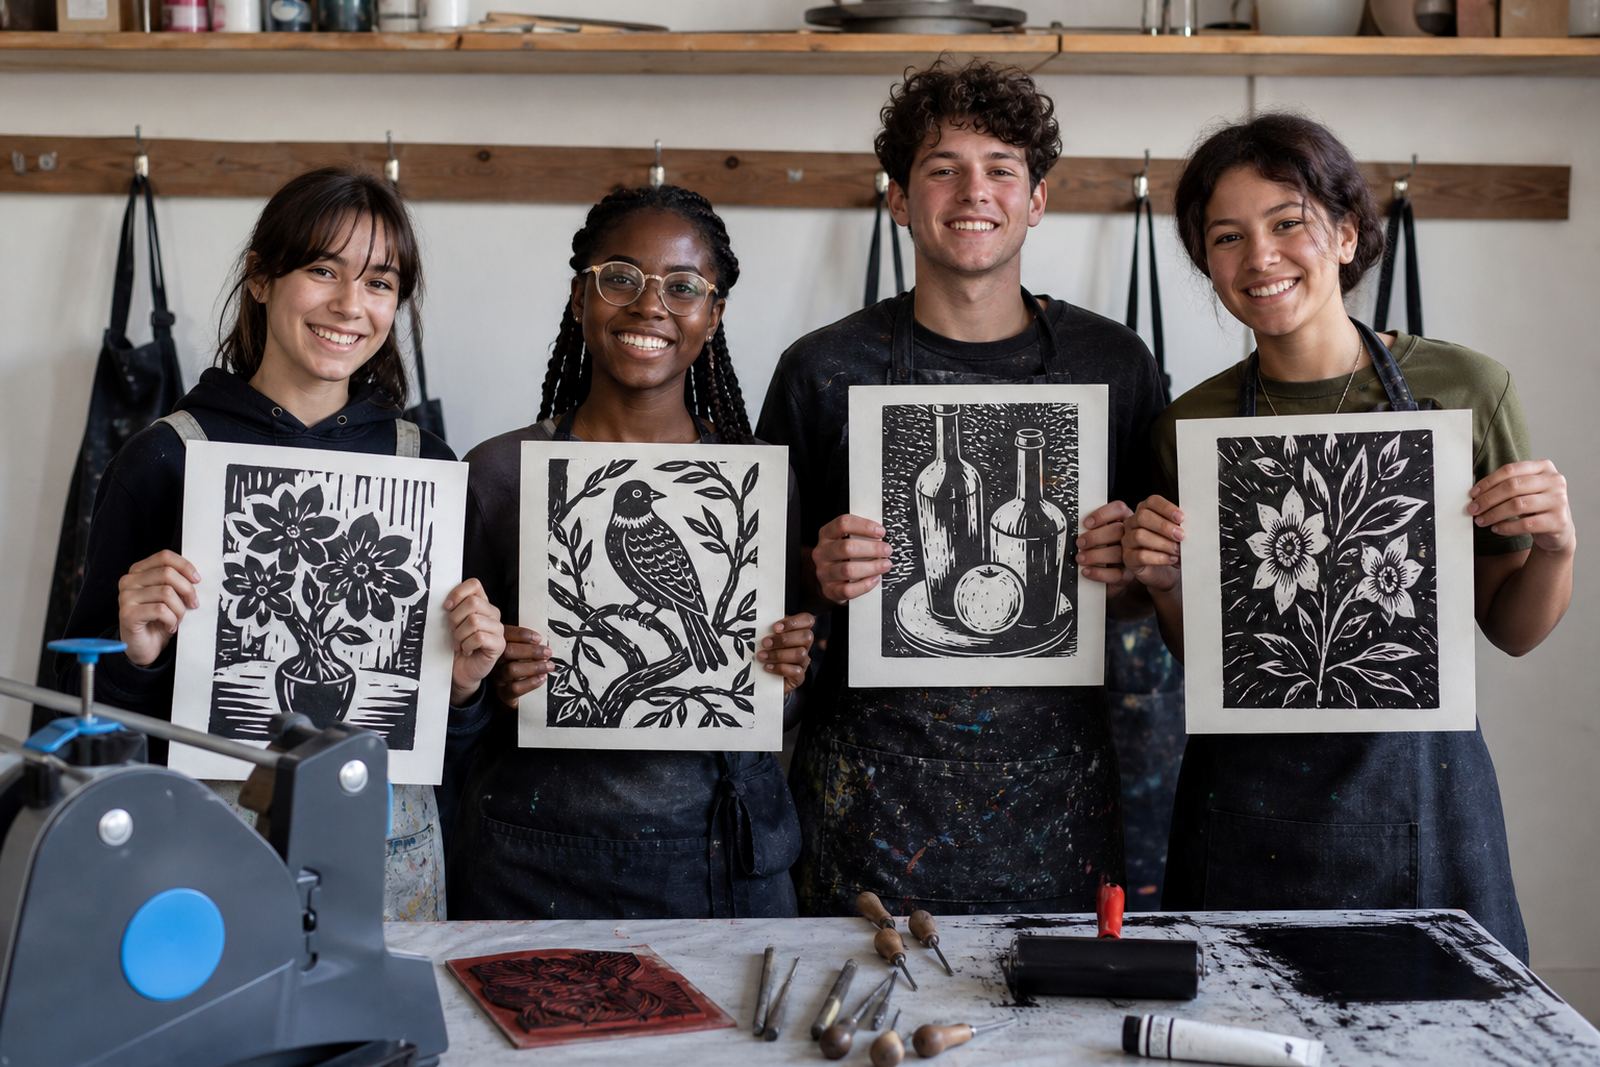
By the end of the project, the group had a set of finished prints that showed sharper line control and better alignment from sheet to sheet. The strongest outcome was the way the group handled each step with more certainty after the first proof. People who began with cautious cuts ended up making cleaner marks and making steadier print decisions.
For the university side of the brief, the session gave a practical route through block printing that could be repeated in future teaching or student support settings. The workshop format also suited a mixed room, because the more advanced participants could push detail in their blocks while first-timers focused on simple shapes, safe carving and solid ink coverage.
- Cleaner registration across the edition
- Sharper carved detail in the final blocks
- More confident use of brayers and barens
- A format suited to teaching, clubs and group learning
What we would repeat with another university group
We would keep the same structure: short demonstrations, clear block handling and a controlled print run with time for proofing. For a university group in Claremont, that balance worked well because it respected the range of skill in the room without slowing the workshop to a crawl.
From the start, we keep the focus on registration. That part can be overlooked when people are eager to carve, but it shapes the whole edition once ink meets paper. The same applies to paper choice and pressure control. A block can be well carved and still print badly if the paper is wrong or the pressure is uneven.
- Lead with a sample sheet before the main edition
- Keep carving tools matched to the block type
- Build in enough proofing before the final pulls
- Set up the room for clean movement and sorting
Key facts
| Project type | University-linked group workshop |
|---|---|
| Town | Claremont, Cape Town |
| Workshop focus | Fine carving and careful registration |
| Print methods | Hand printing and press printing |
| Materials | Lino, soft-cut blocks, brayers, gouges, V-tools, baren |
| Timeline | Three weeks from planning through delivery |