What soft-cut blocks change at the carving table
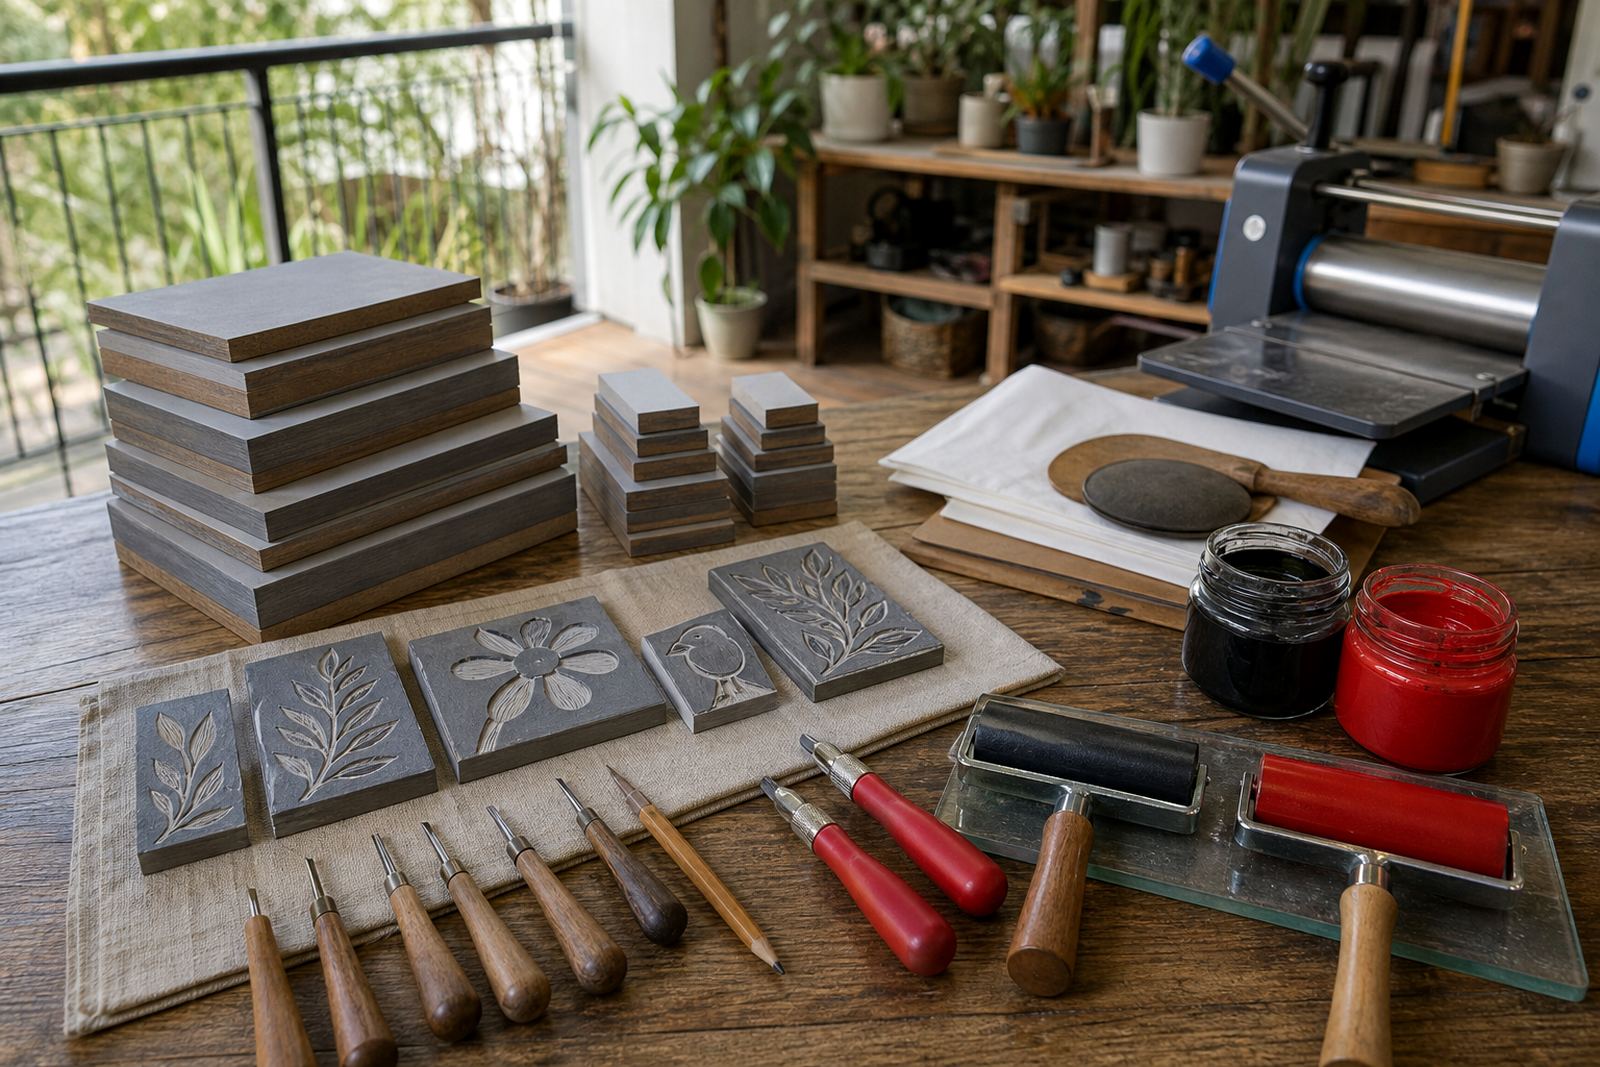
Soft-cut material is made for clean, controlled cuts with less hand strain, which helps when a group is learning the basics at one table. It still rewards care, because a blade pushed too hard can wander and a shallow line can print faintly.
For most beginner sessions, the block is easier to mark out, easier to carve, and easier to correct before the image is inked. The first lesson can then focus on line, shape and rhythm.
- Use soft-cut for first blocks, school groups and short studio sessions.
- Reserve harder lino when firmer edges and finer pressure are needed.
- Keep your image bold, with open spaces that print clearly.
Tools that give control without strain
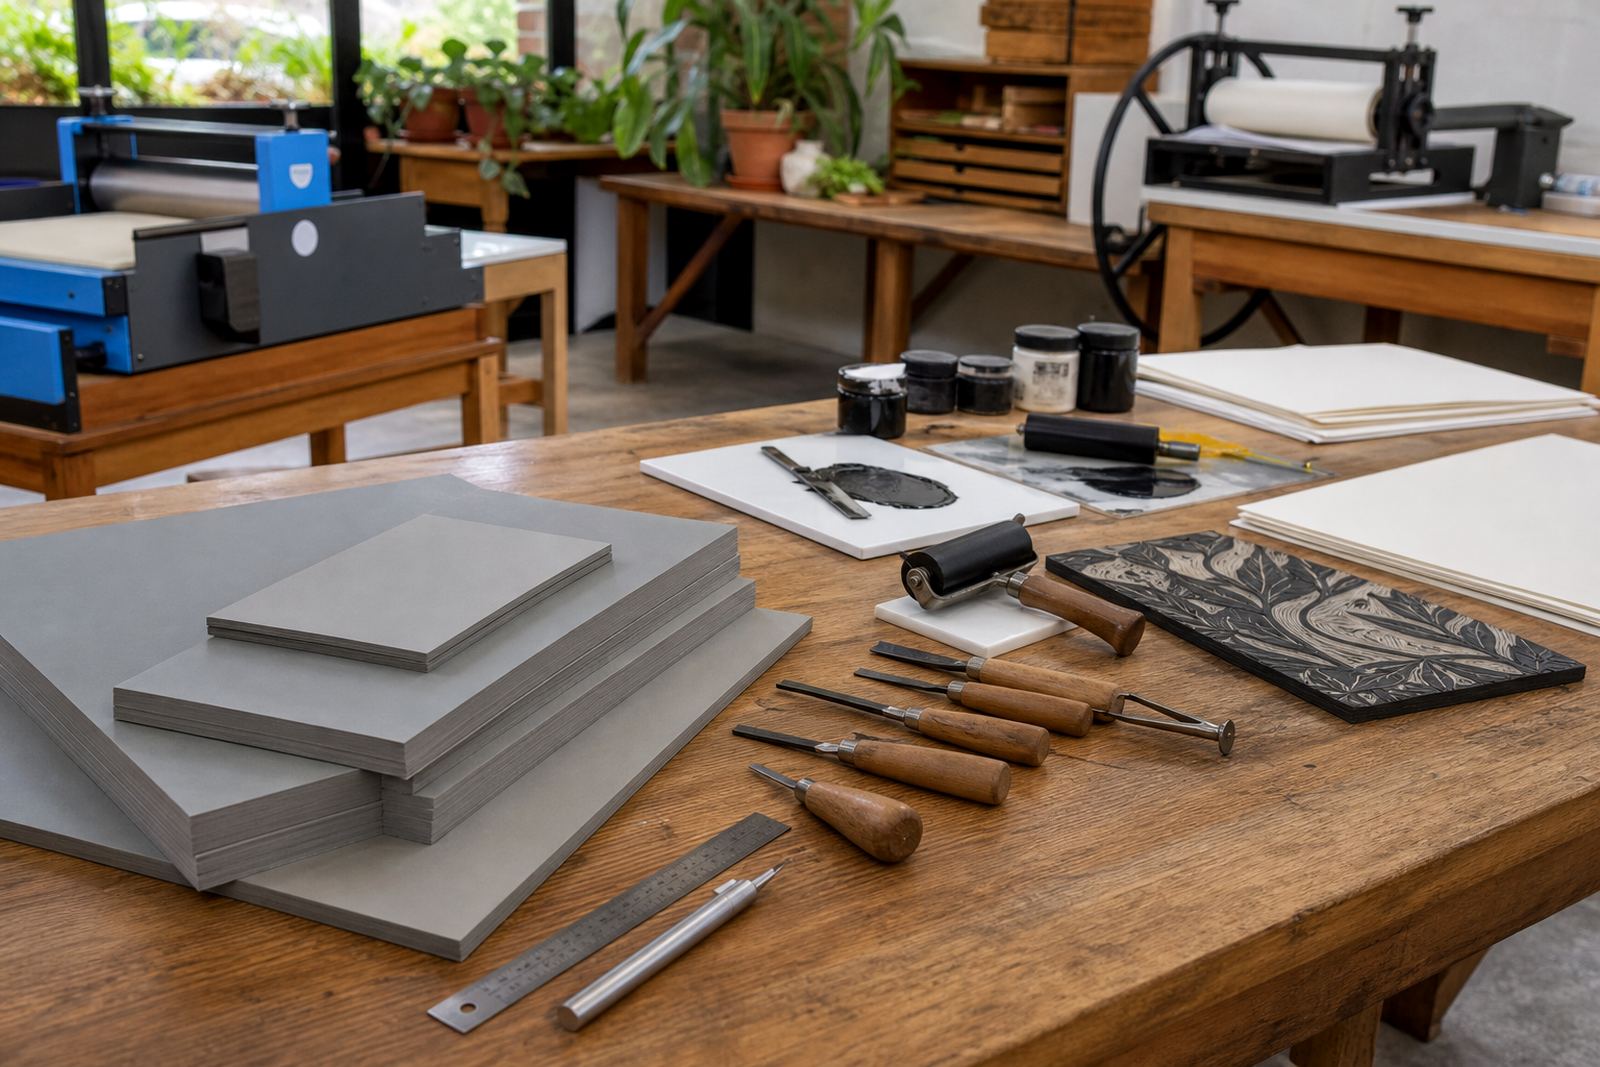
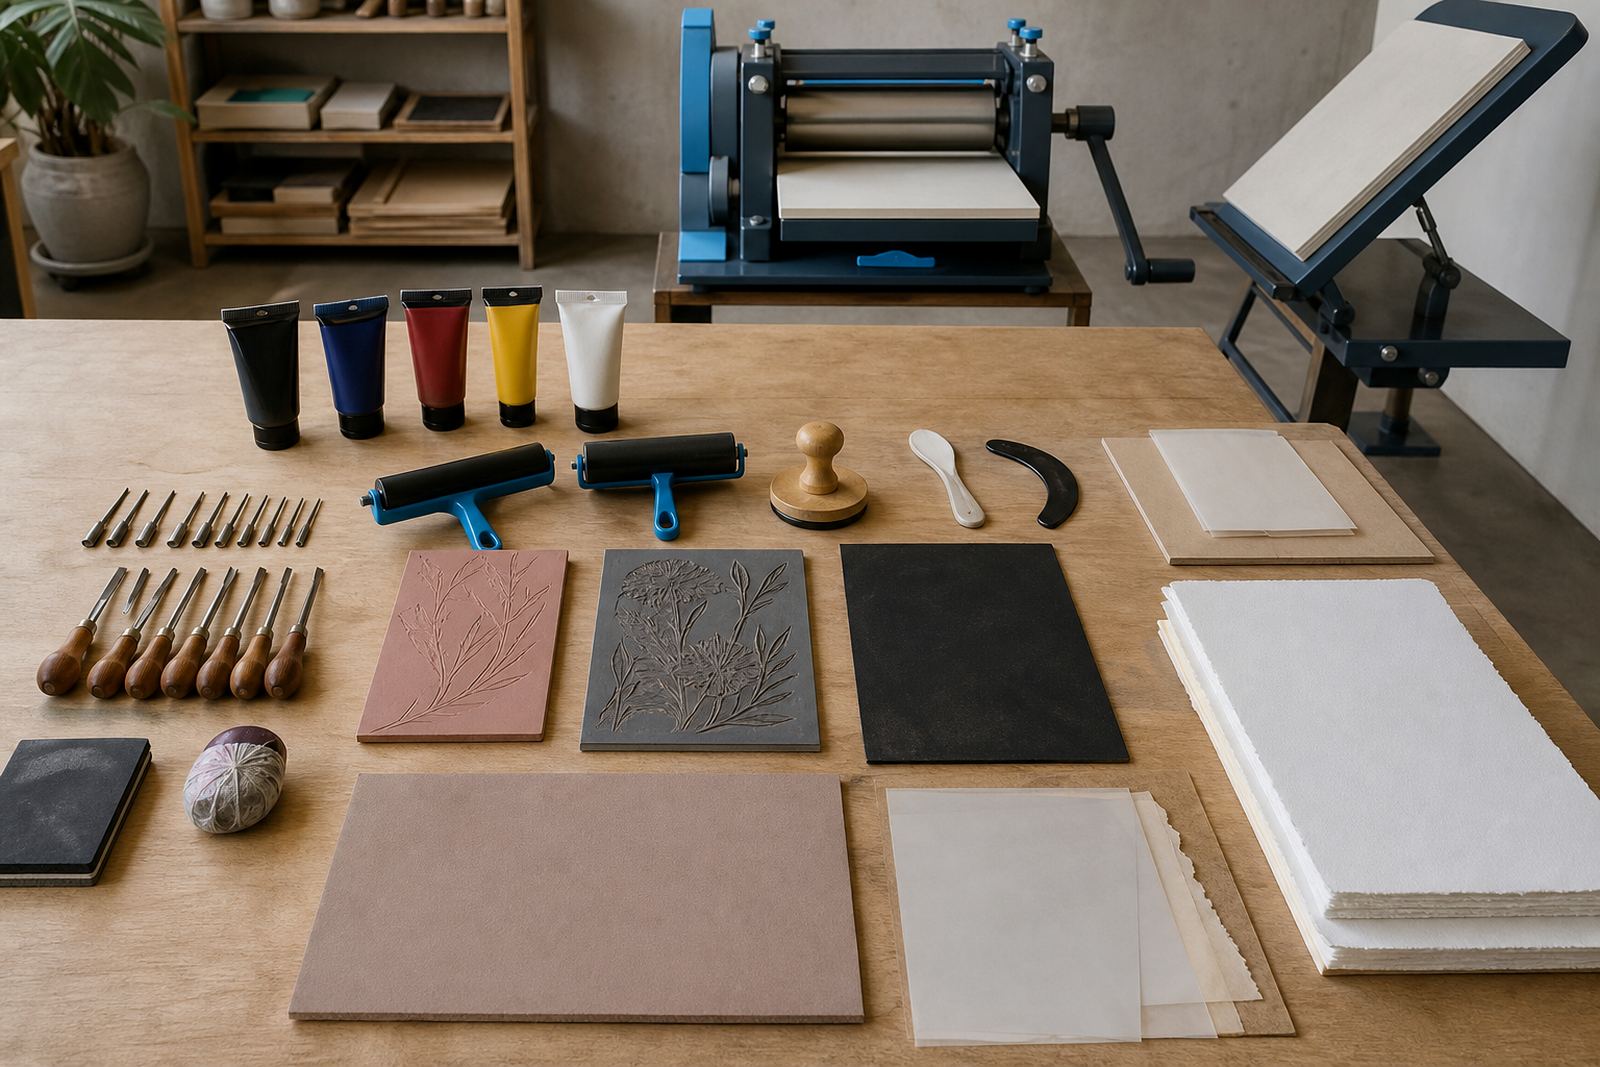
A starter set only needs a few dependable tools: a carving handle, a small selection of gouges, and a V-tool for sharper marks. A sharp blade is the first thing to get right, because blunt edges drag through the block and leave ragged marks.
Safe carving starts with the block flat on the table and the cutting hand moving away from the body. Short passes are steadier than long pushes, and a turned block often gives a better angle than twisting the wrist.
- Keep fingers behind the cutting edge.
- Cut shallow lines first, then deepen only where needed.
- Clear chips as you go so the image remains readable.
- Store blades in a way that keeps the edge covered.
Ink choices for soft-cut editions
Soft-cut prints can be taken with water-based block inks or oil-based block inks, depending on the feel and drying window needed for the session. Water-based ink is usually easier for school and family groups because cleaning is simpler, while oil-based ink can give a denser print and longer working time on the block.
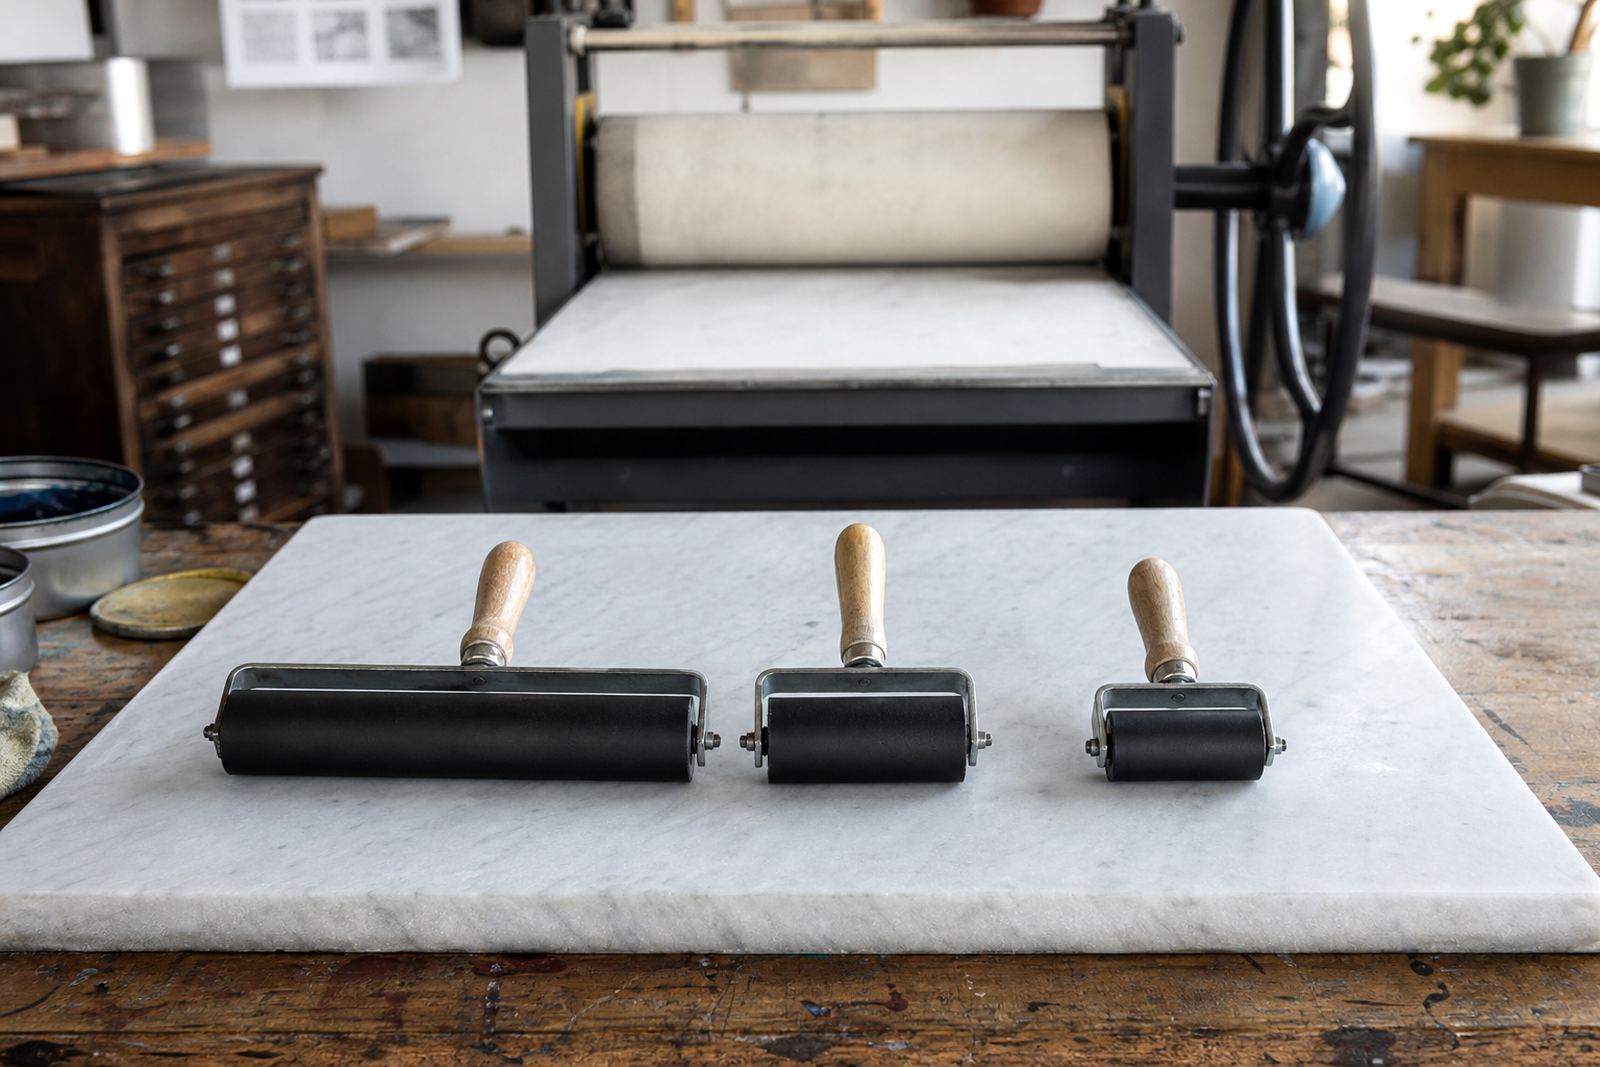
The right amount of ink is thin enough to roll smoothly but rich enough to cover the raised surfaces. Too much ink fills the carved lines, and too little leaves patchy colour or dry spots on the paper.
- Roll ink out with a brayer until it sounds tacky.
- Test on scrap paper before printing the final sheet.
- Keep cloths, paper towels and clean water close by for tidy cleanup.
Printing by hand, baren or press
Once the block is inked, the print can be taken by hand with a baren or through a press. Hand burnishing works well for small formats and lets the printer feel where more pressure is needed, while a press helps keep contact even across a larger sheet.
Pressure should be firm but not frantic. If the paper slips, the image can double or blur, so the sheet must be laid down carefully and kept still while the impression is taken.
- Place the paper squarely on the block before pressure starts.
- Rub from the centre outward when burnishing by hand.
- Lift one corner first to check coverage before removing the sheet fully.
Registration and edition work for neat multiples
When more than one print is needed, registration becomes the difference between a tidy edition and a pile of near-matches. A simple corner guide, pencil marks or light registration tape can help the paper land in the same position each time.
An edition is a set of prints pulled from the same block, with the same paper and the same ink handling across the group. Small changes in pressure, ink load or paper moisture can alter the result, so we work for consistency in the studio.
- Mark the paper position before the first print is taken.
- Use the same paper size across the full edition.
- Keep the block clean between pulls so texture does not build up.
- Set aside proof prints separately from the final edition.
A practical checklist before a soft-cut session
Before a beginner session starts, the block, tools and paper should be matched to the group size and the time available. A small motif with bold shapes gives better results than a crowded drawing, especially when the class includes first-time carvers.
The best sessions leave room for testing. That means having a scrap block or proof sheet ready, plus enough time for a first pull, a correction and a cleaner second print.
- Choose a soft-cut block sized for the final image.
- Pick a simple design with strong outlines.
- Check that all carving tools are sharp and secure.
- Set out ink, brayers, paper, baren or press before carving begins.
- Keep reference sketches close so the image stays balanced.
For studio workshops, school visits and group sessions across Woodstock, Cape Town, Stellenbosch, Johannesburg, Pretoria and Durban, our contact form can carry the booking details and the venue notes.