Measure the block before buying a roller
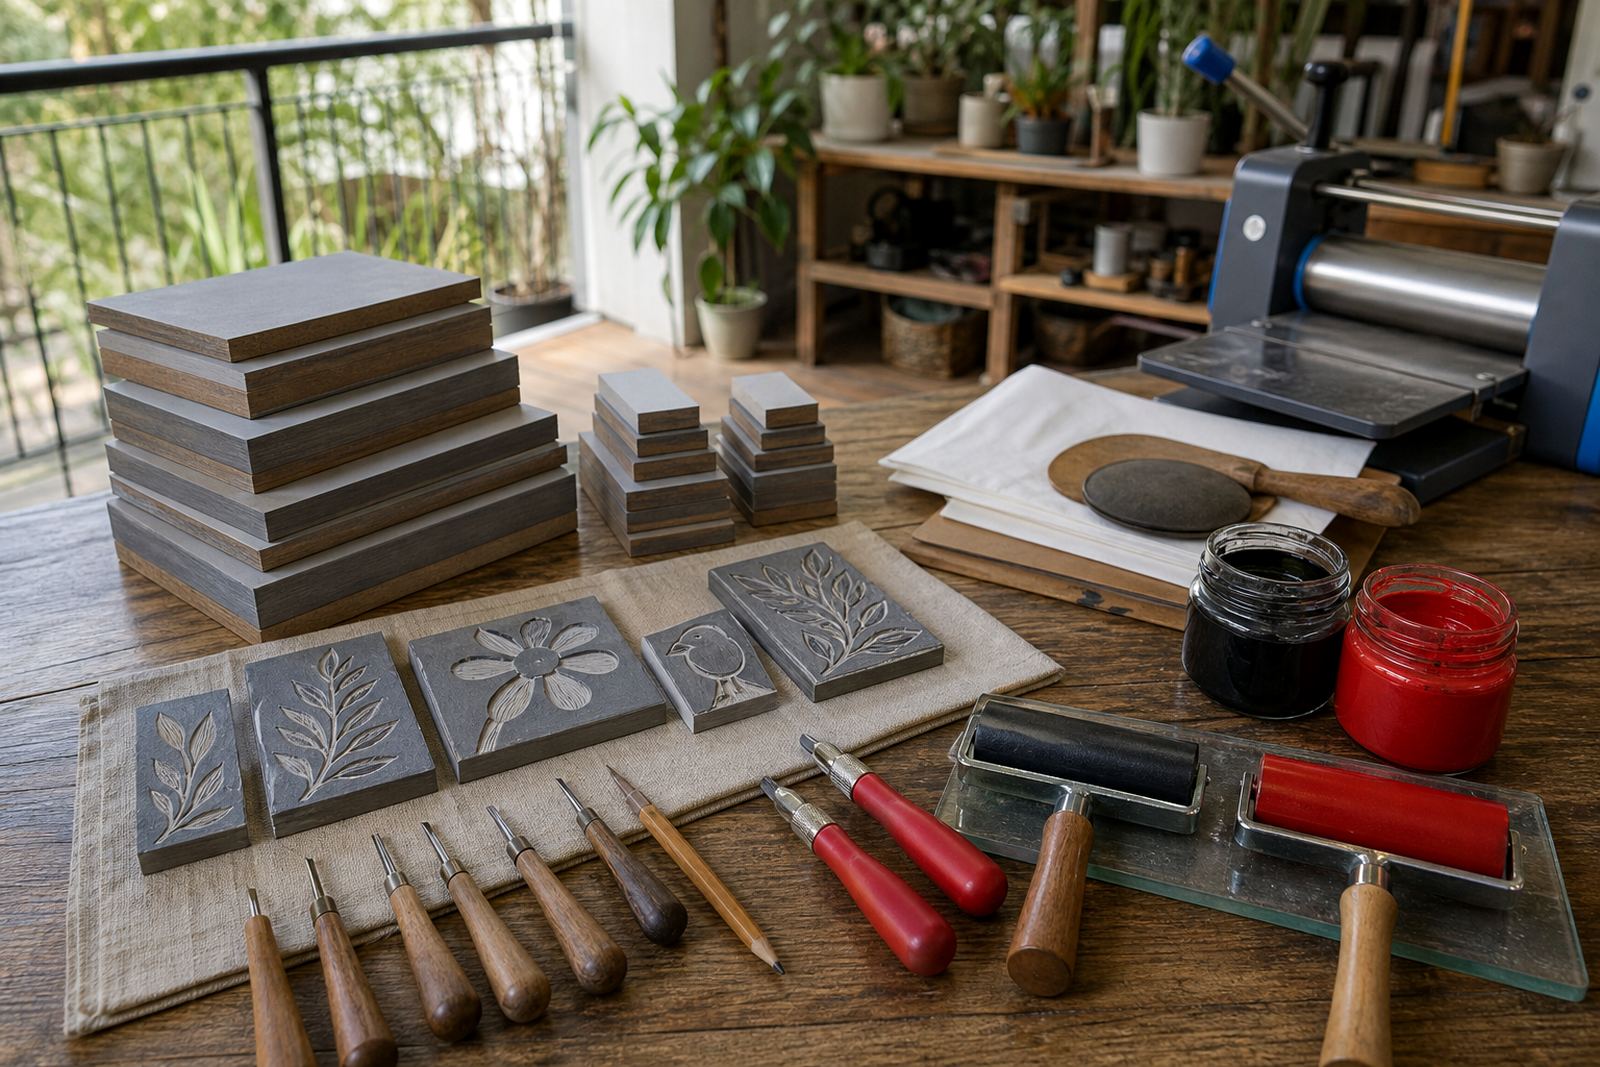
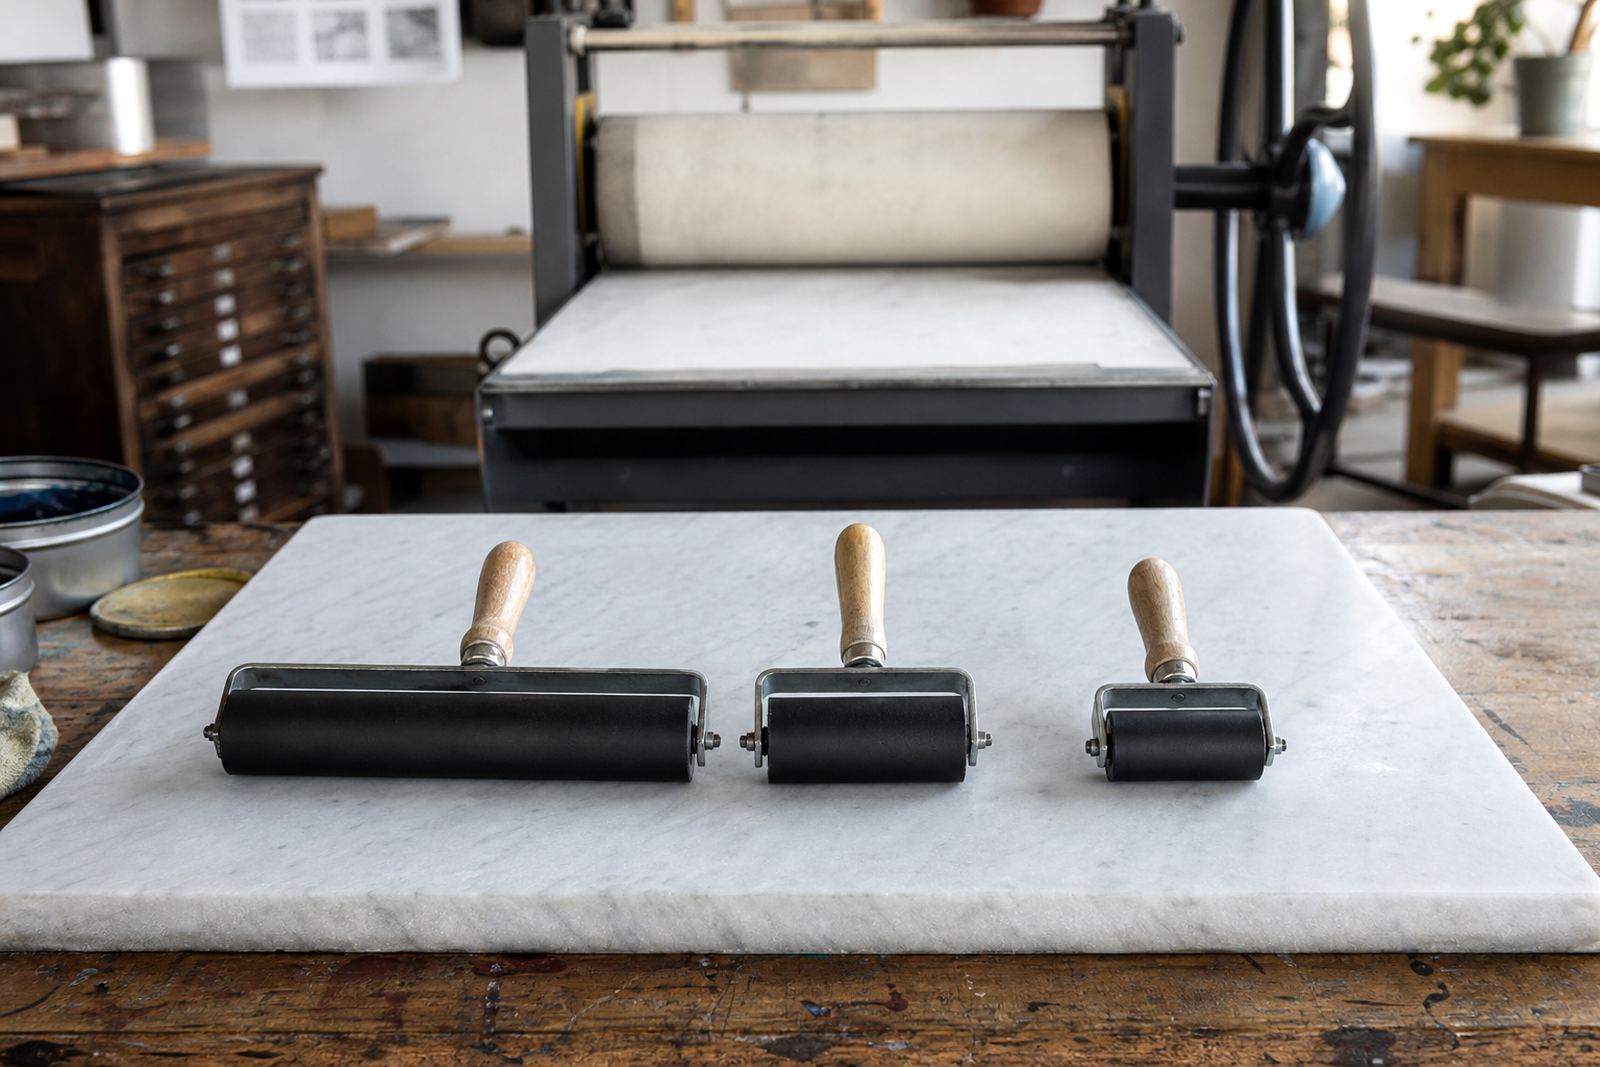
The right brayer begins with the size of the block you plan to print. A small lino portrait block needs a different tool to a wide landscape, and a soft-cut block with fine detail asks for lighter pressure than a thick, chunky design. If the roller is too narrow, you spend longer covering the surface and the ink can dry patchy at the edges. If it is too wide, the roller may bridge over smaller shapes and leave heavy ink where you wanted white space.
For most workshop use, a medium width brayer handles the usual student block sizes without feeling awkward in the hand. Wider rollers suit larger edition work, while narrow rollers help with test pieces, small motifs and hand-coloured areas around the print. Think about the full path of the print, from the carved block to the paper, because the brayer has to support that whole process.
- Small blocks and detail work: narrow to medium roller
- General studio use: medium roller
- Large editions or wide compositions: wider roller
- Mixed classes with varied block sizes: one medium roller plus a smaller backup
Firmness changes the mark more than most people expect
Brayers behave differently under pressure. A soft roller picks up more ink and can feel forgiving on uneven carving, but it may push too much colour into shallow cuts. A firmer roller gives tighter control, especially on crisp linework and small text, though it can feel less generous when you are rolling a dry or stubborn ink. For lino, many printers like a middle firmness that still gives a clean transfer without flooding the block.
Soft-cut blocks often need a gentler touch because the surface dents more easily. On these blocks, a firmer roller can still work well if you keep the ink layer thin and the passes even. For press printing, the roller only prepares the block, but its firmness still shapes how the image takes up ink before the paper meets the plate. In a humid Cape Town studio, inks can stay open a little longer, which helps, but a heavy hand on the roller still causes muddy edges.
- Soft roller: good for gentle coverage and textured marks
- Medium firm roller: useful for most lino and school workshops
- Firm roller: better for crisp detail and controlled inking
- Test on a scrap sheet before printing the full edition
Width, ink body and edition size work together
The brayer should suit the ink and the block. Water-based block inks usually spread easily, so a medium roller can move them evenly without leaving ridges. Oil-based block inks are often thicker and need more deliberate rolling to build a smooth film. If the ink is stiff, a roller that is too narrow can leave uneven bands, while a roller that is too soft may gather too much ink in the centre.
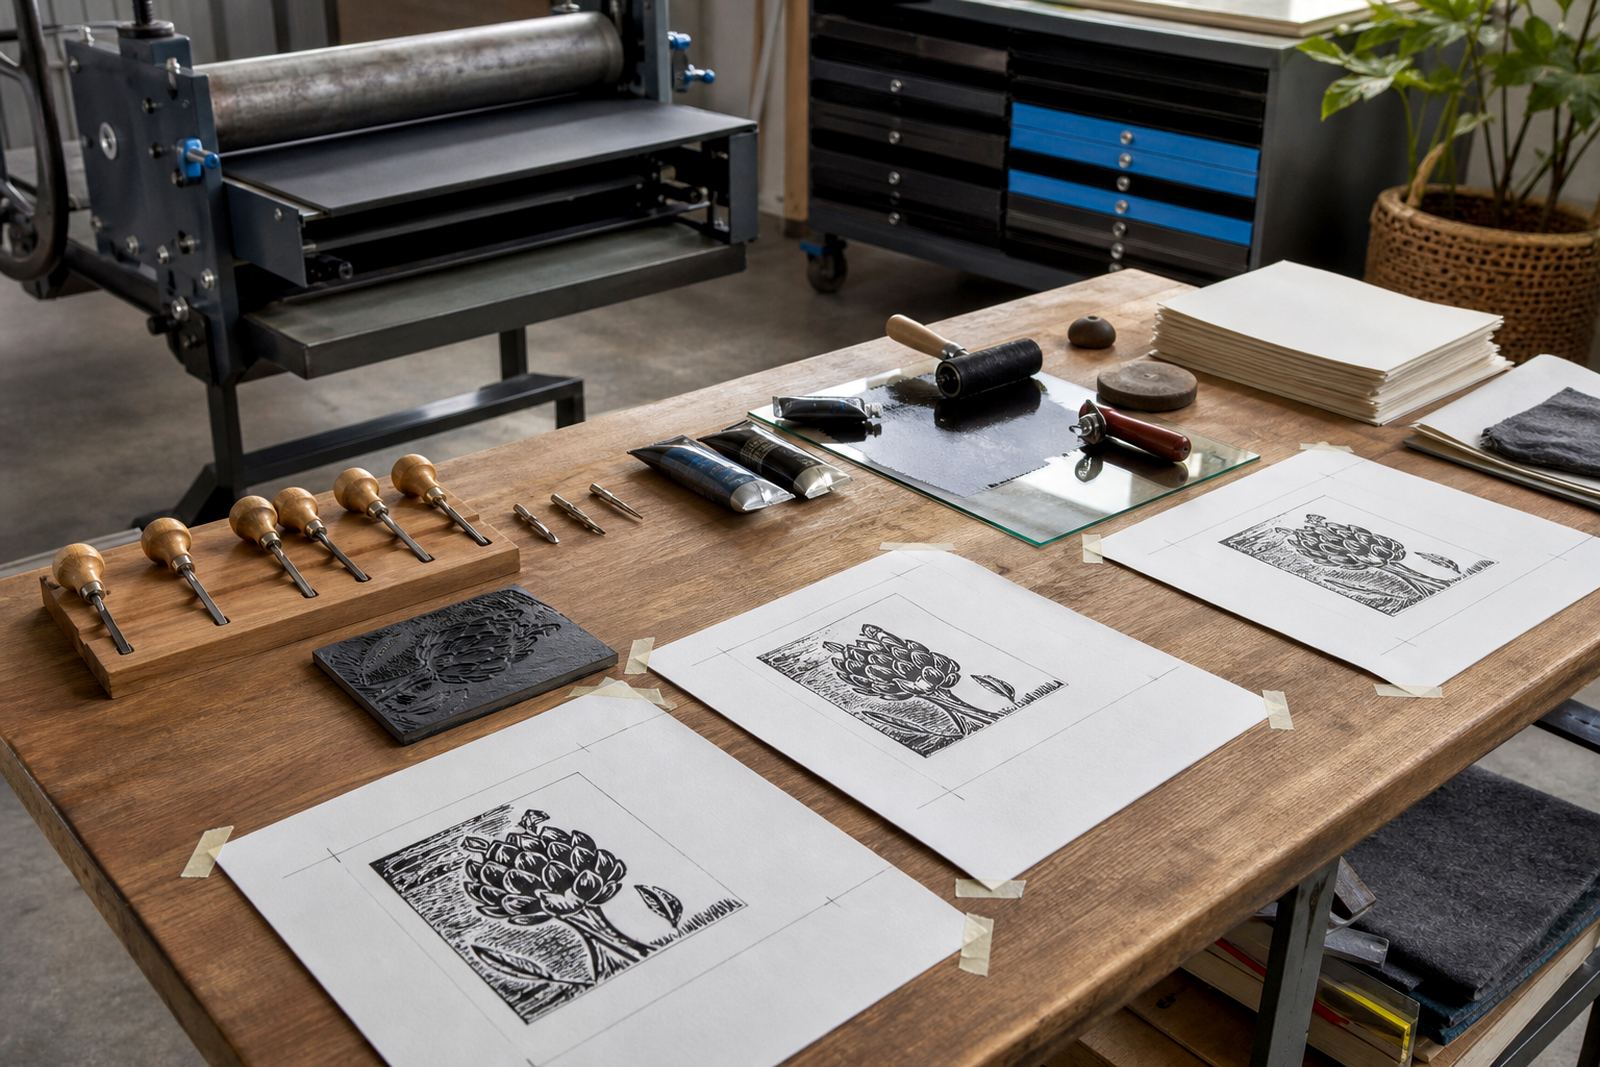
Edition size matters too. A short run for a family session may only need a practical, easy-clean brayer. A larger edition demands a roller that stays consistent through repeated passes, especially when registration matters. If you are printing several layers, the brayer has to lay down enough ink for the first colour without flattening the detail needed for the next. The paper also counts, because heavier paper can carry a richer print surface than thin sheets used for quick classroom exercises.
- Water-based inks: easier cleanup, medium roller often enough
- Oil-based inks: slower working time, firmer control helps
- Short editions: comfort and speed matter more
- Layered prints: choose a roller that gives even coverage every pass
What to feel for when you test a brayer
Hold the handle and notice whether the roller feels balanced, because comfort affects how evenly you ink the block. A good brayer moves without wobbling, and the roller should spin cleanly without sticking at the edges. When you press it onto a slab or plate, the surface of the roller should meet the ink with even contact, not a hard ridge down one side. If the grip feels awkward, your print hand will tire faster and the ink layer will start to vary.
In a workshop setting, the best test is simple. Roll out a small amount of ink, then pass the brayer across a practice lino or soft-cut scrap. Look for a quiet, satin finish rather than a glossy pool. The block should show ink on the raised areas only, with carved lines still open. If the roller leaves a grainy look, it may be too dry or too narrow for the work in front of you.
- Check balance in the hand before buying
- Look for smooth rotation, not side wobble
- Test ink spread on a scrap block or plate
- Watch for shiny pools, which usually mean too much ink
How brayers behave in a shared studio
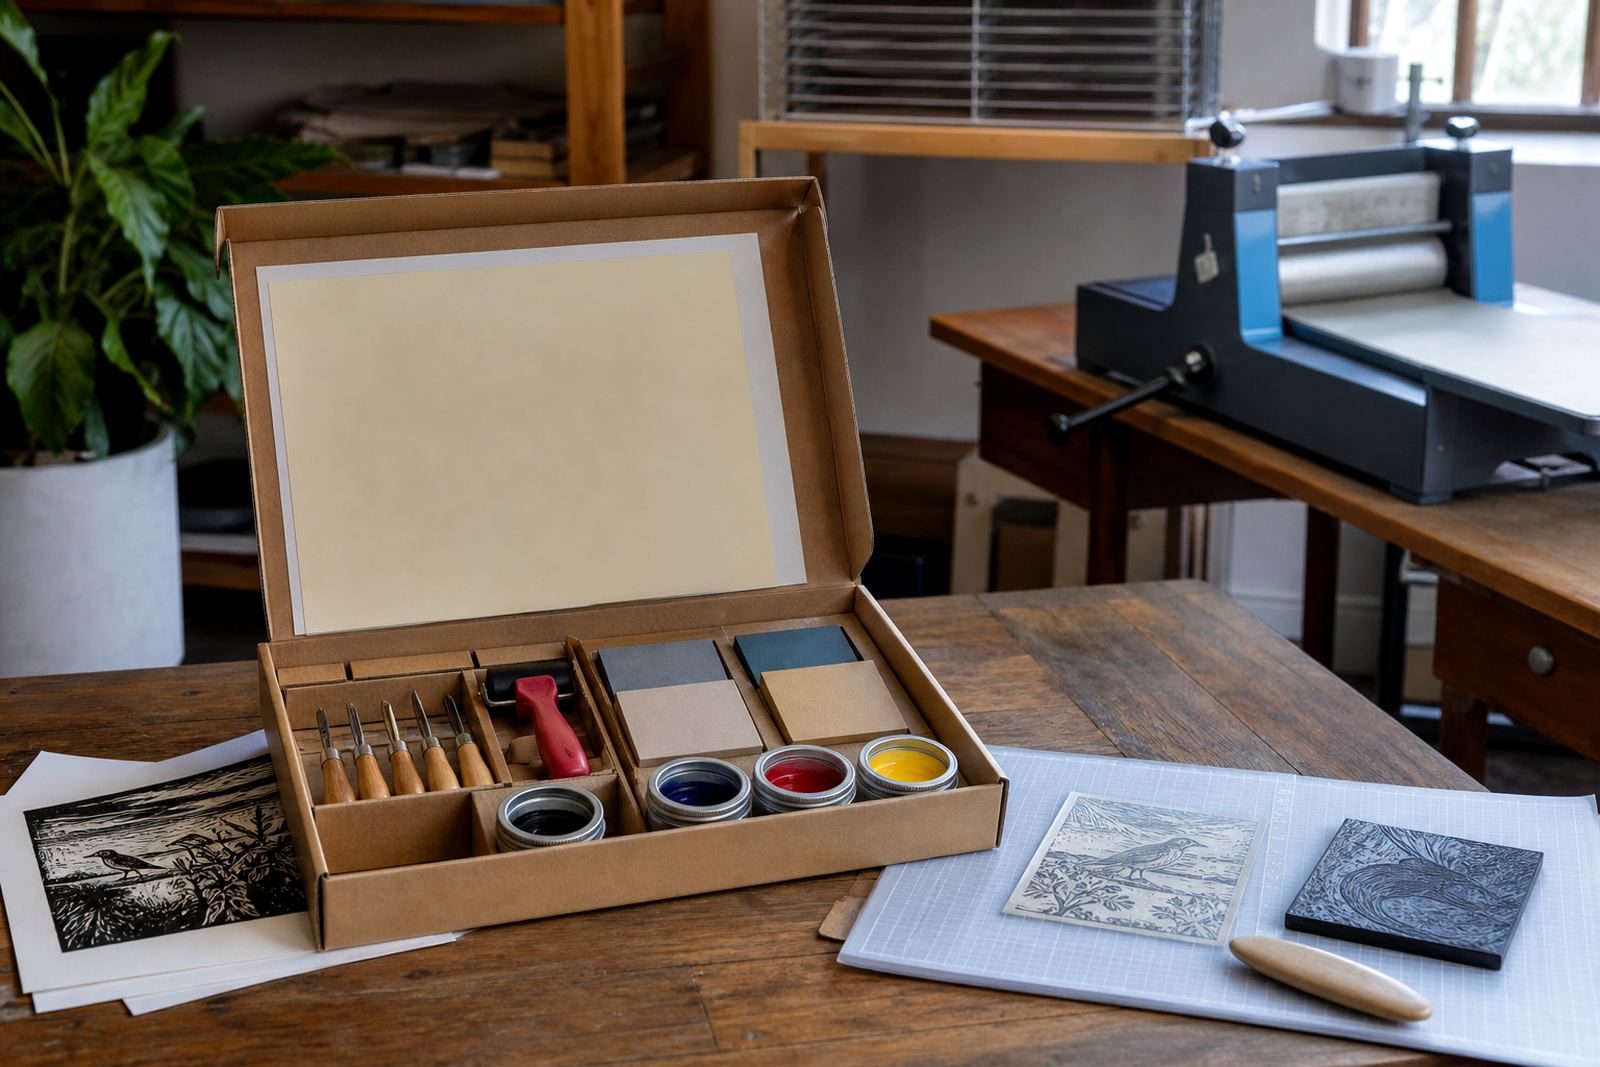
In a class or shared studio, one brayer often has to serve different printmakers and different block sizes. A plain mid-firm roller often beats a specialist one for mixed groups. A medium firm roller can handle beginner carving, simple editions and most press prep. It also stands up better to frequent cleaning, which matters when students move between water-based inks, paper scraps and carved blocks all day. In a busy room, tools get handled with wet hands, so a roller that wipes clean without fuss saves a lot of small interruptions.
For schools and team sessions, it helps to keep one wider roller for larger demo work and one narrower roller for detail. That gives the group a clear sense of how the tool changes the print. It also makes registration easier, because a neat first layer is simpler to align on the paper. If you are setting up for pop-up workshops across Cape Town, Johannesburg or Durban, the brayer should travel well and fit into a kit that is quick to unpack and check.
A buying checklist before you take one home
Before you choose a brayer, match it to the kind of making you actually do. A clear use case gives better value and cleaner prints. For first-time buyers, the strongest choice is usually the one that can handle several block sizes, different inks and a fair amount of handling without feeling awkward.
- Match roller width to your most common block size
- Choose firmness based on the detail you print most often
- Check whether you use water-based or oil-based inks more often
- Decide if you need one all-rounder or two rollers for different jobs
- Shared brayers need quick cleanup and a rack to hang on
- Make sure the roller feels steady when it is loaded with ink
For lino, soft-cut and edition work, the brayer shapes the mark as much as the gouge does. The right one helps you keep the carved lines open, build even colour, and move from test print to finished sheet with less waste and more control.