What registration means at the printing table
Registration is the habit of placing the paper in the same position for every impression. In linocut and block printing that matters when the block carries more than one colour, or when a print is part of an edition and every sheet needs the same margins and image position.
We usually begin with a clean working edge, a flat table or press bed, and a way to mark the paper position without crowding the image. A small shift can change the balance of the print, so the method should suit the paper size, the block size and the way the ink is being transferred.
The registration tools that keep things steady
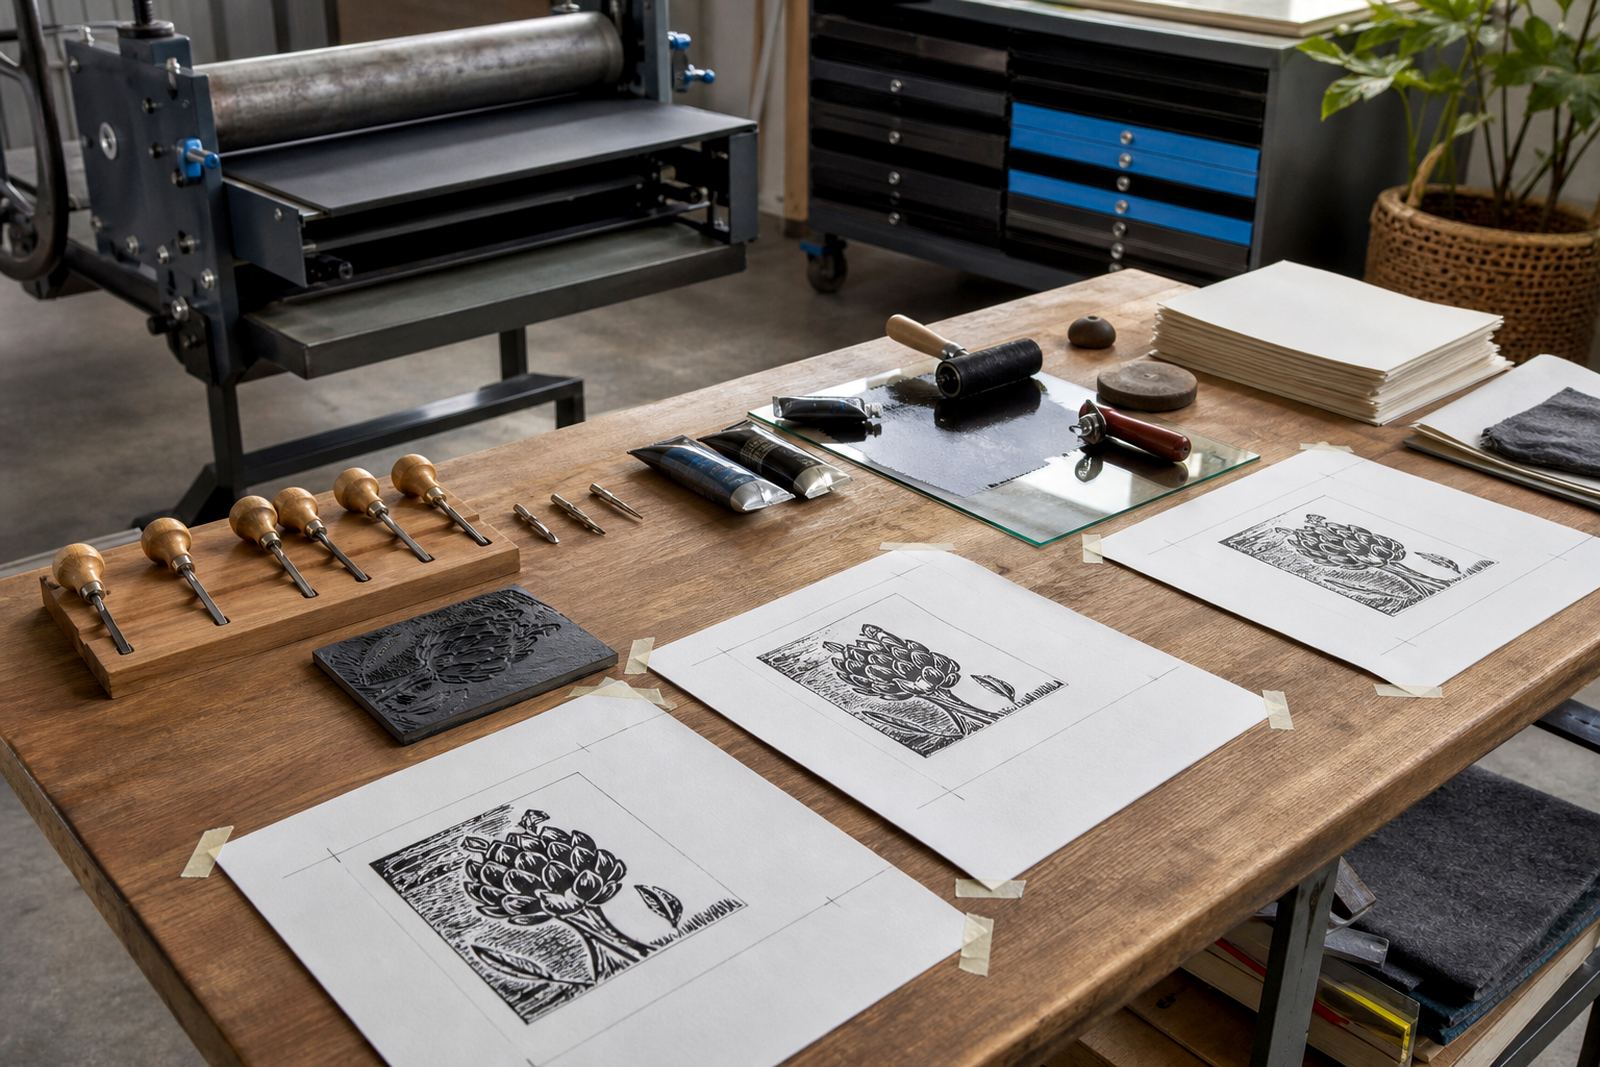
Each workshop needs its own system. Some prints work well with corner stops, some with a T-square edge, and some with a simple pencil mark made light enough to stay outside the finished image. On larger runs, a press bed with taped guides can help keep the sheet in place while the edition moves along.
- Corner guides for paper that must sit in the same position every time
- Pencil marks outside the image area, kept light and tidy
- Tape stops on the table or press bed for repeat pulls
- Backboard or hinge-style support for lighter sheets
- Clean hands, dry surfaces and a clear path for each sheet
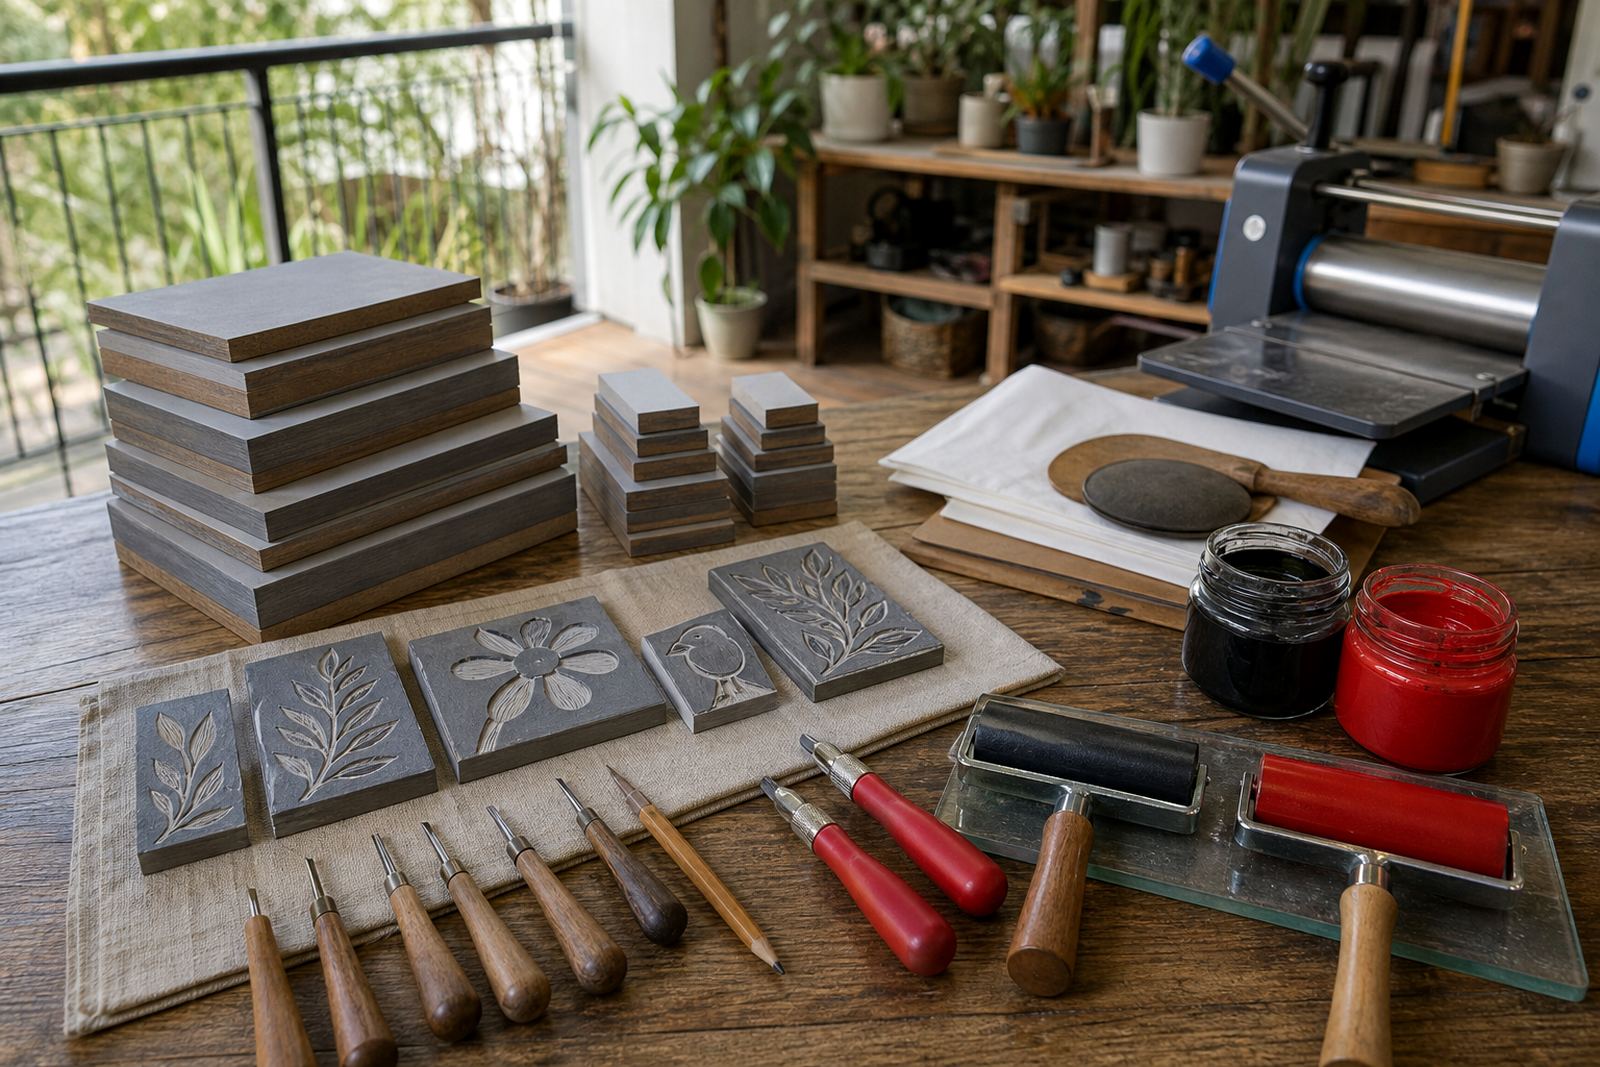
For soft-cut and lino blocks, the paper is usually placed after the block has been inked with a brayer and checked for even coverage. If the paper is large, two people can handle the sheet more neatly, especially with thin printmaking paper that wrinkles if it is dragged across the surface.
Setting up a repeatable edition
An edition needs the same position, the same pressure and the same drying routine from sheet to sheet. We often tell students to think about the whole sequence before the first pull, because the setup is easier to hold steady than to correct later.
- Trim the paper to a consistent size before printing
- Mark the front side of each sheet lightly on the back
- Test the block on scrap paper before the edition starts
- Check the edges of the block for dried ink or dust
- Keep finished sheets in a dry stack with a separator if needed
In a small edition, registration can be as simple as a fixed corner and a marked top edge. For a two-colour print, the first layer should dry enough to handle without smudging before the second block or second pass is placed over it. That pause helps the sheet stay flat and makes the next impression easier to line up.
Paper handling for schools, families and studio groups
When a class is busy, paper handling becomes part of the print itself. Students, families and mixed-age groups work better when the table has one clear direction for loading and lifting sheets. A set of dry hands, a clean place to rest each print, and a steady call for the next sheet keeps the room calm and the registration more accurate.
We also pay attention to the paper type. Heavier papers tolerate more handling, while lighter papers can curl at the edges if the studio is warm or the humidity is high, which is common in coastal Cape Town. In those cases, a short rest under clean boards or a light weight can help flatten the sheet before the next pull.
Common slips and how to correct them
Misplacement usually comes from rushed handling, a crowded table, or marks that are too faint to follow. A print can also drift if the paper catches on ink, if the block slides, or if the sheet is dropped onto the block at a slight angle.
- Wrong edge first: turn the sheet, check the front and start again
- Paper shift during pull: reset the stops and reduce movement on the table
- Smudged margin: keep fingers off the printed area and lift from the edge
- Layer drift on a second colour: dry the first layer properly before the next pass
- Uneven pressure: use a baren, spoon or press with the same motion each time
When a print goes off line, it is usually better to learn from the sheet than to force it into the edition. In workshop settings we keep a note of where the shift happened, then adjust the stops, the paper position or the handling sequence before the next impression.
A quick registration check before the ink goes down
A short check saves paper and keeps the session moving. Before the first print, we look at the block edge, the paper size, the mark placement and the drying space. If the image needs a second colour, we also check that the first layer has a safe resting place while the next sheet is prepared.
- Block clean and fully carved where it should stay white
- Paper cut to the same size across the batch
- Stops or guide marks set and visible
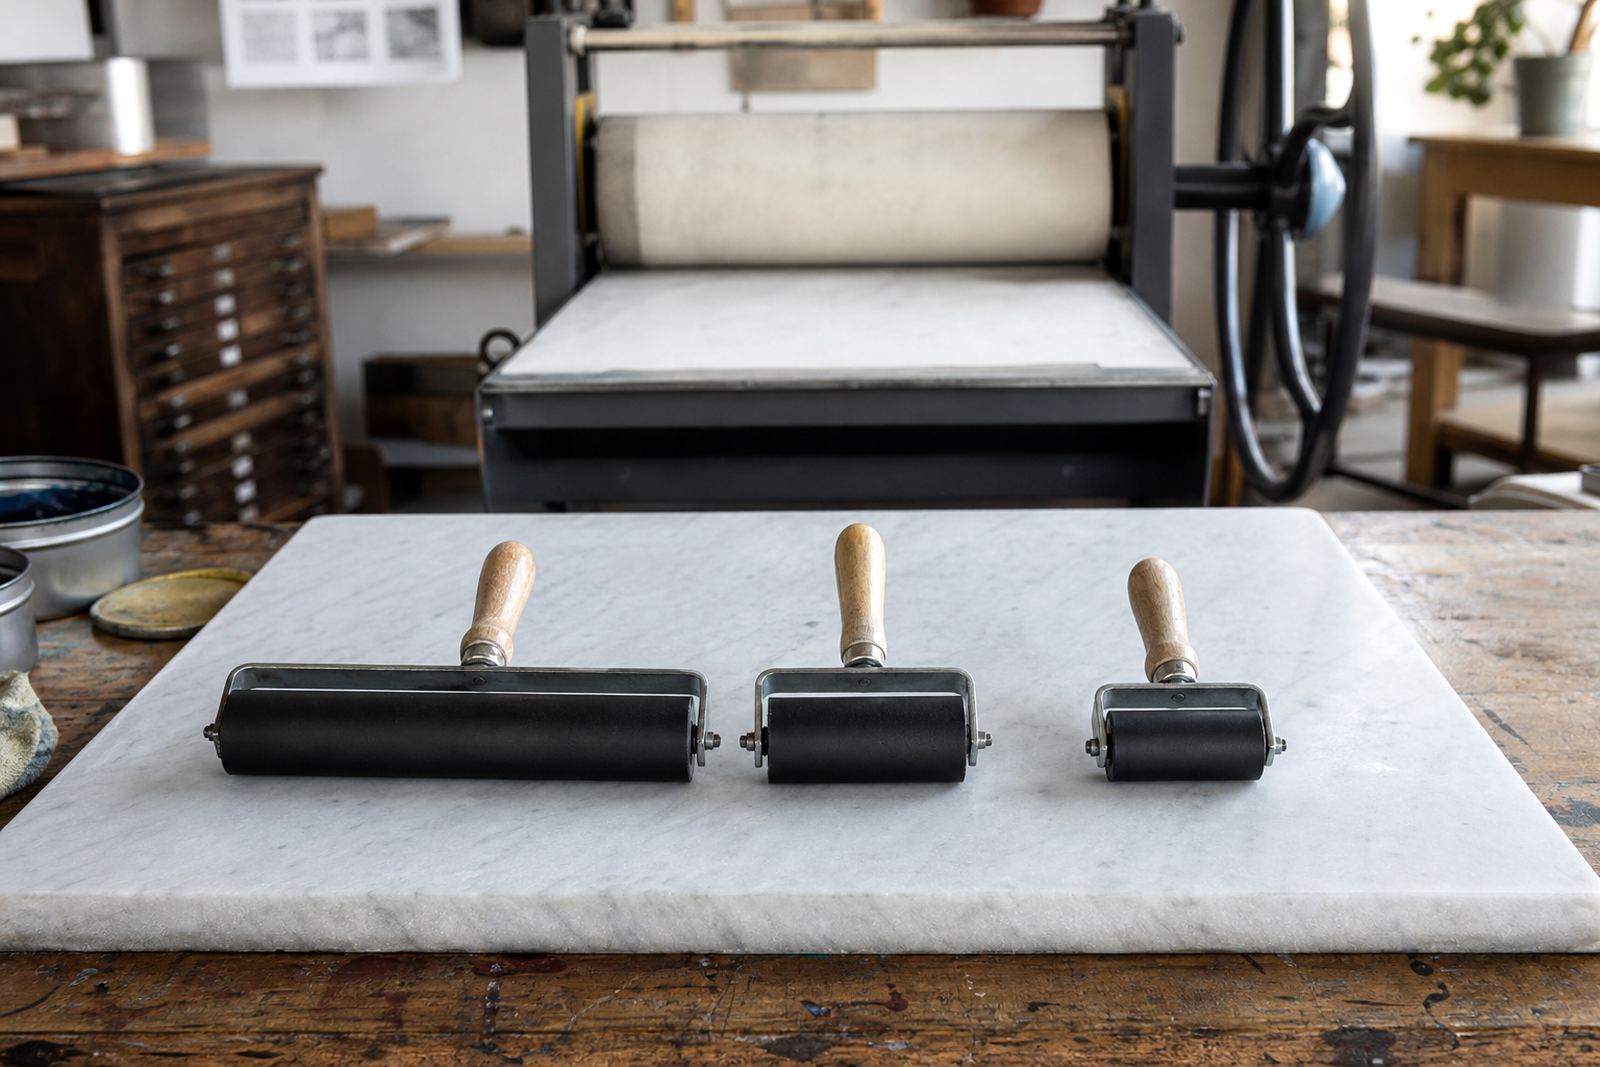
- Brayer loaded evenly with water-based or oil-based block ink
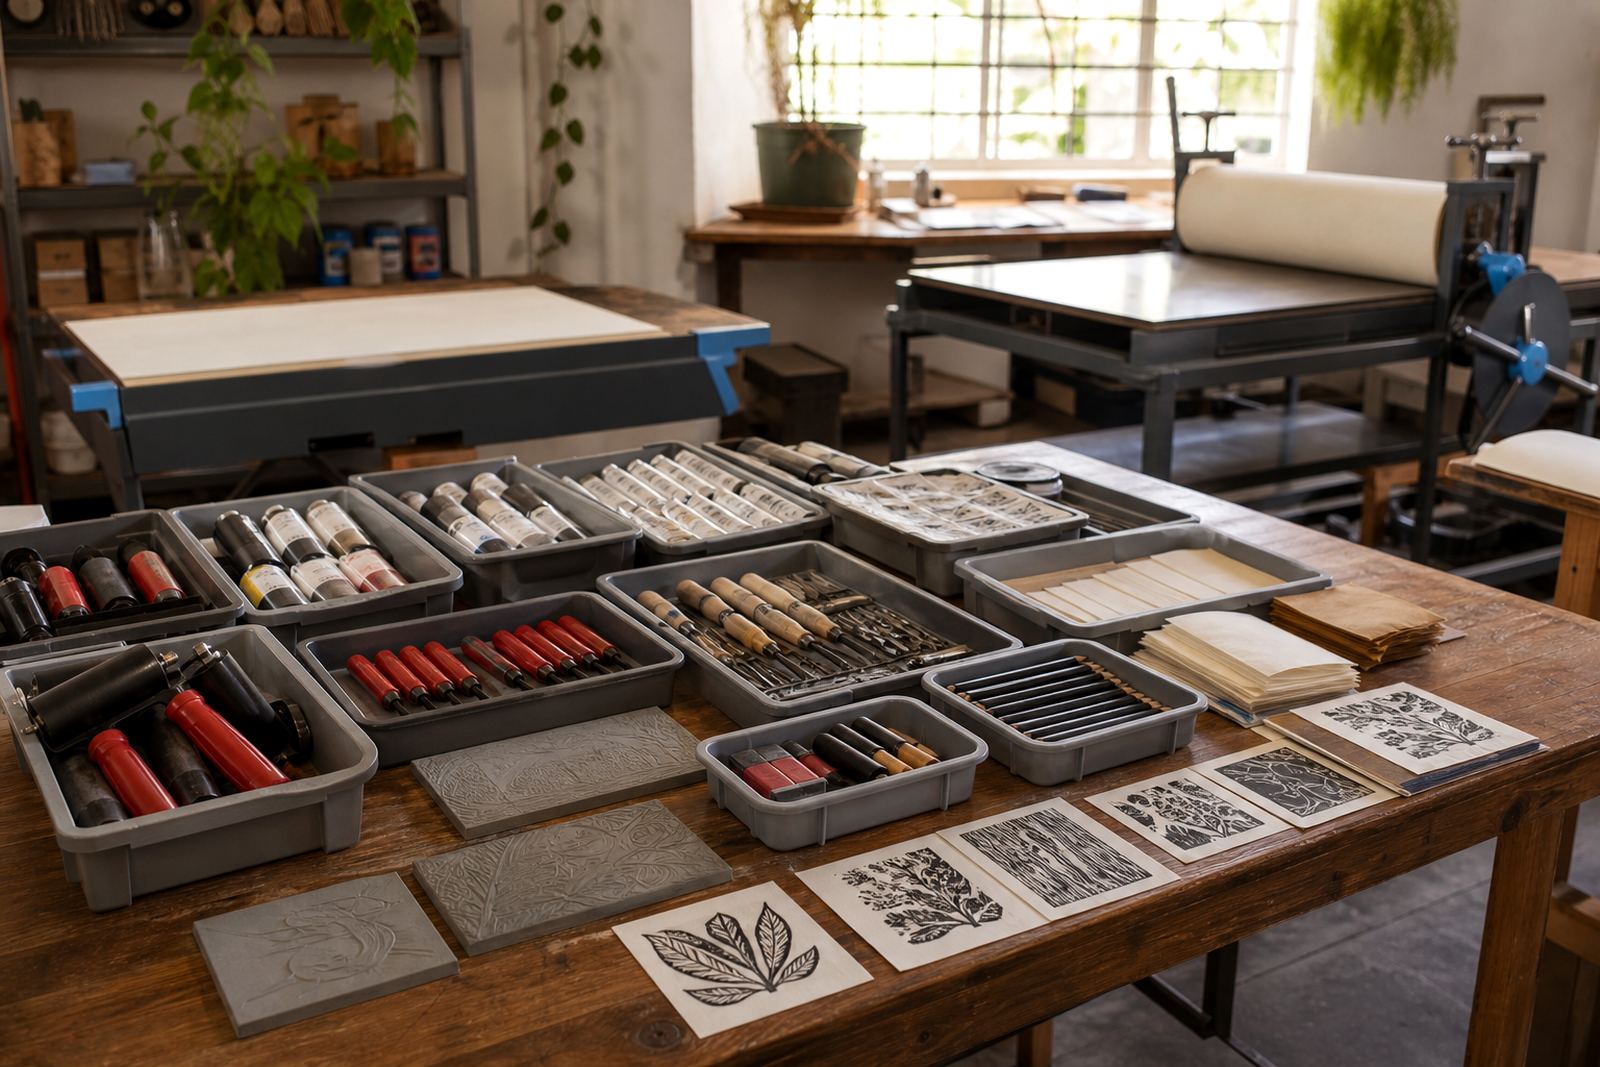
- Drying area ready for finished sheets
Once those points are in place, registration becomes a steady habit rather than a tricky extra step. That is what lets a class focus on carving, inking and the rhythm of the pull, instead of chasing every sheet around the table.