Blocks first, then the box
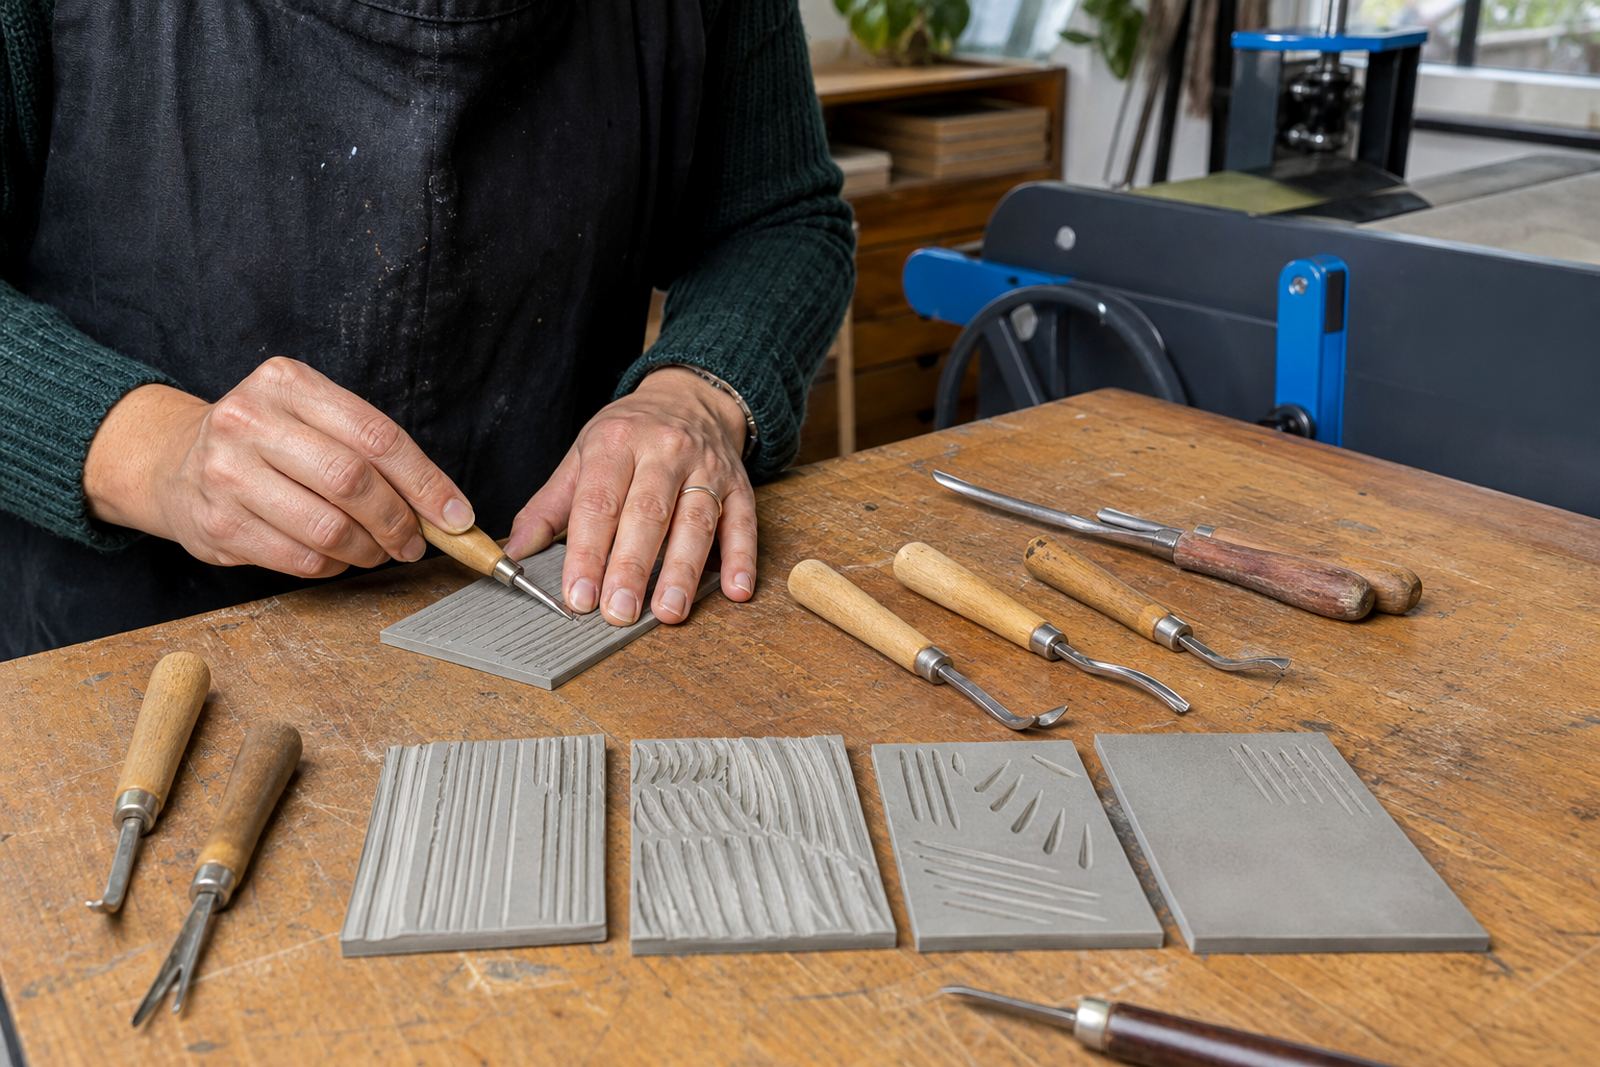
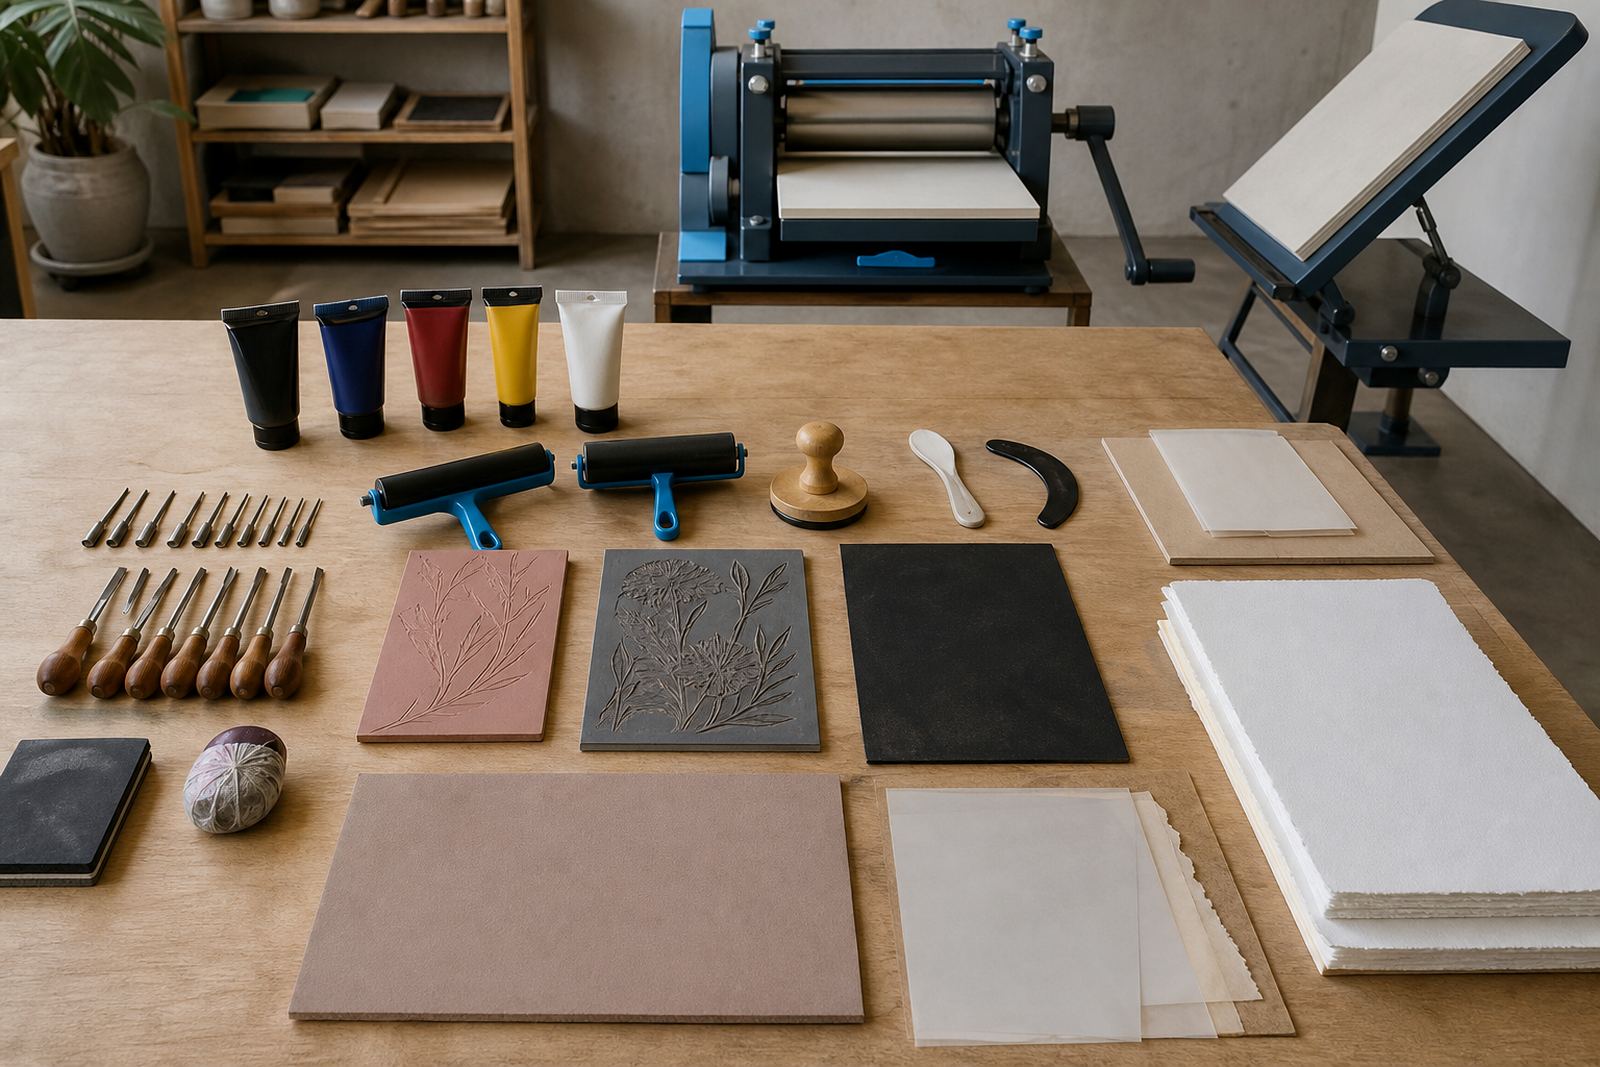
A sensible kit begins with the block itself. For classroom work, soft-cut blocks are easier for first-time carvers, while lino gives a firmer surface for sharper marks and longer sessions. Keep a mix if the group includes younger learners, older students and adults, because the right material changes the pace of the lesson.
Each learner should have a block that fits the lesson length and the final paper size. Small blocks help with fast trials and short classes, while larger blocks suit more detailed motifs. A clear plan for block size also helps with registration later, especially when the class moves from one colour to a second layer.
- Soft-cut blocks for beginners and short sessions
- Lino blocks for sharper carving and more detail
- Pre-cut test pieces for line practice
- Labelled trays for each learner's block
Tools that stay safe in a shared room
Carving tools need to be simple, visible and kept in order. Gouges and V-tools do most of the work in a classroom kit, with one or two spare handles where a group is large. Safety also depends on how the table is arranged, how the block sits and where the offcuts are dropped.
Use a stable bench or table, a non-slip backing under each block and a clear rule for passing tools. Small carving guards, folded cloths or mats can help protect the table edge. A tidy layout keeps fingers away from the cutting path and lets the facilitator see who needs help before a nick becomes a problem.
- Gouges and V-tools in a mixed set
- Block holders or non-slip mats
- Table covers that can take ink marks
- Small containers for offcuts and blade caps
Ink choices for classroom rhythm
Block inks behave differently, so the kit should match the venue and the lesson outcome. Water-based block inks are easier for school rooms and quick clean-up, while oil-based inks suit longer print sessions and richer surfaces when the group has more time to work. A class kit works best when the ink is already portioned into shallow trays or palettes.
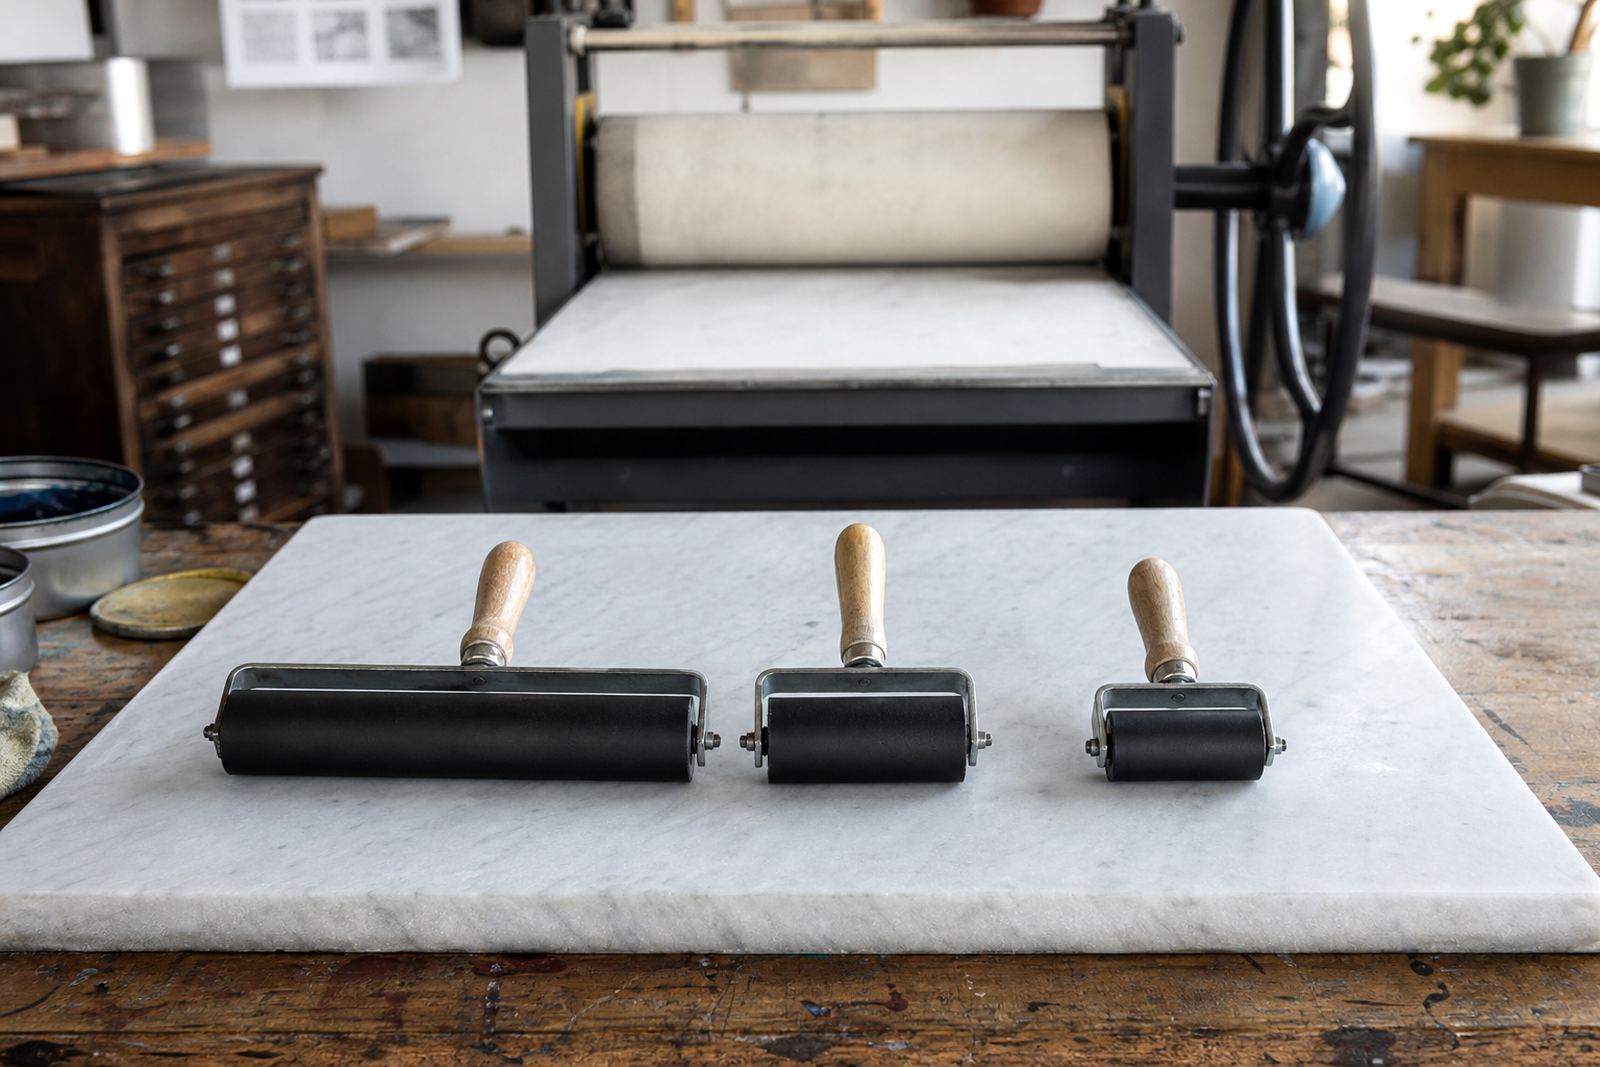
Brayers need to roll evenly without overloading the block. Too much ink fills the carved lines, too little leaves patchy prints. Keep a few small rollers rather than one large one, because a class often needs several learners printing at once. If a teacher wants a cleaner first pull, a test sheet nearby saves paper and helps the group see the difference between a loaded roller and a light one.
- Water-based block ink for easy clean-up
- Oil-based ink for slower, more layered work
- Brayers in sizes that suit the block
- Shallow trays, cards and test sheets
Paper that behaves well under pressure
Paper changes the whole session. Softer papers take a print well by hand, while heavier sheets suit press printing and repeated handling. In a classroom kit, the paper should arrive flat, dry and sorted by size so the group is not cutting sheets halfway through the lesson. A little curl is normal in Cape Town humidity, so store the stock in a folder or between boards until needed.
For editions, count the sheets before the ink goes down. That way the class knows how many final prints each block should make and where the proof sheets sit in the run. Clean paper margins matter too, because a neat border makes registration easier and gives learners a clear visual frame for the image.
Registration, editioning and the repeat pull
Once the first print lands, the class needs a plan for alignment. Registration marks can be as simple as taped corner guides or a printed border sheet under the paper. The aim is the same each time: place the block in the same position so the image sits square and the second colour does not drift.
Editioning also belongs in the kit. Learners should be able to number their prints, sign where needed and keep proof sheets apart from final sheets. A pencil, a ruler and a drying rack or drying line make the run feel ordered instead of rushed. It also gives the teacher a clean way to show the difference between the first proof, the corrected proof and the finished edition.
- Corner guides or taped registration marks
- Pencils for numbering and notes
- Drying boards, racks or clipped lines
- Separate piles for proofs and final editions
Packing a kit for school halls, studios and pop-ups
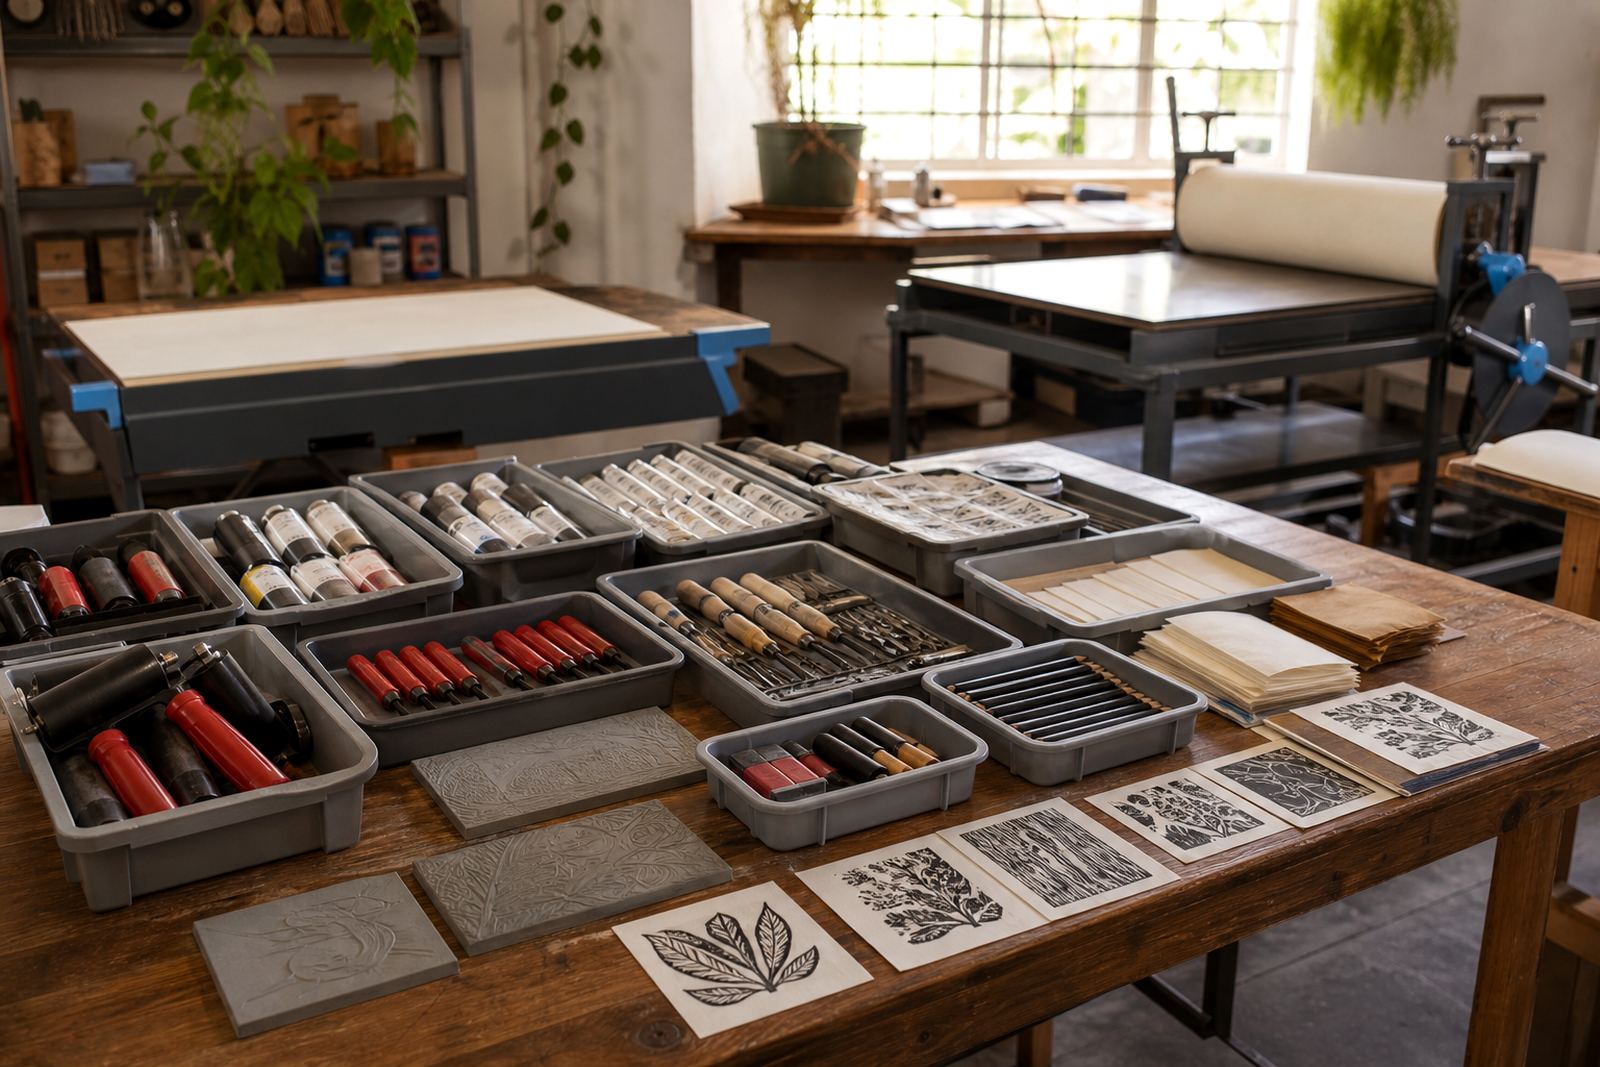
A classroom kit has to travel from Woodstock to school halls, club rooms and venue floors without losing small parts. Pack by stage of the lesson, not by tool type alone. One pouch for carving, one crate for printing, one folder for paper and one cleaning box will save a lot of searching when the room fills up.
For pop-up classes, include table covers, wiping cloths, spare gloves where needed, tape, labels and a small first-aid pouch. If the session uses a press, add blankets or packing layers where the machine calls for them, plus a clear plan for where it stands in the room. A tidy kit also helps after the workshop, when the tools must be counted back in and the wet prints carried flat.
- Carving pouch with tools and block holders
- Printing crate with rollers, ink and trays
- Paper folder with labelled sheet sizes
- Clean-up box with cloths, tape and labels
A quick check before the first class starts
Before a school or club workshop begins, lay everything out once and check the flow from carving to print. The block should fit the paper, the ink should roll cleanly, and the table should allow each learner enough room to work without leaning over another person. That last step is important, especially in a room where families, students and teachers are all sharing the same surface.
Make this final check a habit. Count the blocks, count the brayers, set out the papers and make sure the press or baren is ready if the class will use pressure printing. When the kit is complete, the lesson can stay on the work in front of the group rather than on missing tools or muddled piles.