Block and paper come first
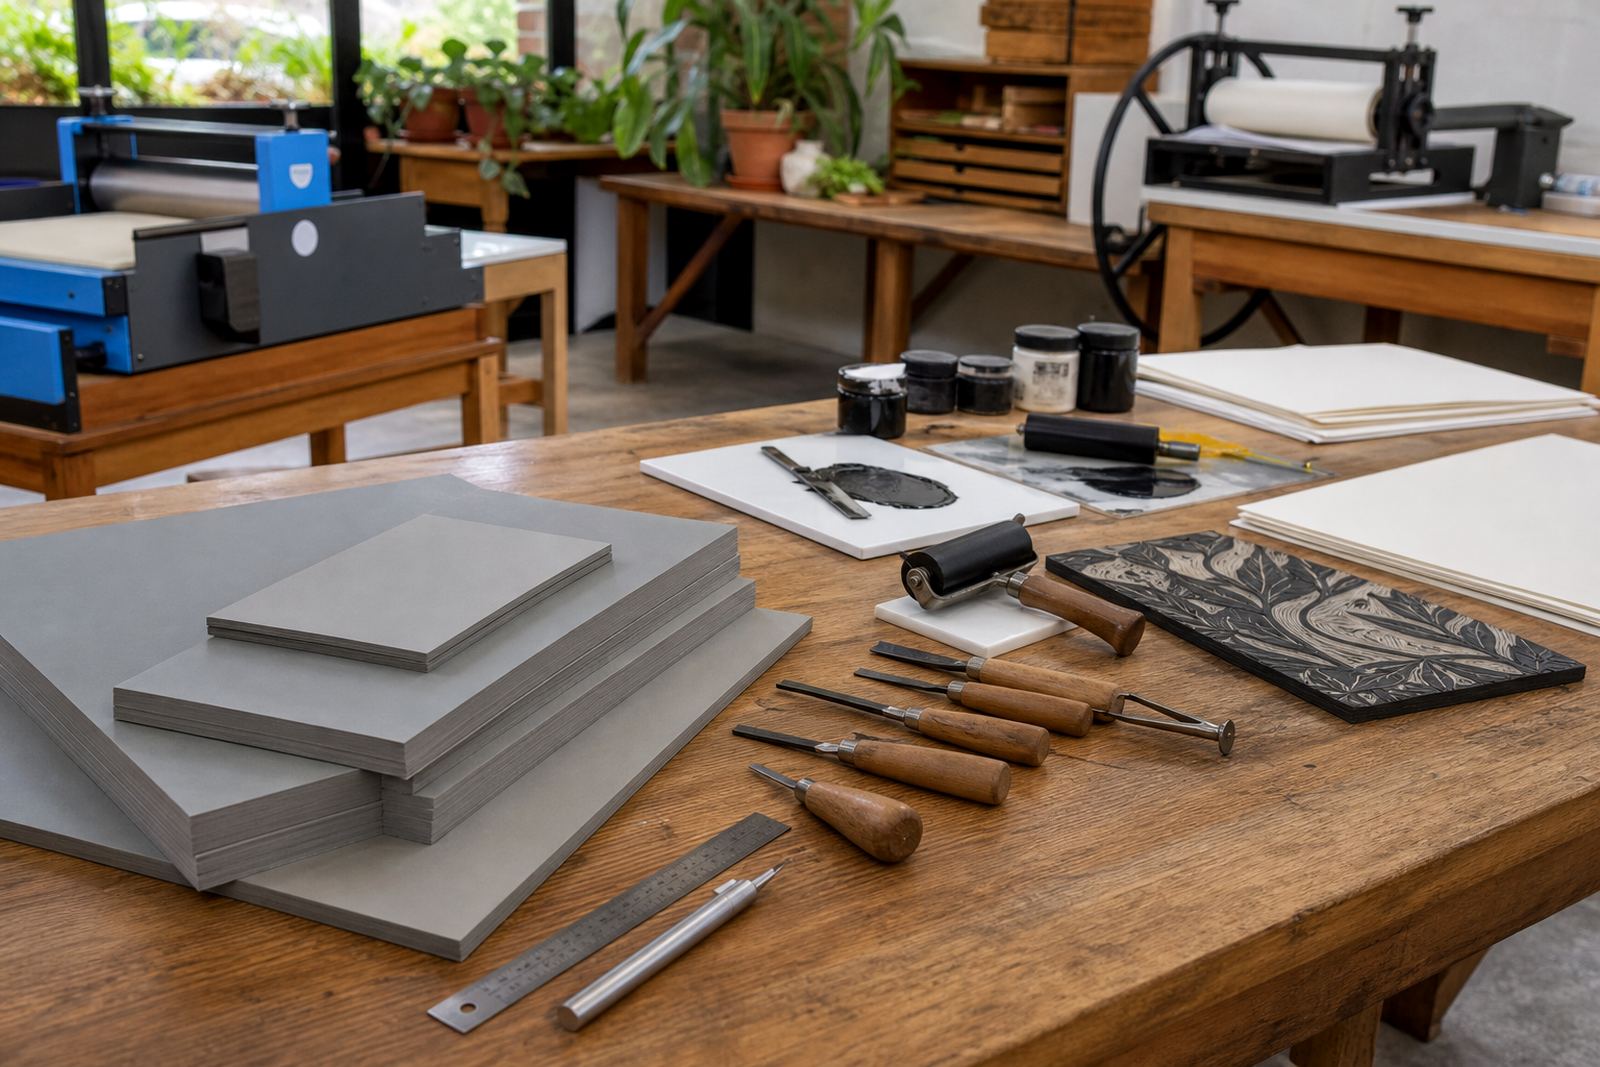
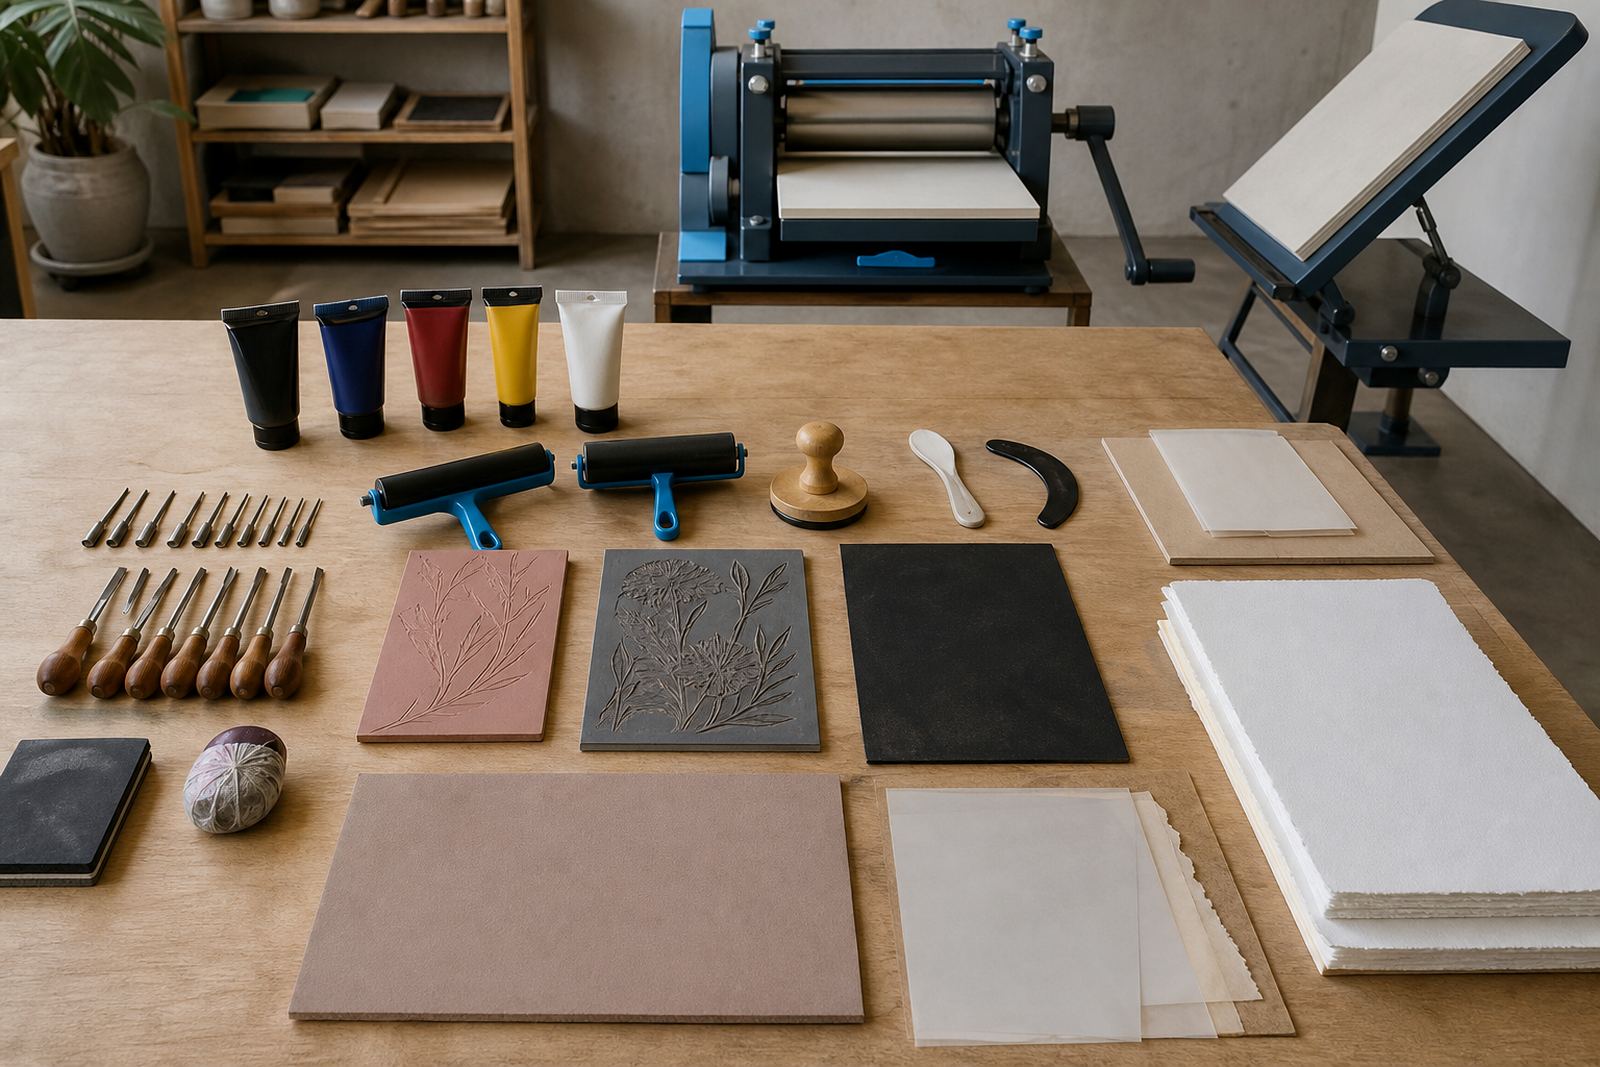
Ink choice begins with the block under your hands. Soft-cut sheets take carving more easily than hard lino, while traditional lino gives a firmer edge and usually a cleaner line for repeated pulling of an edition. Paper matters too, because a thin cartridge sheet behaves very differently from a heavier cotton rag paper or a lightly sized printmaking sheet.
Water-based ink suits quick workshop flow when students are learning safe carving, rolling and pressing. Oil-based ink is slower to handle, but it stays open longer on the slab and gives more time to work a block before the surface starts drying. That open time helps when a print uses several colours or when registration marks need a careful eye.
- Soft-cut blocks are forgiving for first cuts and family sessions.
- Lino supports sharper detail for students ready to use V-tools and gouges with confidence.
- Thicker paper often takes a stronger impression from a baren or press.
- Thin paper shows over-inking faster, so roller pressure matters more.
Water-based ink when speed and cleanup matter
Water-based block ink is common in studio sessions because it moves easily on the slab, rolls out fast and washes from brayers, trays and hands with water and soap. For schools, families and pop-up classes, that makes set-up and pack-down far simpler. It also helps when a venue has shared sinks and limited clean-up space.
The finish is usually matte to softly satin, with a lighter surface feel than an oil-based print. On absorbent paper the colour can dry quickly, which is useful when a group is pulling several test prints. If the room is warm or dry the ink can skin over on the roller, so short, even rolls work better than loading the brayer too heavily.
- Good for beginner carving sessions and short workshops.
- Easy to wash from tools, aprons and tables.
- Works well for single-colour prints and fast editioning.
- Best handled with thin, even layers rather than thick rolls.
Oil-based ink for a longer working window
Oil-based block ink has a slower pace and a richer hand feel. It stays workable longer, which helps when a print needs layered colour, careful alignment or a press pull with more pressure. The ink sits on the slab in a different way too, with a tackier drag that many printmakers like for fine line work and solid black areas.
Cleanup takes more planning because the ink does not leave tools with water alone. Studio teams often prepare rags, cleaners and covered surfaces before opening the ink tins, especially in a busy workshop where the same table may be used for carving, proofing and edition printing. The finish can look glossier or deeper depending on the paper and how much pressure the press applies.
- Useful for edition print sessions and press printing demos.
- Stays open longer for layered colour work.
- Can give a denser, more saturated finish on good paper.
- Needs more careful clean-up of rollers, slabs and carving blocks.
How we decide between the two in a workshop
The choice usually comes down to the way the class is run. For school pop-up workshops and family sessions, water-based ink keeps the pace steady and the clean-up practical. For adult studio workshops, student print classes and more detailed edition work, oil-based ink can suit the slower rhythm of carving, proofing and alignment.
We also look at the printing method. A hand-pulled print with a baren gives a different feel from a press print, and the ink has to suit that pressure. If the session includes registration marks, multiple blocks or several proof stages, the ink should stay open long enough for the group to line up each layer without rushing the print surface.
- Use water-based ink for fast-moving sessions and shared venues.
- Use oil-based ink when the print needs more open time.
- Match the ink to the paper weight and absorbency.
- Keep the same roller pressure across the edition.
A practical printing sequence for clean results
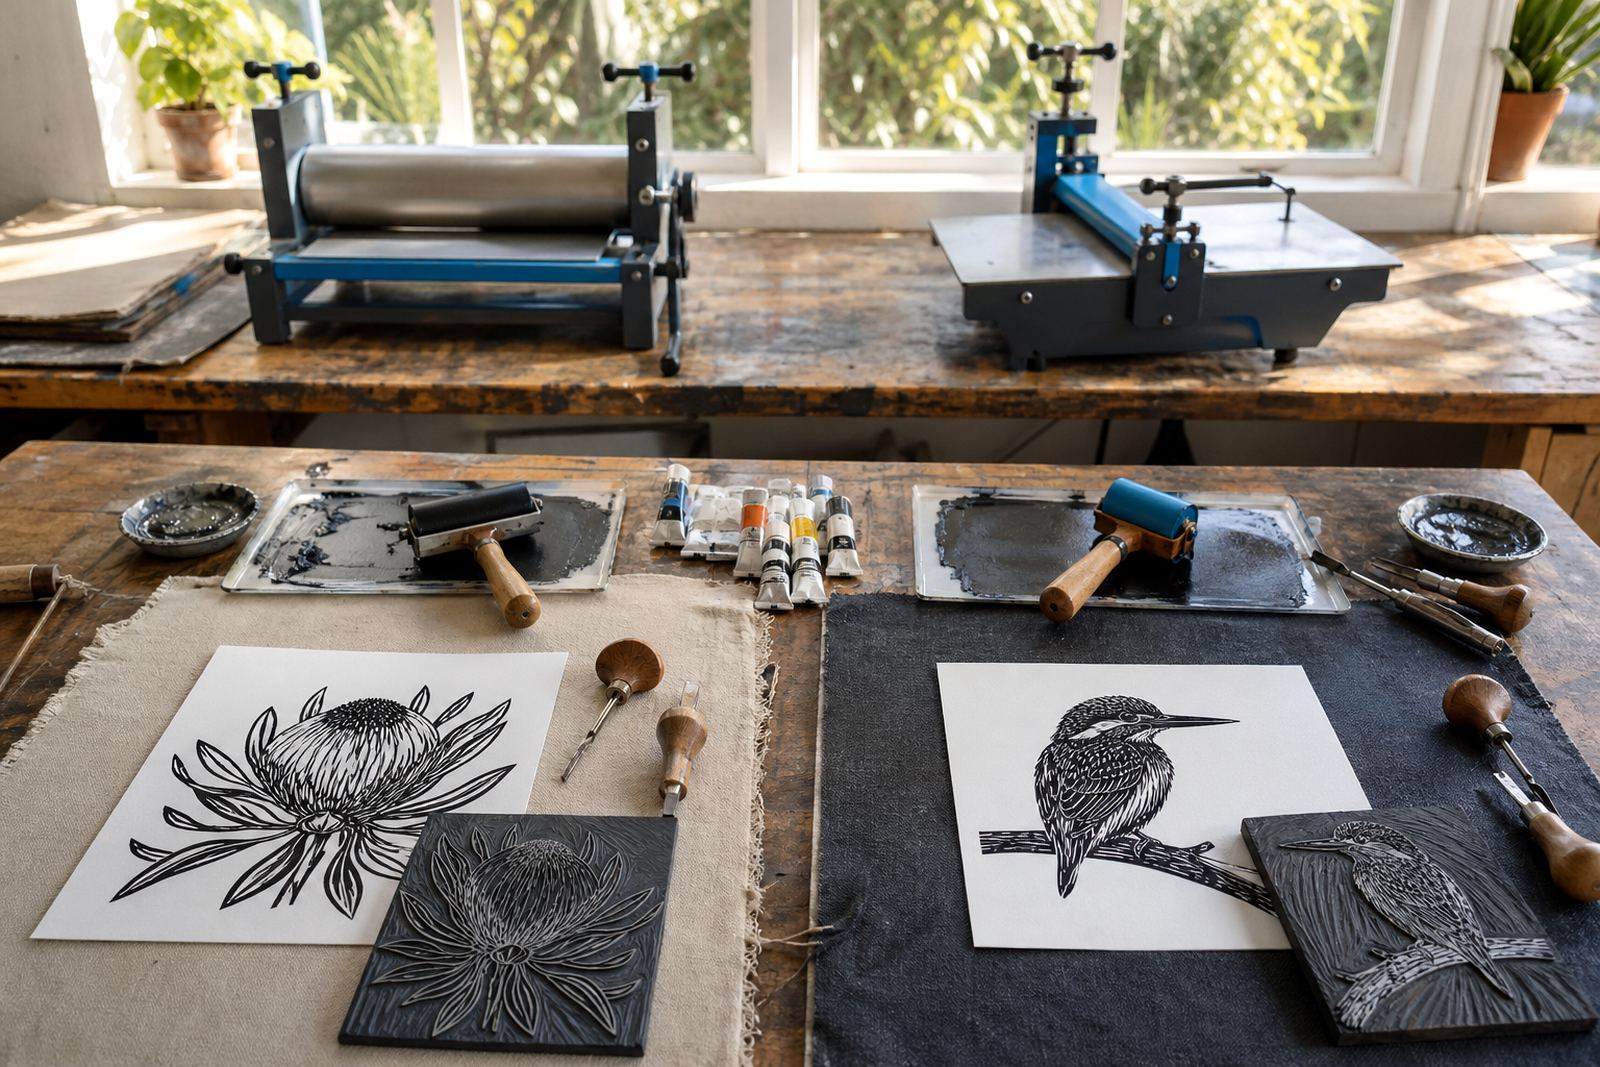
Good results depend on a steady order. First, test the carved block with a proof print so any rough edge or forgotten cut shows up before the edition starts. Then roll the ink out until it looks smooth and even on the slab, not patchy or too thick. After that, ink the block with light cross-rolling and place the paper with care, especially where registration marks are part of the design.
When pulling by hand, use even pressure from the centre outward. A baren works well for small and medium prints, while a press gives stronger, more even contact on larger sheets. If the ink is too wet the paper can slip; if it is too dry the image may look pale or broken. A good print sits in the middle, with enough pressure to carry detail but not so much that the carved spaces fill in.
- Proof first, then adjust the carved block if needed.
- Roll ink until the surface looks velvety and even.
- Check registration marks before each pull.
- Dry prints flat so the edition stays clean and true.
Cleanup, storage and the next print run
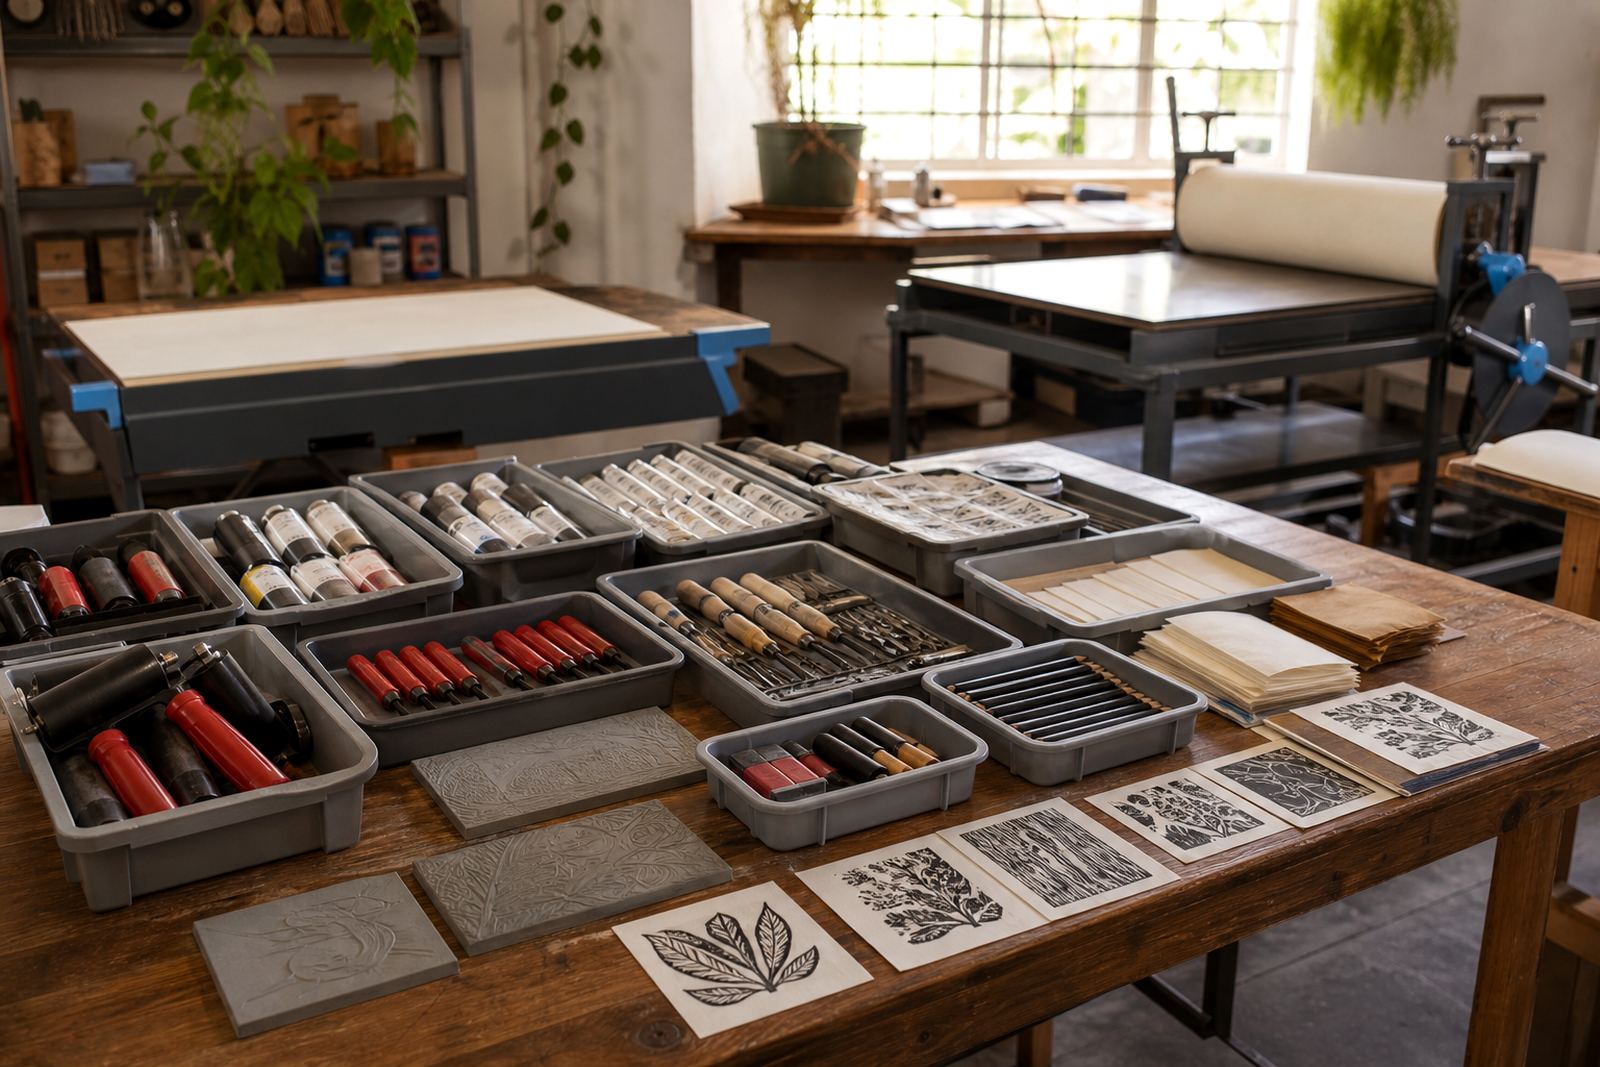
After the session, the ink type decides the clean-up order. Water-based tools can be washed with water and soap, then dried before storage. Oil-based tools need more wiping before washing, and blocks should be cleaned carefully so the carved surface does not hold residue in fine lines. In coastal air, especially around Woodstock and other humid parts of the country, it helps to store paper flat and keep blocks off damp tables.
Press blankets, brayers and trays should all be checked before the next run. If a block has a delicate carved line, leave it free of loose fibres or dried ink crumbs. That keeps the next impression sharper and helps the edition stay consistent from the first pull to the last.
- Wipe the block before washing it fully.
- Dry brayers and trays before storing them.
- Keep papers flat and away from damp corners.
- Check fine cuts for trapped ink before the next print.