Reading the cut before the ink goes on
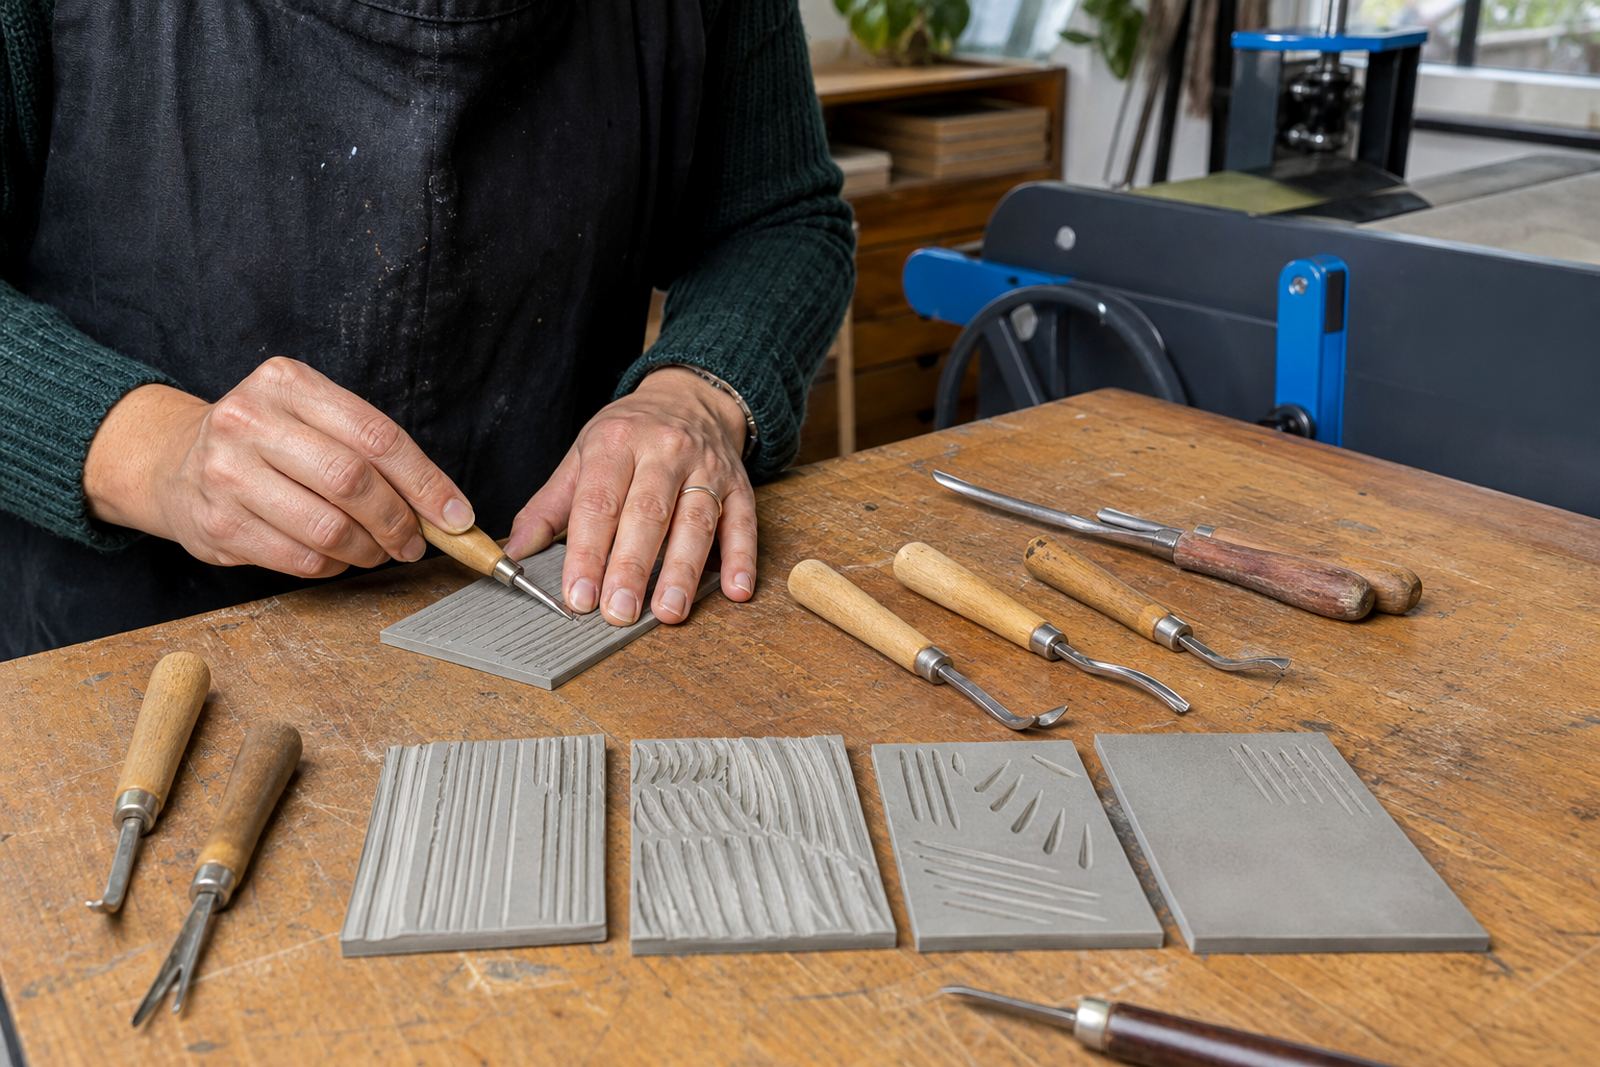
In linocut and soft-cut work, the gouge sets the language of the print. A slim V-gouge makes sharp, wire-thin marks for hair, lettering, whiskers and dry grasses. Wider V-tools open the line a little, which helps when the design needs stronger contrast without turning heavy. U-gouges take out broader channels, so they suit background clearing, bold curves and blocks that need fast removal before printing.
The size you hold also changes the force needed at the block. On softer material, a small gouge can travel smoothly if the hand stays steady. On firmer lino, a broader blade may feel safer for clearing because it leaves less chance of the tool skidding across the surface. The aim is to match each gouge size to the part of the image that needs it.
How width changes the line on paper
Width is visible the moment ink meets paper. A narrow cut keeps printed lines crisp and tight, which works well for detail and patterned areas. A wider cut reads as a more open shape, with less chance of the print looking crowded. If the block carries strong shadows, a wider gouge can stop the image from clogging when the ink is rolled on with a brayer.
- Narrow V-gouges: fine detail, texture, facial lines and controlled contours.
- Medium V-gouges: general drawing lines, small lettering and mid-weight pattern work.
- U-gouges: clearing large spaces, soft curves and background removal.
- Flat blades: trimming edges and tidying broad, shallow cuts.
A good test is to imagine the final print in one colour only. If the line must carry the picture on its own, a narrower profile gives more definition. If the cut needs to hold back ink and let the white of the paper breathe, a wider cut does the job with less fuss.
Choosing between V-tools and U-gouges
V-tools slice a sharper channel and are useful where a clean edge matters. They work well for hatch marks, small angles and any area where the image needs a crisp finish. U-gouges scoop rather than slice, so they remove more material and leave a softer track. That softer track is useful in shaded passages, waves, foliage and large negative spaces.
Many printmakers keep at least one of each shape on the bench. A V-tool handles the line drawing, then a U-gouge clears the larger pockets around it. That division of labour keeps the block more controlled and reduces the temptation to force one blade into every task. On soft-cut blocks, the difference is even clearer because the material responds quickly, sometimes too quickly if the wrong profile is used.
A safe carving rhythm for first blocks
Safe carving begins with the block secured flat, the wrist braced and the cut moving away from the hand that holds the material. Small gouges are easier to control for learners because they remove less at each pass. Wider blades need slower pressure and a clearer path, especially where the design turns back on itself. Turn the block as you carve so the gouge always moves away from your hand.
- Mark the design before carving so the cuts stay deliberate.
- Start with shallow passes, then deepen only where needed.
- Keep fingers behind the cutting edge and out of the line of travel.
- Use a stable board or bench hook so the block does not shift.
- Clear chips often, because packed shavings hide the next cut.
New carvers often press too hard and chase the line in one push. A lighter cut gives more control and cleaner corners, especially on a first edition where the goal is to understand the block.
When a bigger gouge helps the printing stage
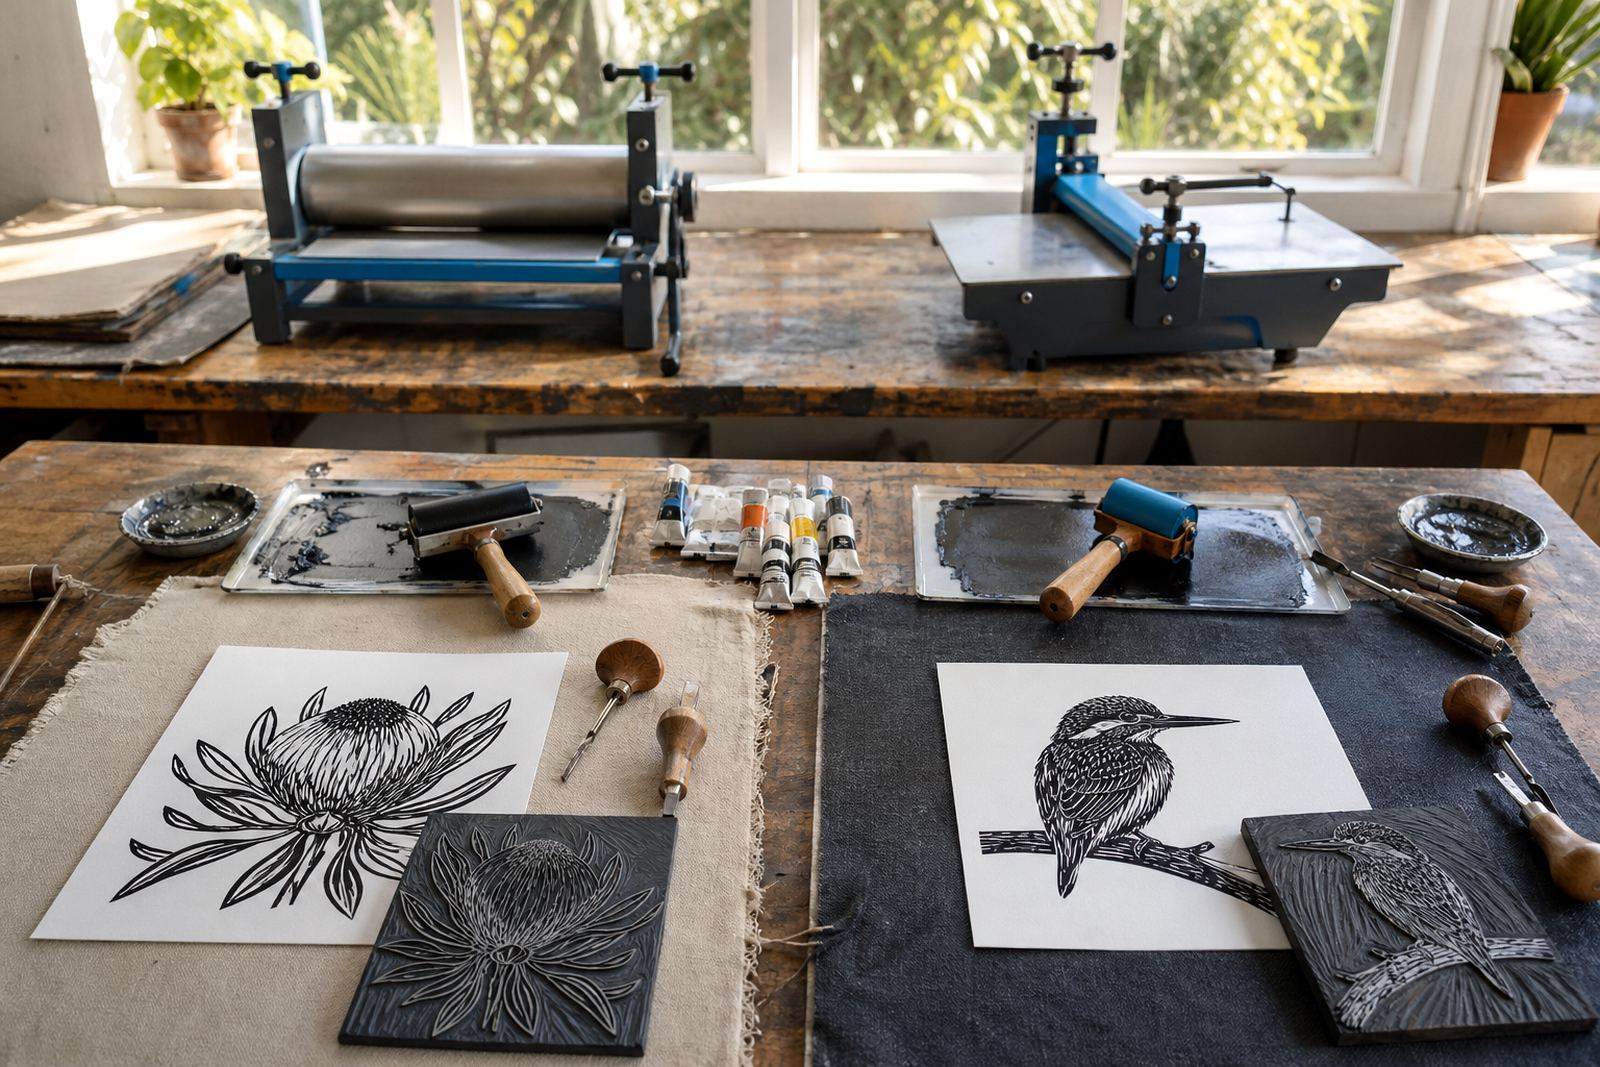
Gouge choice affects printing as much as carving. If the cleared areas are too narrow, the brayer can pick up stray ink from the sides of the cut. Wider channels give cleaner separation between printed and non-printed areas, which matters on both water-based and oil-based block inks. On hand-printed editions, that separation helps the image stay readable when pressure varies from one pull to the next.
For press printing, a well-cleared block can sit evenly under the platen and transfer its surface more predictably. For baren printing, wide clean zones reduce the chance of rubbing ink back into the paper. Registration also becomes easier when the block edge and the open areas are tidier, because the print sits flatter and the sheet is less likely to drag during placement.
Matching tool to task
Before carving, it helps to look at the block as a set of jobs rather than a single picture. One tool may handle the outline, another the fill, and a third the fine rescue cuts where a line needs to be opened or softened. That approach is common in studio sessions, school pop-ups and beginner carving classes because it keeps the hand calm and the block legible.
- Choose a narrow V-gouge for detail and fine texture.
- Use a medium U-gouge for clearing small background zones.
- Keep a broader U-gouge for large open areas and sweeping curves.
- Test the cut on a spare offcut before working the full block.
- Check the ink proof after the first pull, then adjust the carving.
A final proof often shows where the line is too thin, where the white spaces are cramped, and where the block needs a firmer hand. That is usually the point where the gouge size makes the lesson clear: the tool decides how much of the block survives into the print.