Studio work that suits a university brief
University groups often need a session that sits between demonstration and full hands-on practice. That usually means enough structure for beginners, but enough freedom for students to test image making, line quality and edition printing without turning the room into a crowd control exercise. In our Woodstock studio, or at a university venue, the session can be planned around class size, course level and the kind of print outcome the lecturer wants to support.
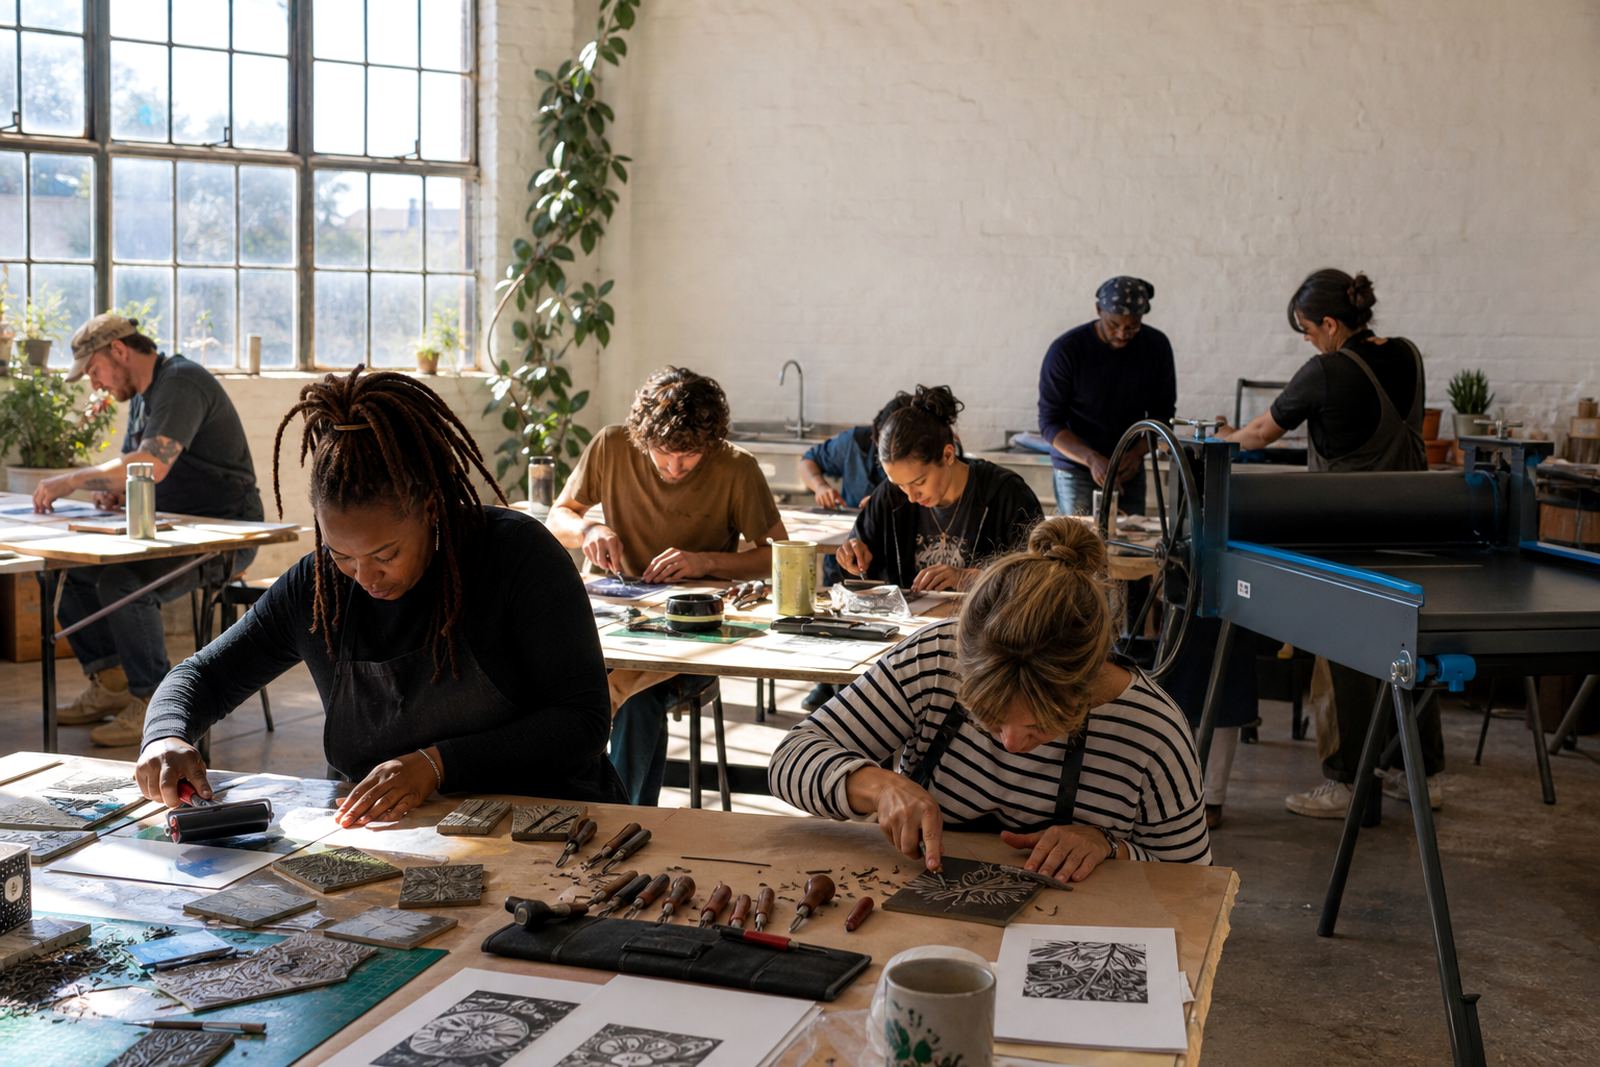
For introductory relief print work, students usually move through drawing, transferring a design, carving a lino or soft-cut block, then inking and printing by hand. Some groups work on a shared visual theme, while others produce individual blocks and compare the way each print pulls across the same paper stock. That is useful for students studying art, design, education, or any course where making and process need to be understood properly.
- Intro sessions for first-time printers
- Shorter practical blocks for packed timetables
- Course-linked sessions for studio modules
- Mixed ability groups with set carving guidance
What sits on the table during the session
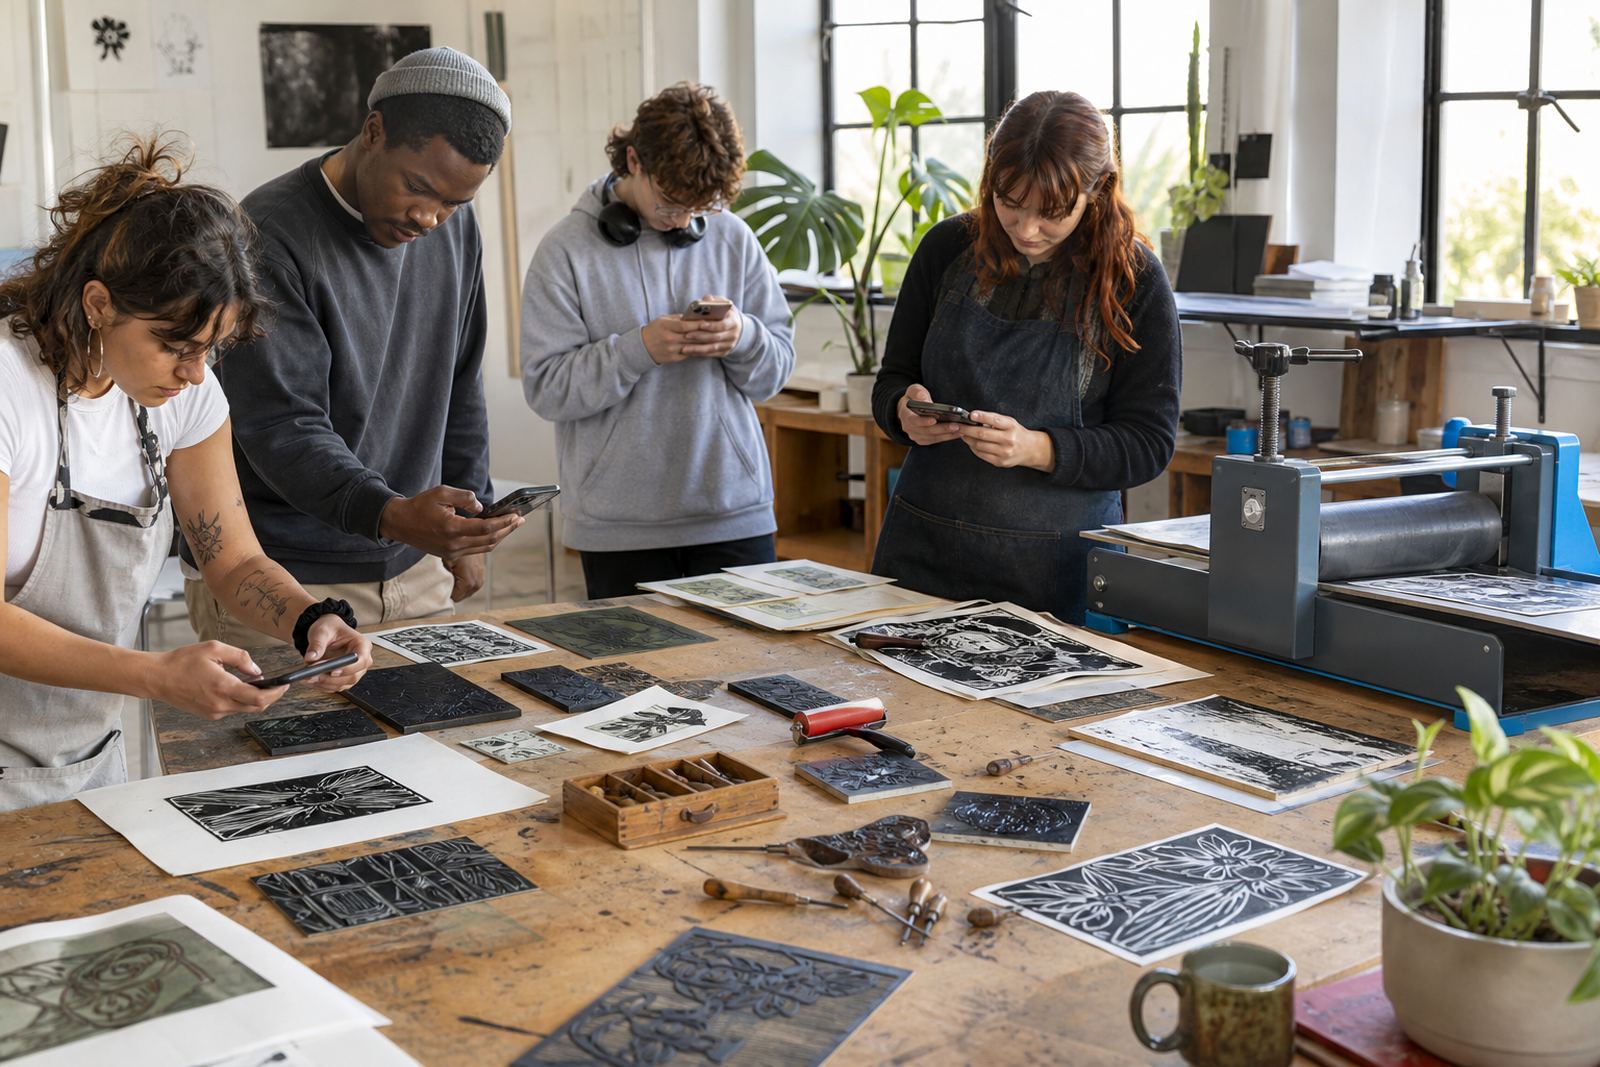
The equipment set is straightforward, but each item matters. Students work with lino or soft-cut blocks, carving tools such as gouges and V-tools, cutting mats, pencils, tracing sheets, rollers, water-based block inks and, where the format allows it, oil-based inks for a different mark and finish. Brayers need even pressure, and the paper choice changes the whole result, especially when the edition is pulled by hand or through a press.
Safe carving habits are part of the lesson from the start. Hands stay behind the cutting direction, blocks are supported properly, and the group learns how to clear waste cuts without rushing. Registration is also covered, because students need to line up a second colour or a repeated impression with some control. A good university session should leave students understanding how to print and how to prepare a block that can hold an edition.
- Lino blocks for firmer carving and sharper detail
- Soft-cut blocks for a gentler first session
- Gouges, V-tools and safe hand positions
- Brayers, ink slabs, paper and drying space
Room layout for a student group
A university group works better when the room is divided into clear zones. One table can hold drawing and tracing, another takes carving, and a clean area should stay free for inking, proofing and stacking finished prints. If the venue is tight, the session still needs a clear flow so tools do not cross paths with wet paper and half-finished blocks. That matters in studios, lecture spaces, gallery classrooms and borrowed venues across Cape Town or further afield.
For groups in Stellenbosch, Johannesburg, Pretoria or Durban, the venue choice often shapes the plan. Tables should be steady, lighting should be even, and there should be enough surface space for blocks, rollers and drying sheets. If a press is included, it needs a fixed position, enough clearance and a sensible path for moving paper in and out. An awkward room slows students down in ways that have nothing to do with the printmaking.
Helpful planning points usually include:
- One clean area for paper and final prints
- Separate carving and inking stations
- Enough chairs or standing room for longer sessions
- Good lighting near every cutting and inking surface
- A route for moving wet prints without touching the image
Where students usually make avoidable mistakes
First-time printers often cut too little or too deeply, then discover that the block no longer holds the image they wanted. Others load the brayer unevenly, which leaves patchy ink and flat passages that should have stayed crisp. Paper handling can also go wrong, especially when the sheet slips during registration or when students lift the print before the pressure has settled across the whole block.
Another common issue is trying to pack too much detail into a first block. Fine lines can disappear if the carving is cramped, and broad shapes usually print more reliably for an introductory class. Some students also rush the proofing stage, but a second or third trial print often shows the real balance of the image. That is where the workshop earns its value, because the mistakes become part of the lesson instead of just wasted paper.
- Overcutting the block before checking the design
- Loading too much ink onto the roller
- Skipping proof prints and guessing the result
- Ignoring paper grain, stretch or curl
- Rushing the edition before the block is ready
Family session prices in rand
Budgeting for a university group depends on whether the session is in our studio, at a campus venue, or set up as a mobile workshop. The number of participants, the length of the class, the type of block, and whether a press is used all affect the quote. A smaller introductory session with soft-cut blocks and hand printing sits in a different range from a larger session with more materials, extra supervision and edition printing support.
As a guide, universities usually work with a per-student or group-based structure that covers instruction, consumables and studio preparation. Additional items can include paper upgrades, extra block stock, mixed ink colours, press setup, or venue support for schools and campus spaces that need the room arranged from scratch. If the course needs repeat sessions across a term, that changes the materials plan as well.
Common cost factors include:
- Session length and group size
- In-studio or mobile workshop setup
- Soft-cut blocks, lino blocks or mixed materials
- Hand printing only, or press-assisted printing
- Paper choice and the number of prints per student
What a university coordinator usually sends through
A clear brief reduces planning changes and repeated to and fro. The best starting point is usually the course level, the number of students, the venue, and whether the class is meant to be an introduction or a more developed relief print session. If there is a theme linked to the semester, that helps with the block design and the paper selection, especially when students need a print outcome that fits a module assessment.
University coordinators can use our contact form with the date options, location, student count and the kind of printmaking focus they want. If the session needs a teacher support element, a student exhibition, or a printing demo beside the hands-on class, that can be arranged within the same workshop plan. The more the layout and printing method are known up front, the easier it is to match materials to the group.