What the class covers at the bench
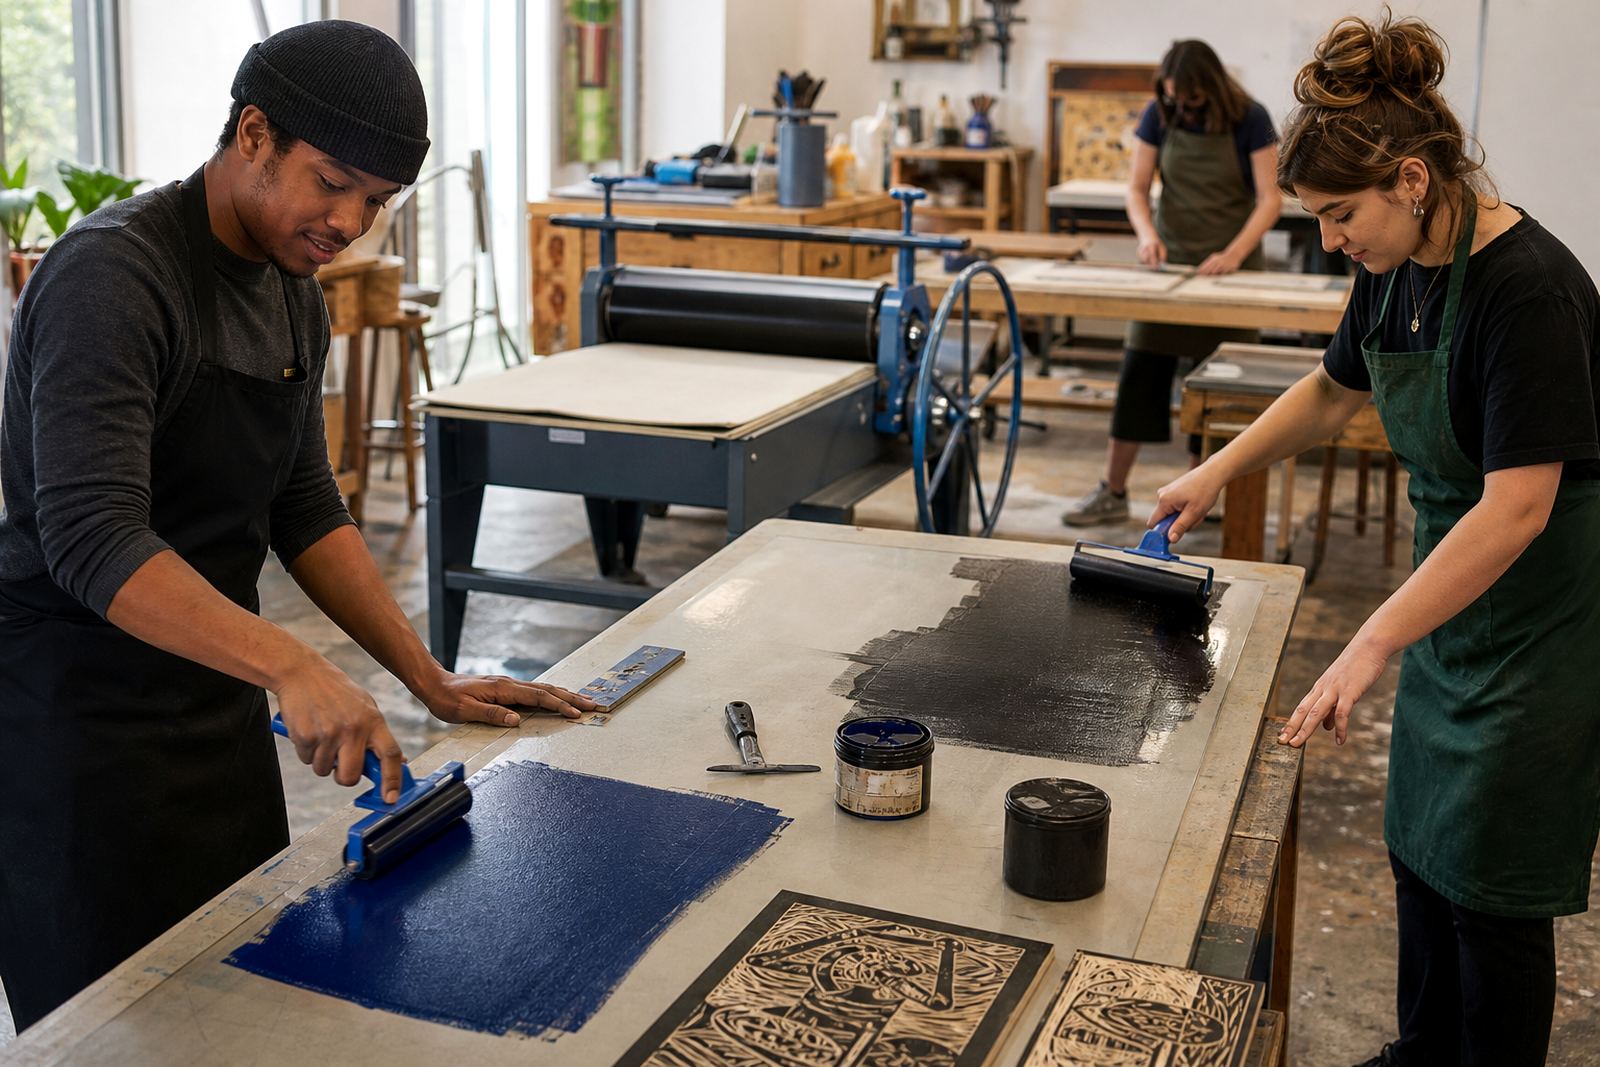
This class focuses on the working side of relief printing after the block has already been carved. You learn how to roll ink evenly, read the surface of the block, and judge when the ink has enough body without filling the carved areas. We also look at paper choice, clean handling, and the shift from a test pull to a more even edition.
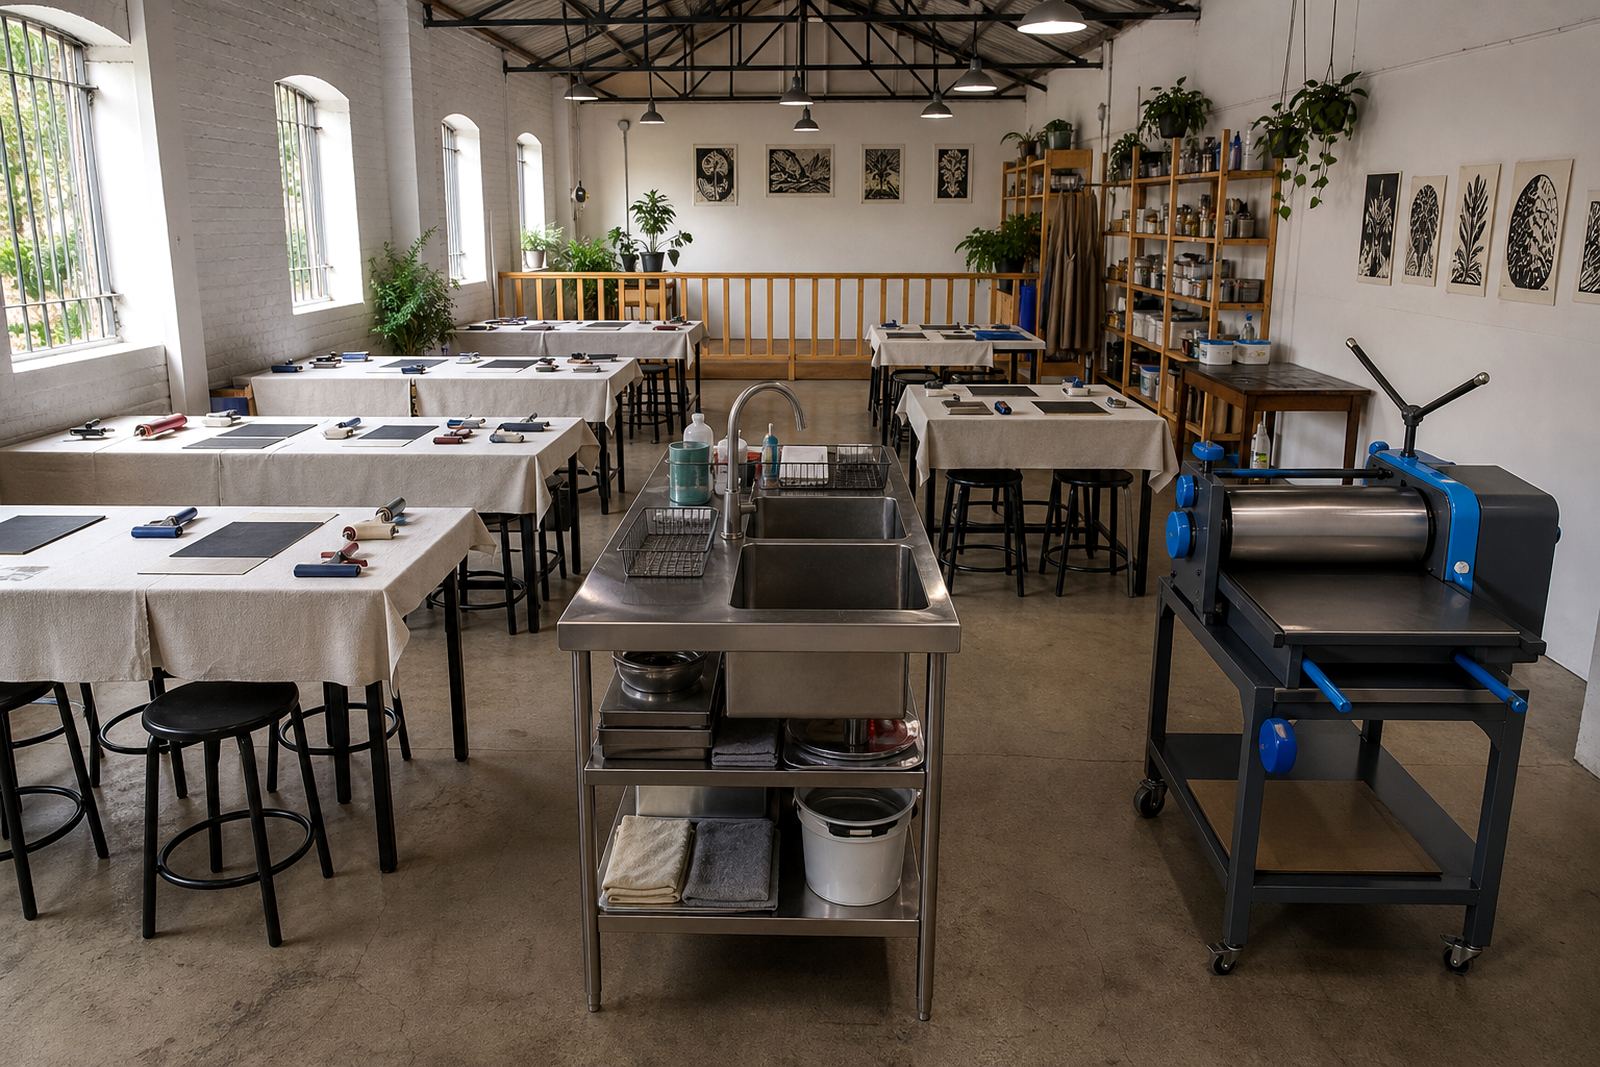
In the studio, the class uses standard printmaking tools and papers that suit lino and soft-cut blocks. Depending on the group, we work with brayers, barens, press printing, registration guides and drying space so each print can be handled properly from first pull to final stack.
- Ink rolling and pressure control with a brayer
- Choosing paper for clean transfer and surface detail
- Basic registration for single-colour prints
- Hand printing with a baren and press-assisted printing
How the session usually runs
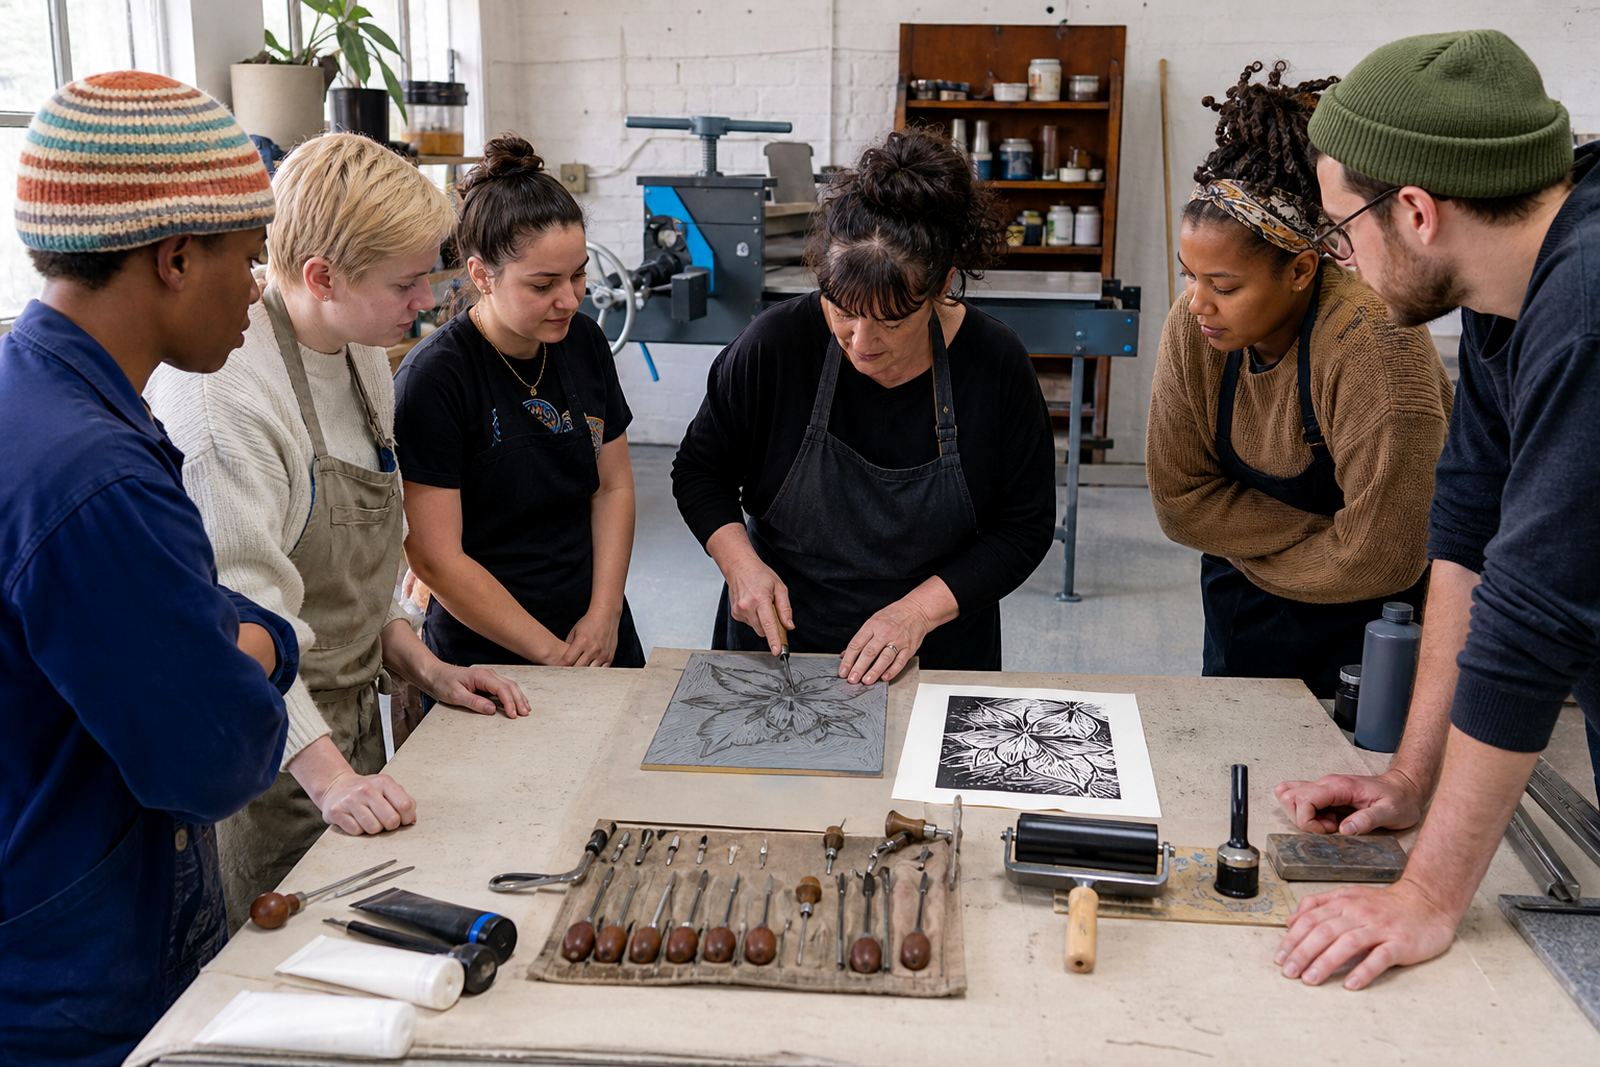
We start with a quick look at the block, the carved marks and the paper size. That helps set the ink load and the printing method before anyone begins. If the block has fine lines or shallow cuts, the class adjusts the inking approach so the raised areas take colour without flooding the recesses.
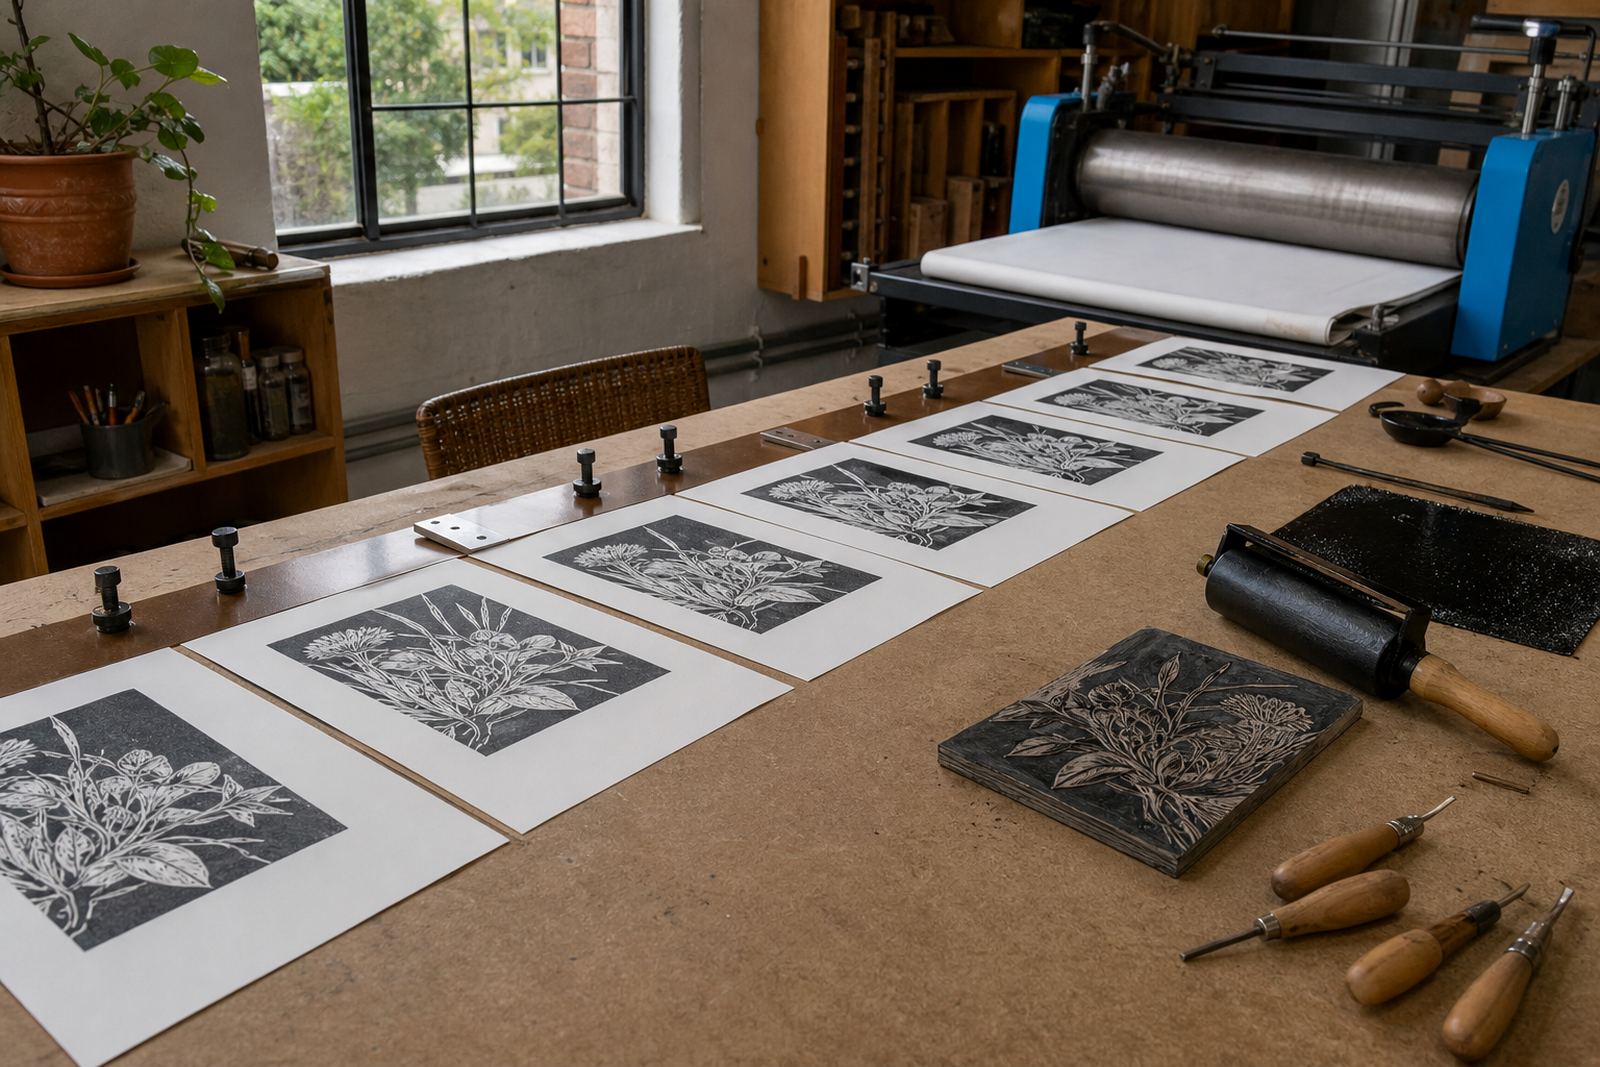
From there, the group works through inking, placing the paper, applying pressure and lifting the print to check the transfer. Small changes matter here: a lighter roll, a firmer baren pass, or a steadier paper placement can change the whole result. The session closes with stacking, drying and a review of what worked on the day.
- Set-up and paper handling
- Inking tests on spare sheets
- Print pulls with hand or press pressure
- Drying, sorting and safe packing of finished sheets
Materials and studio specifications
The class is suited to adult learners, students, families and mixed groups who want practical printmaking time rather than a loose demonstration. We keep the setup compact and hands-on, with tools laid out so each person can manage a block, a brayer and their own print run.
Typical workshop specifications depend on the brief, but the class generally uses A5 to A3 block sizes, hand printing tools, print papers chosen for relief work, and either water-based or oil-based block inks. Some sessions stay with one colour, while others move into layered registration or a second pull for comparison.
- Suitable for lino and soft-cut blocks
- Works with single-colour or layered printing
- Can be adapted for beginners or mixed experience levels
- Studio, school and venue formats available
What is included in the service
The service covers the full practical print stage. We set up the materials, guide the inking sequence, manage the print surface and help the group finish a proper hand-pulled impression. Where needed, we can also include a short introduction to paper choice, ink consistency and block care between pulls.
For schools, teams or families, the format can be adjusted to fit the space and the size of the group. A venue setup may include table protection, tool layout, drying space and print handling so the activity moves cleanly through the room without crowding the work area.
- Printmaking tools and studio consumables
- Step-by-step printing guidance
- Layout support for editions and drying
- Adaptation for studios, pop-ups and venue sessions
What an inking class costs
Pricing is quoted to the brief, because group size, venue setup, materials and session length all change the working plan. A private studio class, a school pop-up and a team session do not use the same mix of tools or space, so the quote follows the real job rather than a fixed pattern.
When you send the enquiry through our contact form, it helps to include the group type, preferred area and whether the session needs a press, hand printing only, or a mixed setup. If the class forms part of a bigger printmaking programme, we can build it around your timeline and the work already on hand.
- Quoted to group size and format
- Materials and venue needs affect the scope
- Studio or off-site class options available
Aftercare for prints and blocks
After the class, prints should dry flat in a clean, dust-light space, especially when oil-based ink has been used. Stacking too early can mark the surface, so we show a sensible way to separate sheets and keep the edition tidy. If there is extra ink on the block, it should be cleaned before it hardens, and the tools should be wiped down while the surface is still workable.
We also cover basic block care, because a lino or soft-cut block lasts longer when it is stored flat and kept away from heat, bending and grit. The finished print set can then be handled as an edition, with the best pulls kept together and any test sheets marked clearly for reference.
- Dry prints flat and apart
- Clean tools before ink sets
- Store blocks flat and protected
- Keep test pulls separate from the edition
Key facts
| Class focus | Brayer work, ink consistency, paper placement and transfer |
|---|---|
| Print methods | Hand printing, baren pressure and press-assisted printing |
| Block types | Lino and soft-cut blocks |
| Ink options | Water-based and oil-based block inks |
| Typical formats | Private studio, school pop-up, family, team and student sessions |
| Area coverage | Woodstock, Cape Town, Stellenbosch, Johannesburg, Pretoria, Durban, Bellville and Somerset West |