From blank block to first proof
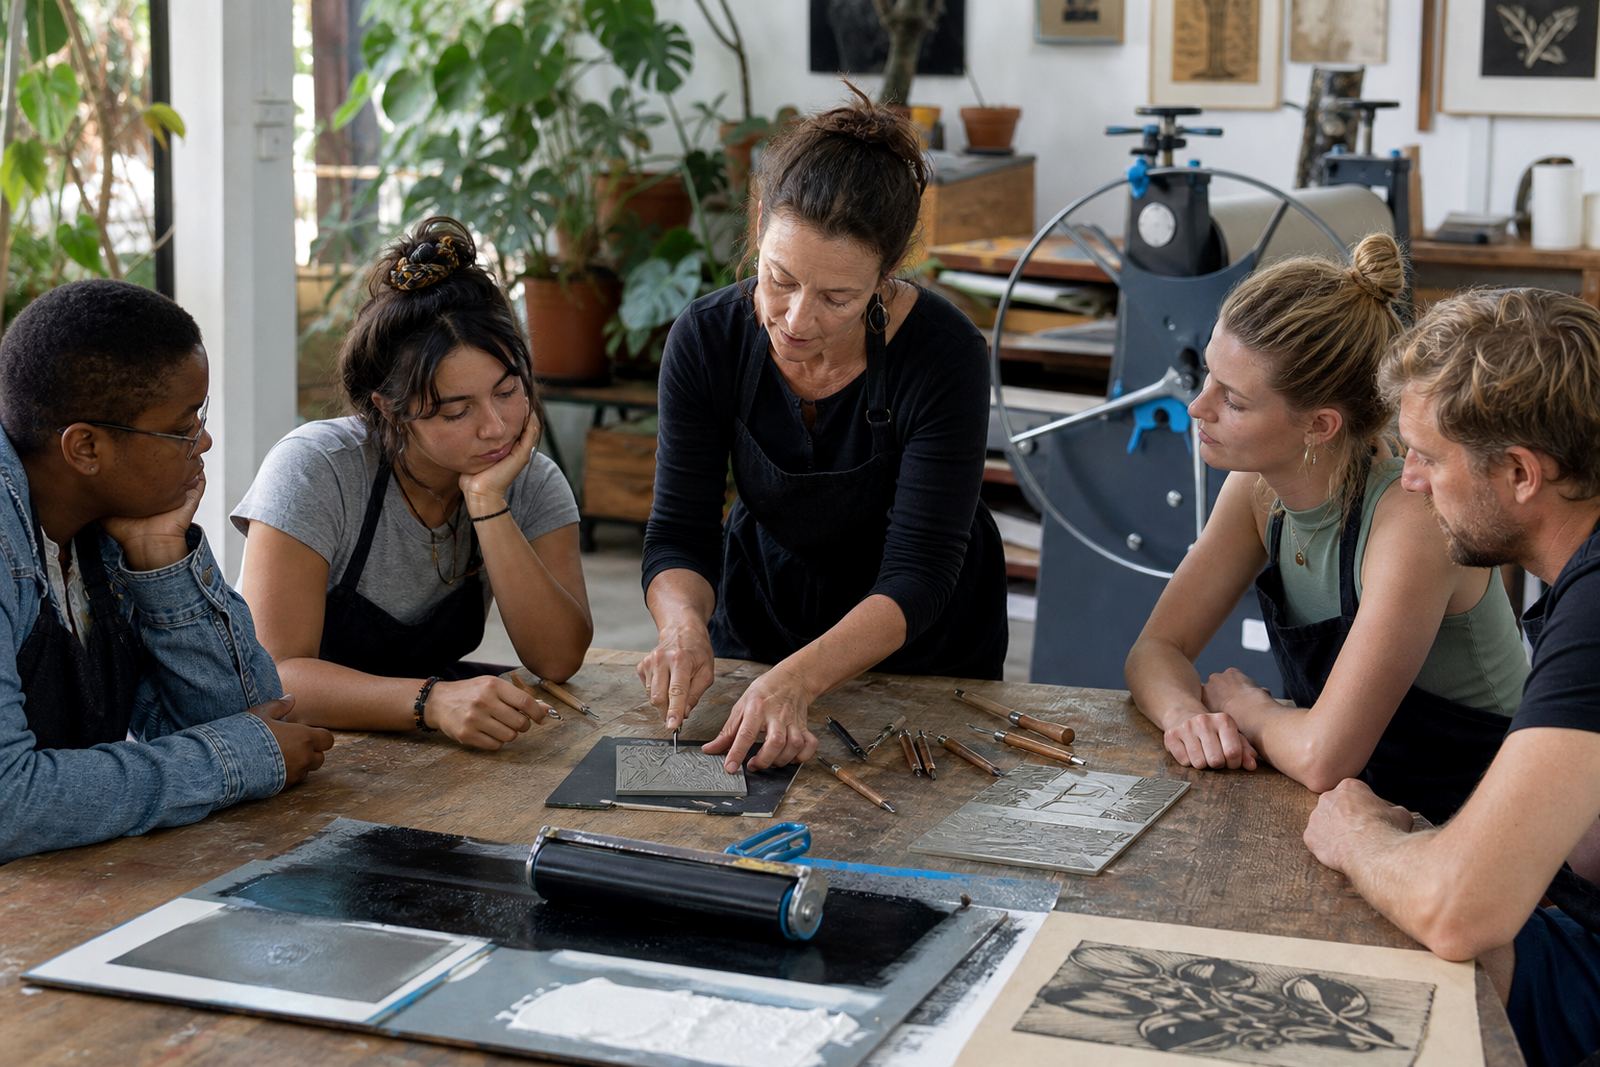
This class opens with the materials on the table and a short look at how relief printing works. Learners handle lino or soft-cut blocks, see how gouges and V-tools remove the surface safely, then move into planning a simple image that prints well in a single colour or a small layered study.
The session is built for students who need structure without losing the hands-on part. We cover safe carving, blade control, image reversal, paper choice and the way raised areas hold ink while carved areas stay white. A first proof is pulled early, so the group can see what needs adjustment before the final print stage.
- Suitable for beginners and mixed-experience classes
- Uses lino or soft-cut blocks, depending on the brief
- Introduces safe carving with controlled tool angles
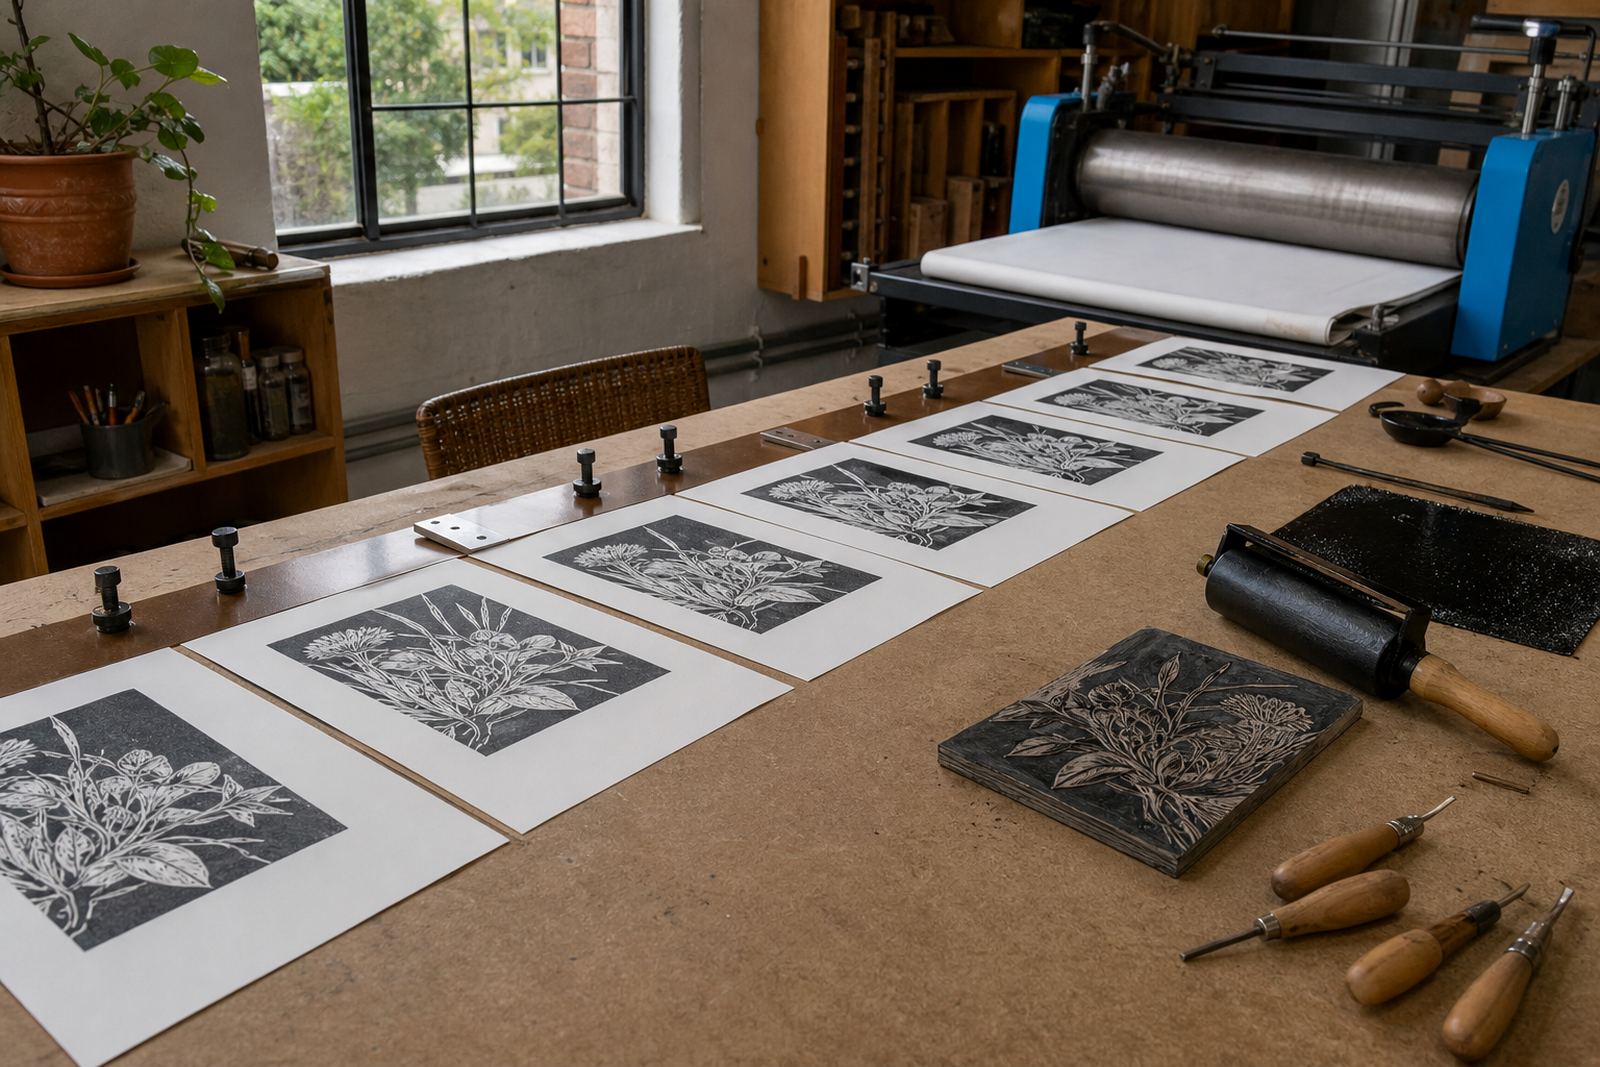
- Shows how to read a proof before printing the edition
Tools, inks and paper in real use
Students work with brayers for rolling ink evenly, then use water-based or oil-based block inks depending on the class format and drying needs. We explain how too much ink fills the carved spaces and how too little leaves patchy coverage, which is easy to see once the first sheet is printed.
Paper selection matters in student work, because different weights and finishes change the feel of the line. We keep the talk practical: smoother papers give cleaner detail, softer sheets take pressure differently, and heavier papers suit a more deliberate pull. Where needed, we also show press printing and hand burnishing with a baren, so learners can compare results.
- Brayer loading and ink roll control
- Water-based and oil-based block inks
- Hand burnishing with a baren
- Press printing for even pressure and cleaner transfers
- Paper weights chosen for the image and class level
Session flow for school and studio groups
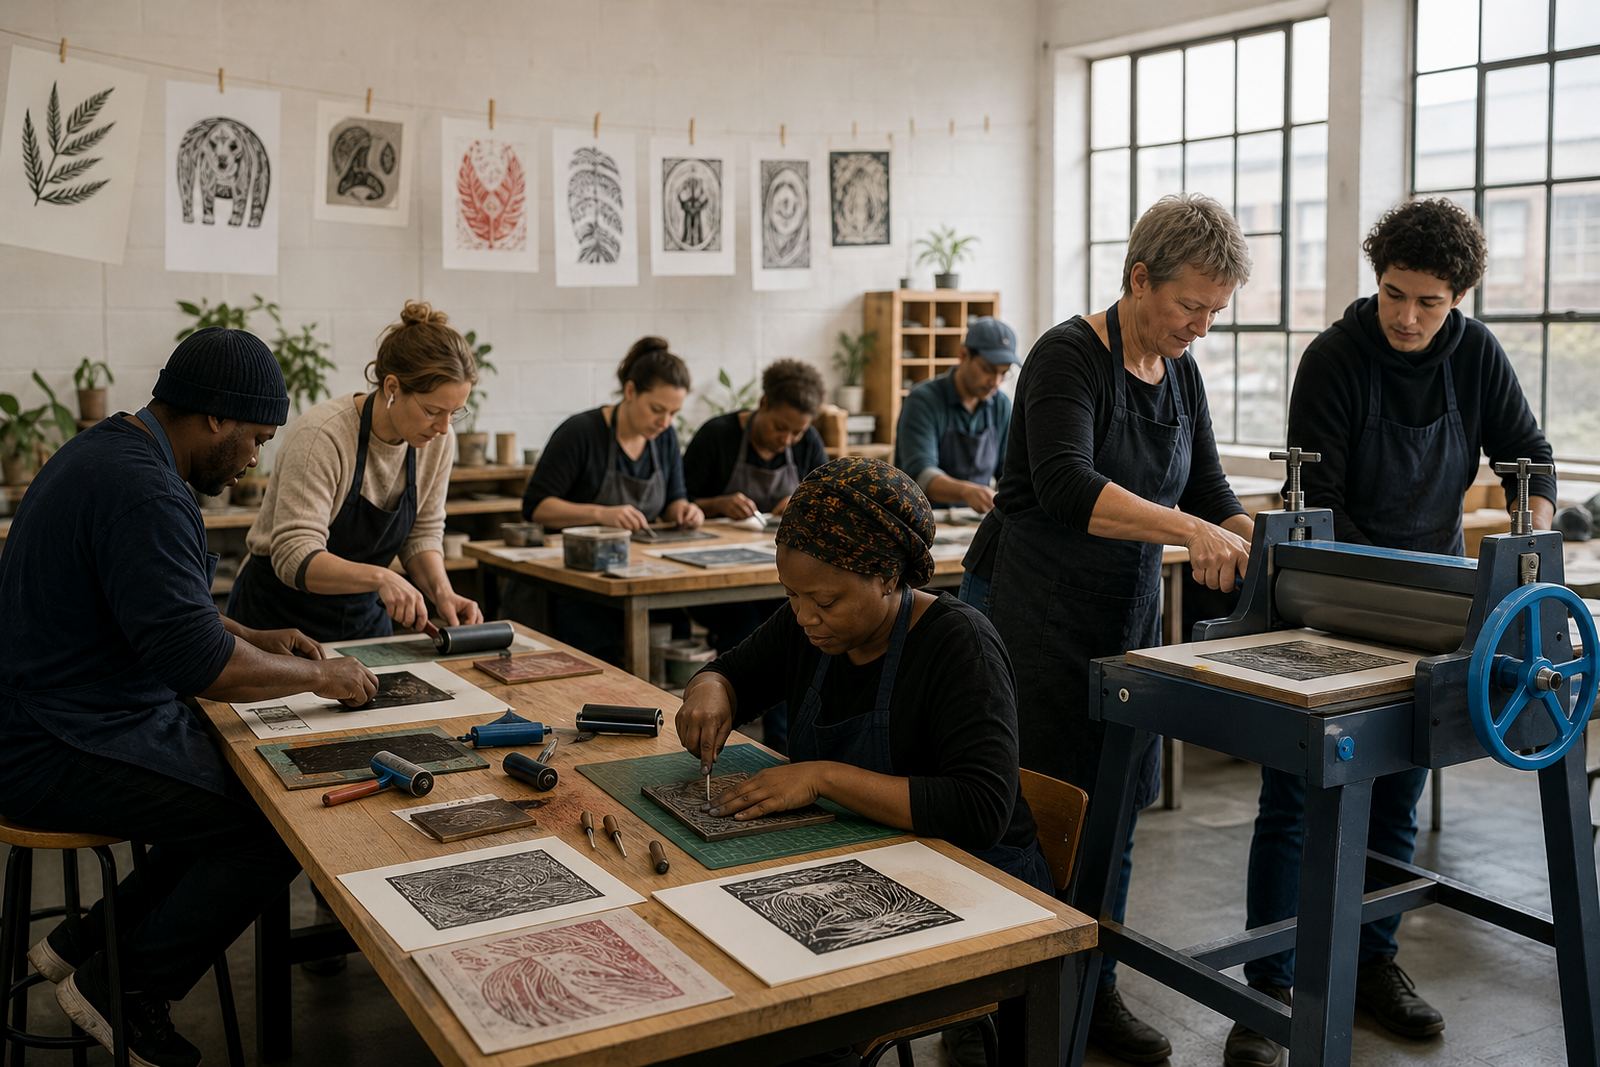
A student print class usually moves in a clear sequence. We begin with a short demonstration, then sketching, carving, inking, proofing and final printing. The rhythm works well for school groups, university classes and mixed-age family learners who need each stage explained before the tools come out.
For larger groups, the process is split so every learner gets enough time at the block. Some groups rotate between carving, ink rolling and printing stations, while smaller studio sessions can move through the work at a steadier pace. Registration marks are shown where multiple colours or repeated prints are part of the lesson, because alignment is one of the key printmaking skills.
- Introductory demo before hands-on work starts
- Sketching and image simplification for relief printing
- Carving, proofing and final edition printing
- Registration guidance for layered or repeated prints
- Group rotation options for school visits and venue classes
What the class includes
The Student Print Class includes the core printmaking tools and studio support needed for a focused learning session. We prepare blocks, ink, papers and basic protective materials, then guide the group through each step with practical corrections where needed. Learners leave with printed sheets and a clear sense of how a small edition is built by hand.
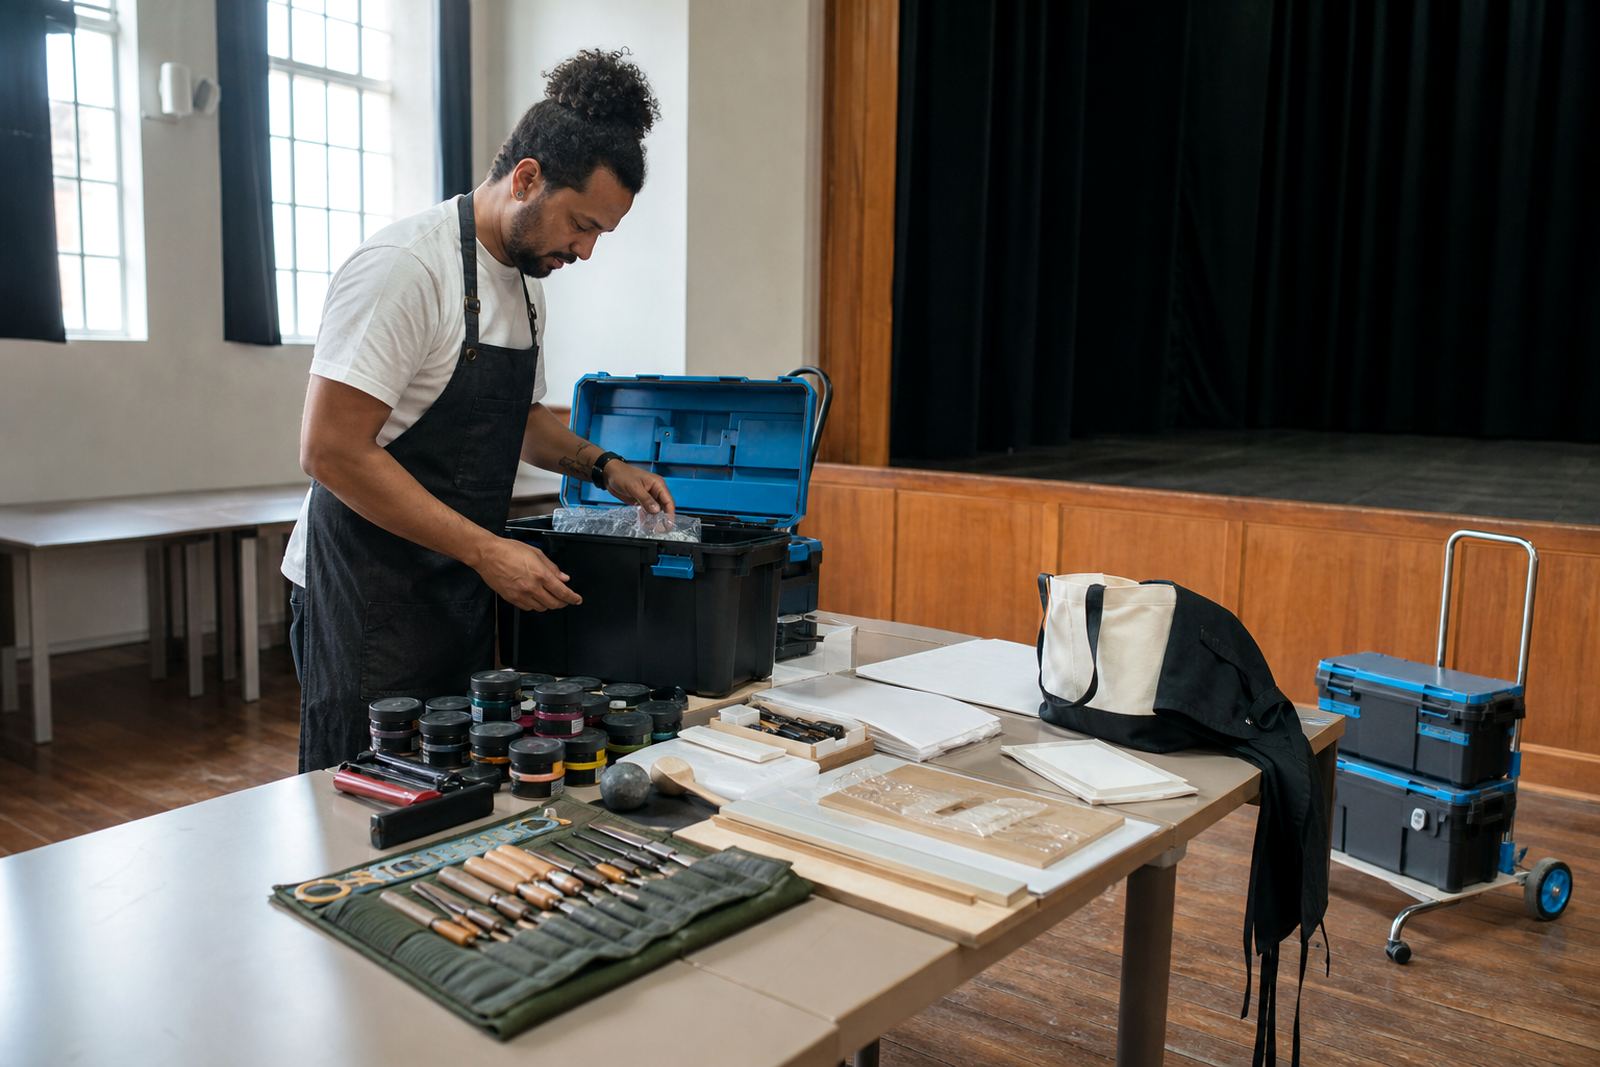
Depending on the booking, the class can be shaped for private tuition, curriculum-linked art periods or longer workshop blocks. If a school or venue needs setup support, we bring the working materials, table protection and print tools needed for the session. Students get time at each stage to feel the block, the ink and the paper.
- Prepared lino or soft-cut blocks
- Gouges, V-tools and carving guidance
- Brayers, inks and print papers
- Demo sheets, proof prints and edition support
- Venue setup for pop-up teaching sessions
Student class rates
Pricing is quoted to the actual class shape. The final figure depends on group size, venue needs, travel across the Cape Town metro or to other South African venues, the number of learners and whether materials are supplied for each student. That keeps the booking practical for schools, art departments and private groups with different requirements.
For student groups, we usually work from the curriculum brief, the available time slot and the level of finish expected at the end of the session. A short taster class, a full block-print lesson and a multi-stage edition session all need different amounts of preparation, table space and material planning. That is the level we use when preparing the quote.
- Quoted by group size and session format
- Adjusted for venue setup and travel needs
- Materials can be supplied per learner
- Suitable for schools, studios and student societies
Aftercare for prints and blocks
After the session, learners receive guidance on drying, storing and flattening prints so the sheet keeps its surface clean. Water-based prints need gentle handling while they settle, and oil-based work needs a little more care with paper stacking and transport. We also explain how to clean the tools and wipe down the block, because good studio habits make the next session easier.
For students who want to continue independently, the class covers simple ways to keep carving edges sharp, protect a printed edition and store blocks flat. That includes keeping gouges clean, sealing finished blocks where needed, and using folders or dry boards for paper transport. It is practical advice for real studio use.
- Drying and stacking guidance for finished prints
- Cleaning notes for brayers, tools and work surfaces
- Block storage tips for lino and soft-cut pieces
- Edition handling so prints stay clean and flat
Key facts
| Format | Guided student workshop with demonstration, carving and print stages |
|---|---|
| Materials | Lino or soft-cut blocks, gouges, V-tools, brayers, inks and papers |
| Printing methods | Hand burnishing with a baren and press printing where suitable |
| Group type | School classes, art students, youth groups and mixed learner sessions |
| Location | Woodstock, Cape Town, with pop-up sessions across South Africa |
| Outcomes | Proof prints, final sheets and a grounded understanding of edition printing |