Starting with a block that suits the hand
We begin with lino or soft-cut blocks, depending on the feel you want and how much carving the design needs. Soft-cut is kinder for very new hands, while lino gives a firmer surface and a sharper cutting feel once you learn how the gouge moves through the block.
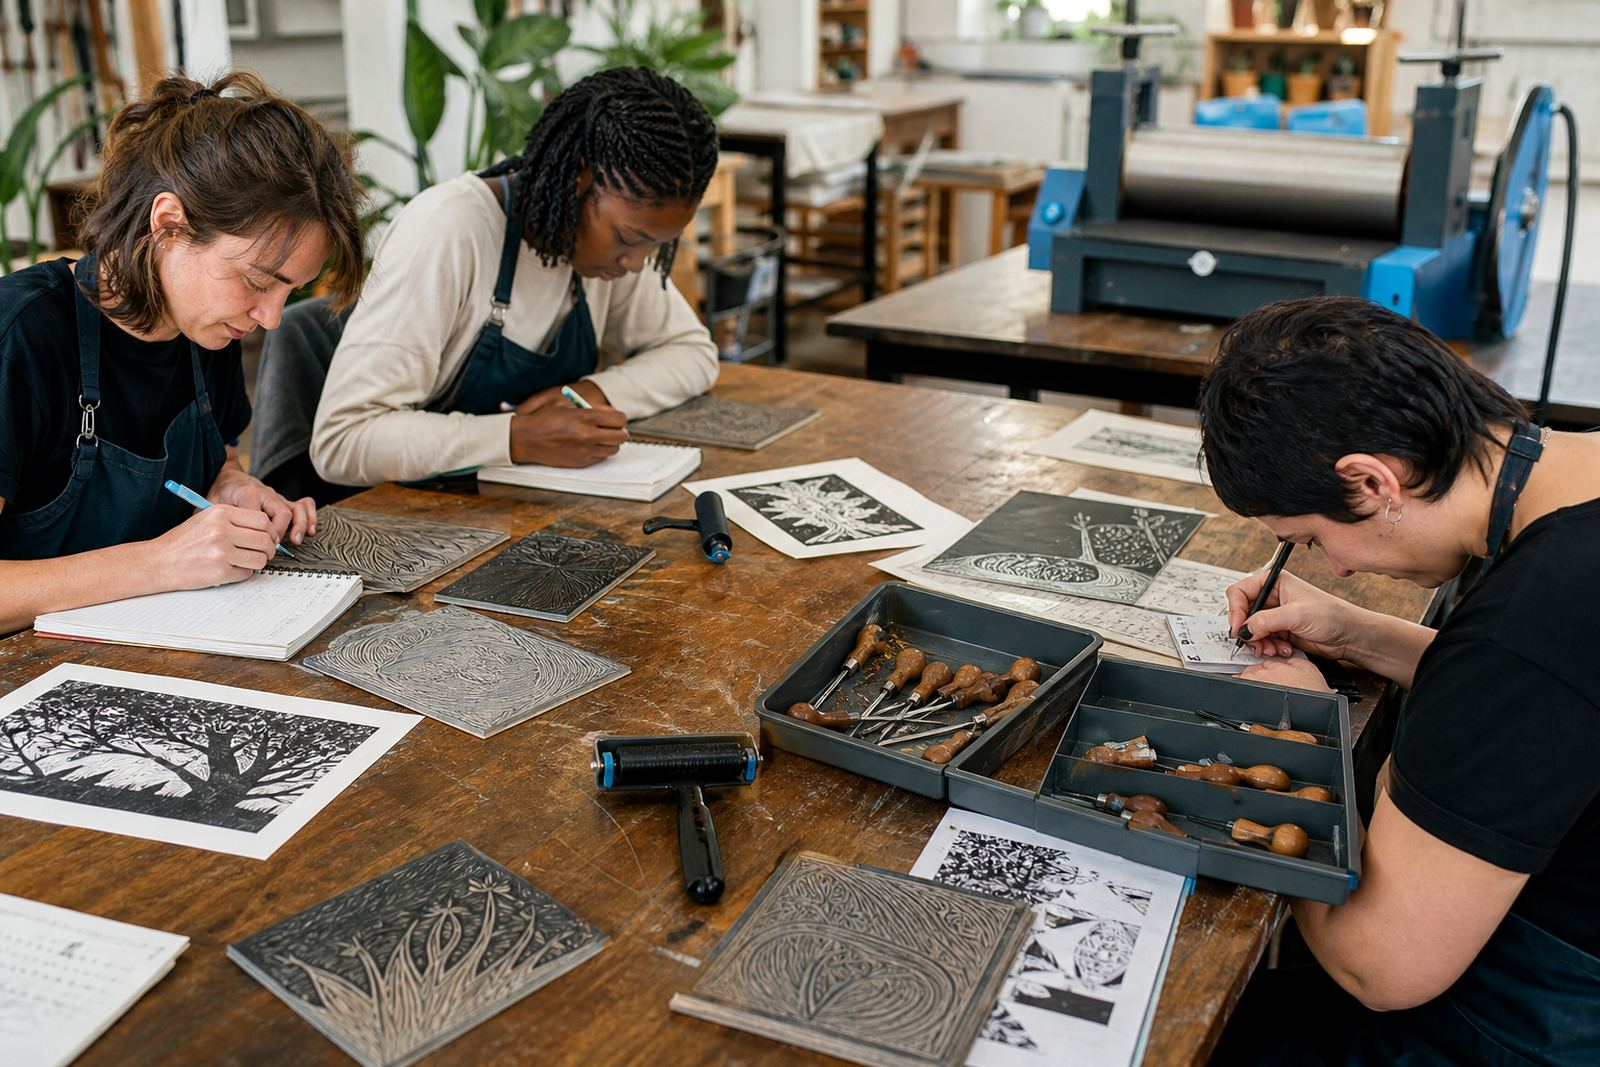
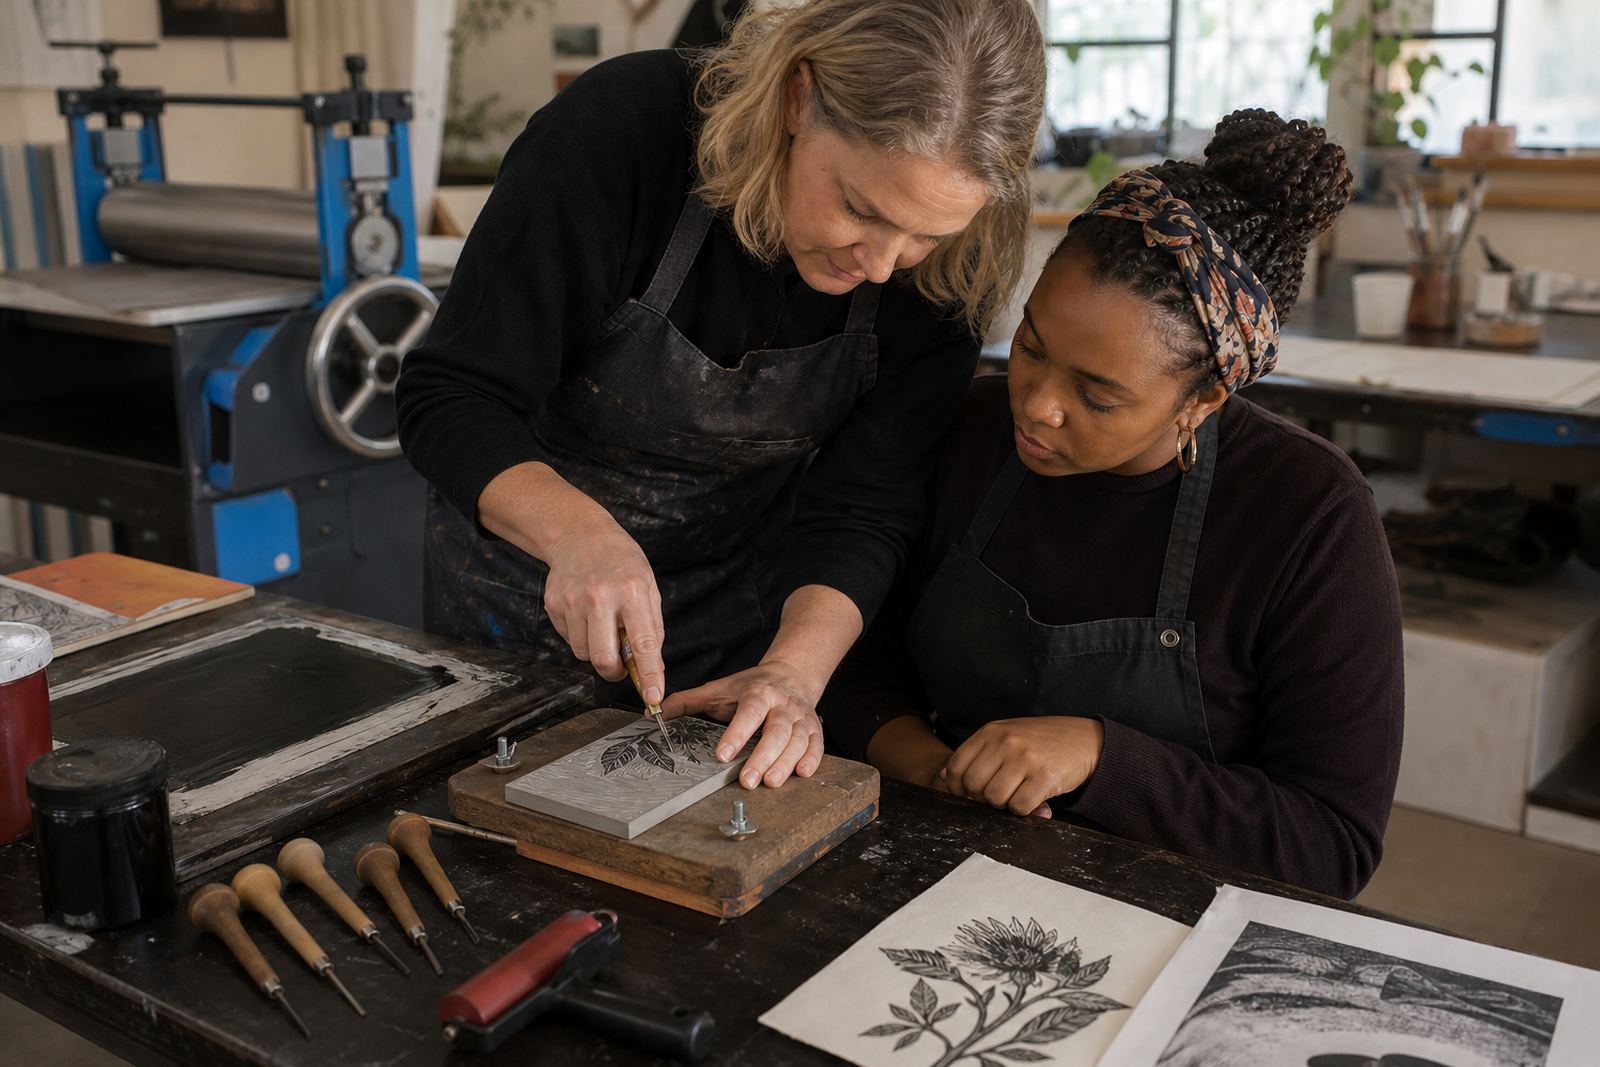
The first part of the session covers safe carving, blade control and how to stand, brace and cut without chasing the tool. We show where to push, where to turn and how to keep the line clean when a curve tightens or a corner needs a stop cut.
- Block sizes suited to a first design
- Gouges and V-tools in a few working widths
- Safe hand position and bench habits
- Simple transfer methods for clear line placement
Design transfer before the first cut
A strong first block starts with a clear drawing. We help translate a sketch onto the block so the image reads properly once reversed for printing. That matters with text, directional marks and any shape where left and right need to sit in the right place on the paper.
You work through the design in sections, checking where the white space will live and where the tool should stop. This stage keeps the carving purposeful, because a beginner block can get muddy if every line is treated the same way.
- Tracing, redraw and direct transfer options
- Reversal checks for text and symbols
- Positive and negative space planning
- Line weight decisions for print clarity
Carving habits that hold up in print
Carving goes slowly at first while you learn how the block behaves and how each cut shows up in ink. We guide first cuts, curved cuts, stop cuts and the small stops that keep corners from tearing when the block is inked and pressed.
By the end of this stage you know how to hold a carving tool, how far to lean into the block and when to lift out of a line. That makes the printed mark cleaner and keeps the image from losing detail in the final pull.
- First cut, stop cut and turning cut practice
- Shallow and deeper cut control
- Keeping shoulders and wrists relaxed
- Cleaning the block surface as you go
Inking notes for a clean first edition
Once the block is carved, we move to the inking table. You will see how a brayer carries water-based or oil-based block ink, how much ink the roller should pick up and how a thin film gives a clearer print than a heavy slab. That part of the session also covers registration, so your block lands in the same spot on each sheet if you want a short edition.
We print by hand with a baren, and when the work calls for it, by press. Both methods teach pressure, paper contact and the difference between a soft proof and a stronger final impression.
- Brayer loading and even ink spread
- Paper choice for proofing and final prints
- Basic registration for repeated pulls
- Hand burnishing and press printing
What the session includes in Woodstock
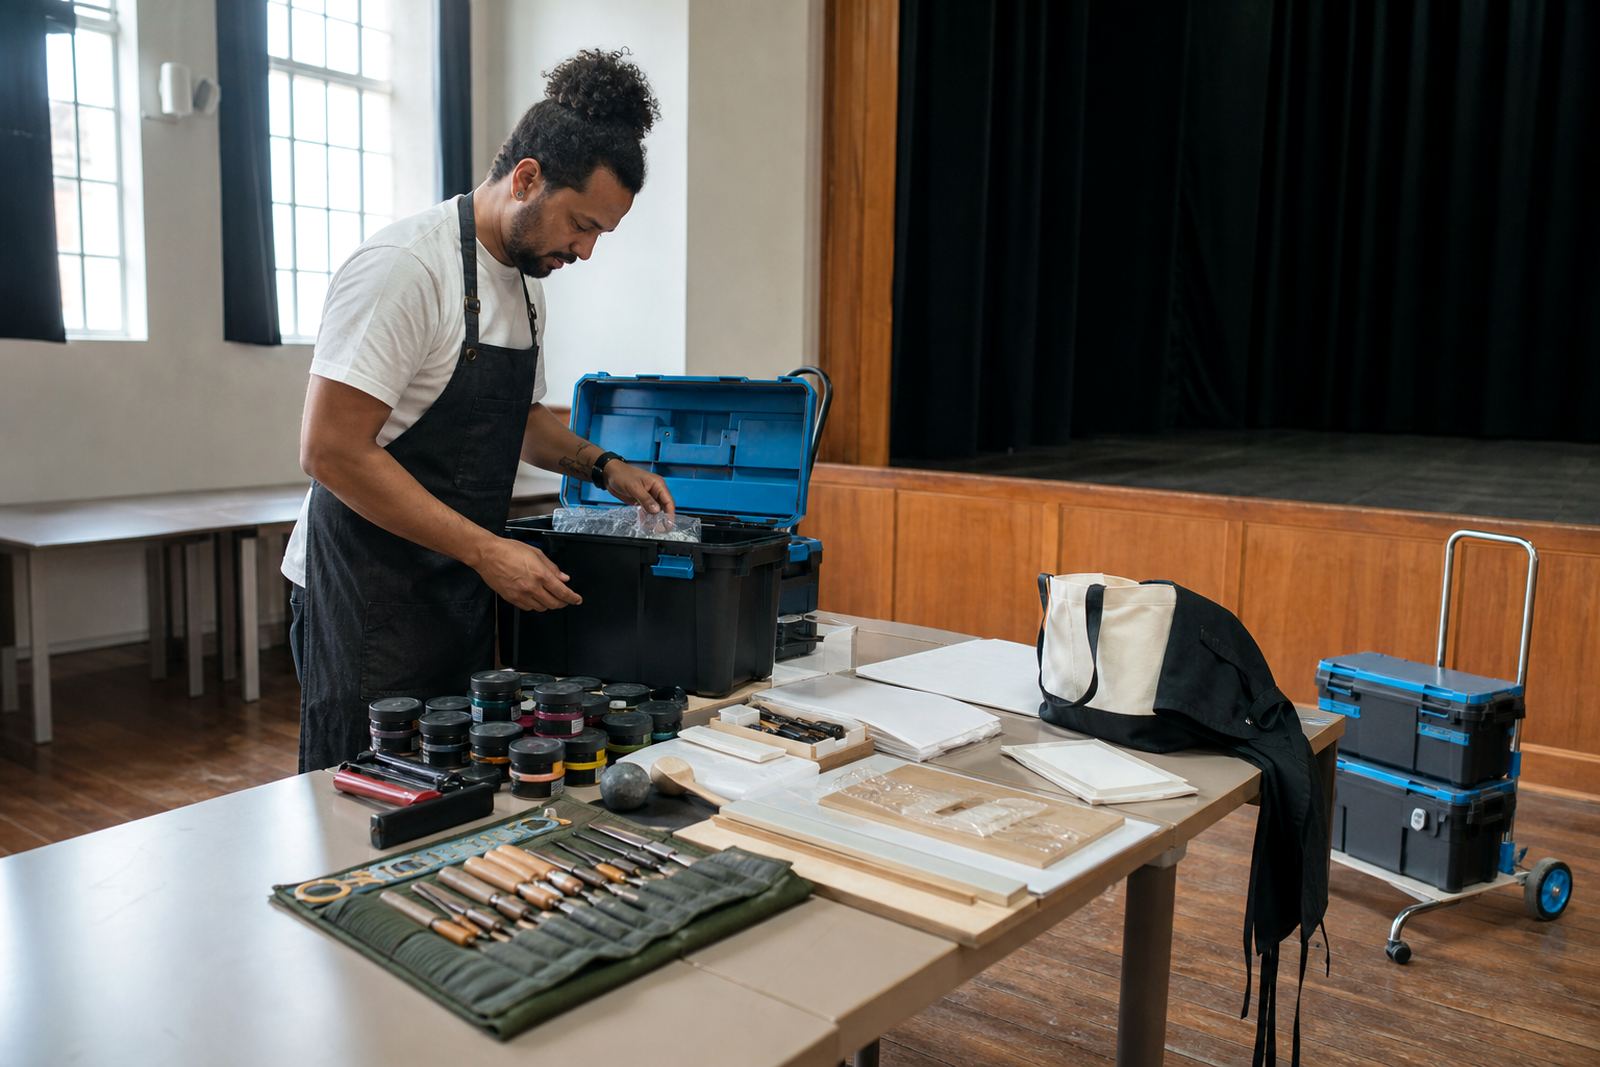
The session runs in our Woodstock studio or as a pop-up at selected schools, venues and group spaces. It suits adults, students, families and team groups who want a hands-on introduction to block printing without rushing through the foundations. Materials are set out for the class, including carving tools, blocks, inks, proofing paper and the practical bits needed to move from drawing to print.
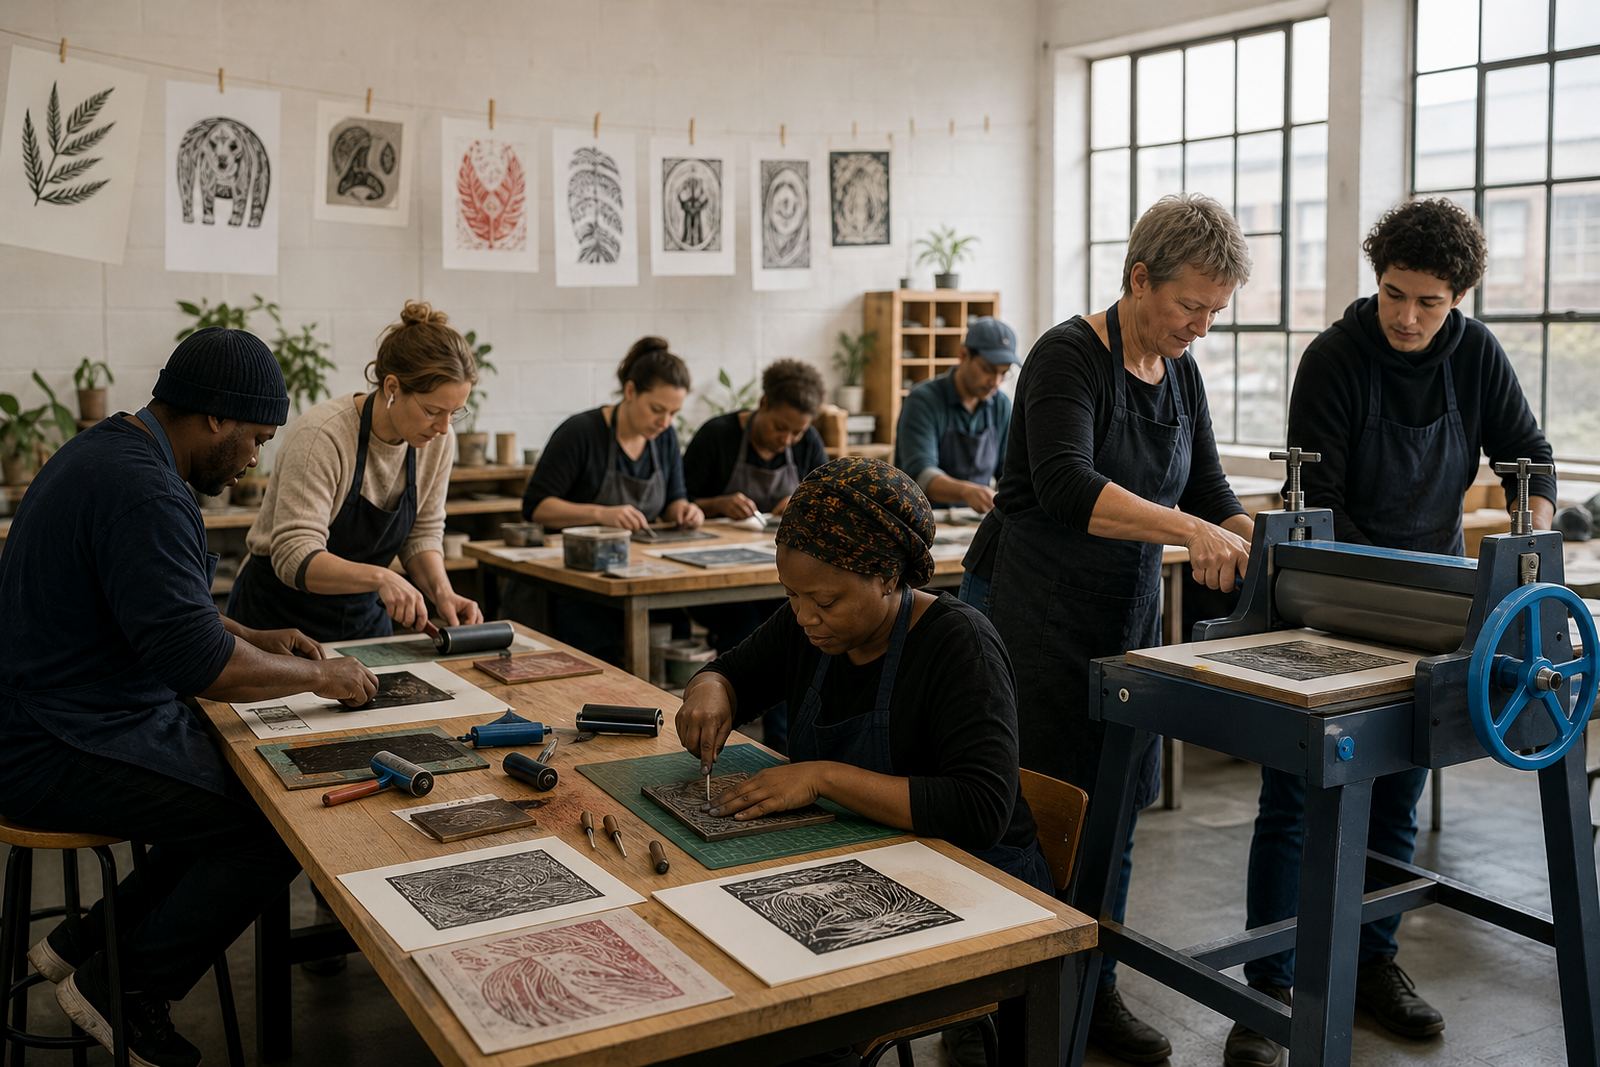
For groups, we can set the pace around the room, with one person carving while another prints, or everyone working through the same process together. The setup changes slightly with the venue, but the same core steps stay in place.
- Studio, school and venue formats
- Suitable for mixed skill levels
- Beginners can work at a steady pace
- Finished block and printed proofs to take home
Fees, timing and care after the class
Pricing depends on group size, venue setup, materials and whether you want a studio session, a school pop-up or a private booking. We quote for the actual format, rather than using a one-size-fits-all figure, because block-print sessions change with the number of hands at the table and the paper and ink needed for the day.
After the class, the block should be wiped clean and stored flat so the carved surface keeps its edges. Water-based inks are easier to clear from tools and rollers, while oil-based inks need a more careful clean-up routine. We also talk through how to protect the block, how to store your carved tools safely and how to make a few more prints later if you want to build a small edition.
- Quoted to the session format and group size
- Care notes for blocks, tools and rollers
- Ink clean-up guidance for home use
- Storage tips for paper, proofs and carved blocks
Key facts
| Format | Studio session, school pop-up or venue booking |
|---|---|
| Skill level | Beginner friendly |
| Block types | Lino and soft-cut blocks |
| Tools | Gouges, V-tools, brayers and baren |
| Printing methods | Hand burnishing and press printing |
| Output | A carved block with printed proofs and edition notes |